Study, create, play – the secret behind the perfect lighting technique with Andrea Belluso
Written by: Sofia Sigfridsson
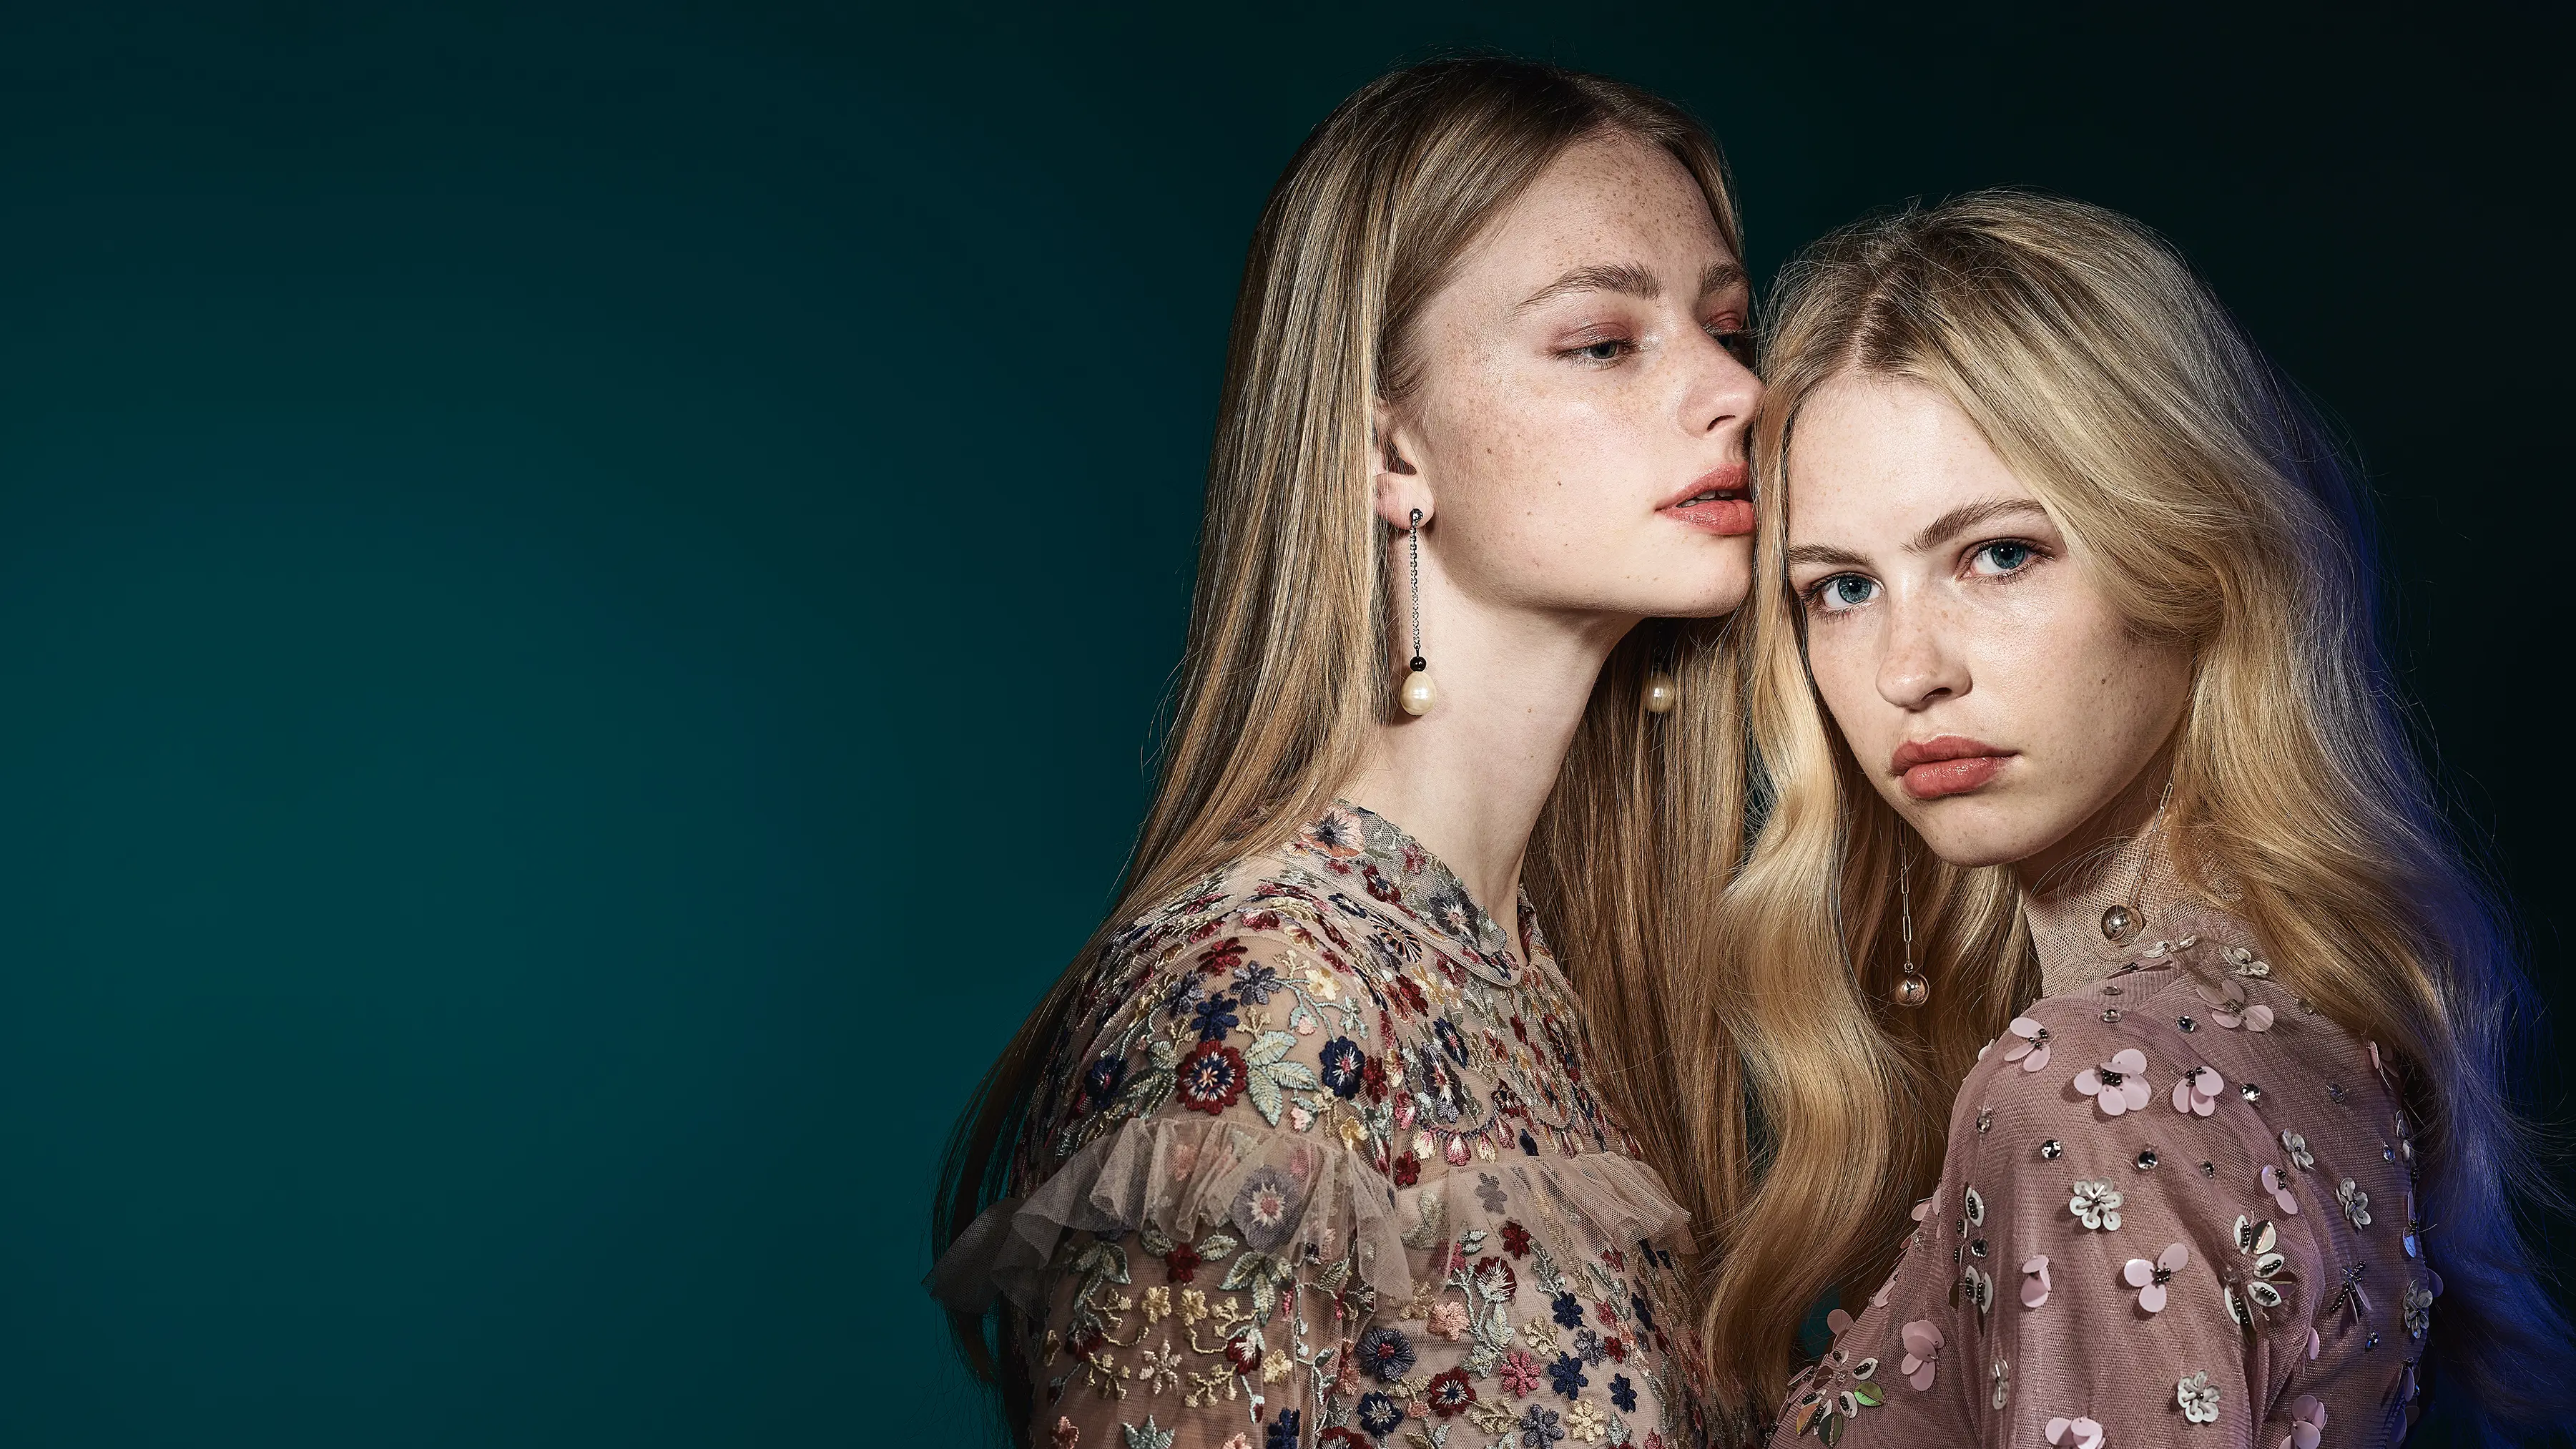
“I only have one recommendation when it comes to lighting: there are no recommendations! Once you stop following rules and fixed formats and instead use your creativity and gut feeling, that’s when you will find the best lighting.” Andrea “the Light Shaper” Belluso is not just saying this. He is a great example of doing just that.
Andrea Belluso talks with great passion about the discovery he made a few years ago when he regained the enthusiasm for what he loves to do in life: photography. “By studying the light shaping tools thoroughly I learned the properties of each one of them and the techniques that make them change characteristics and started to play around with them. After a while, the knowledge was in my blood and I didn’t have to think about the technique anymore. Trusting and knowing your equipment is key,” he smiles.
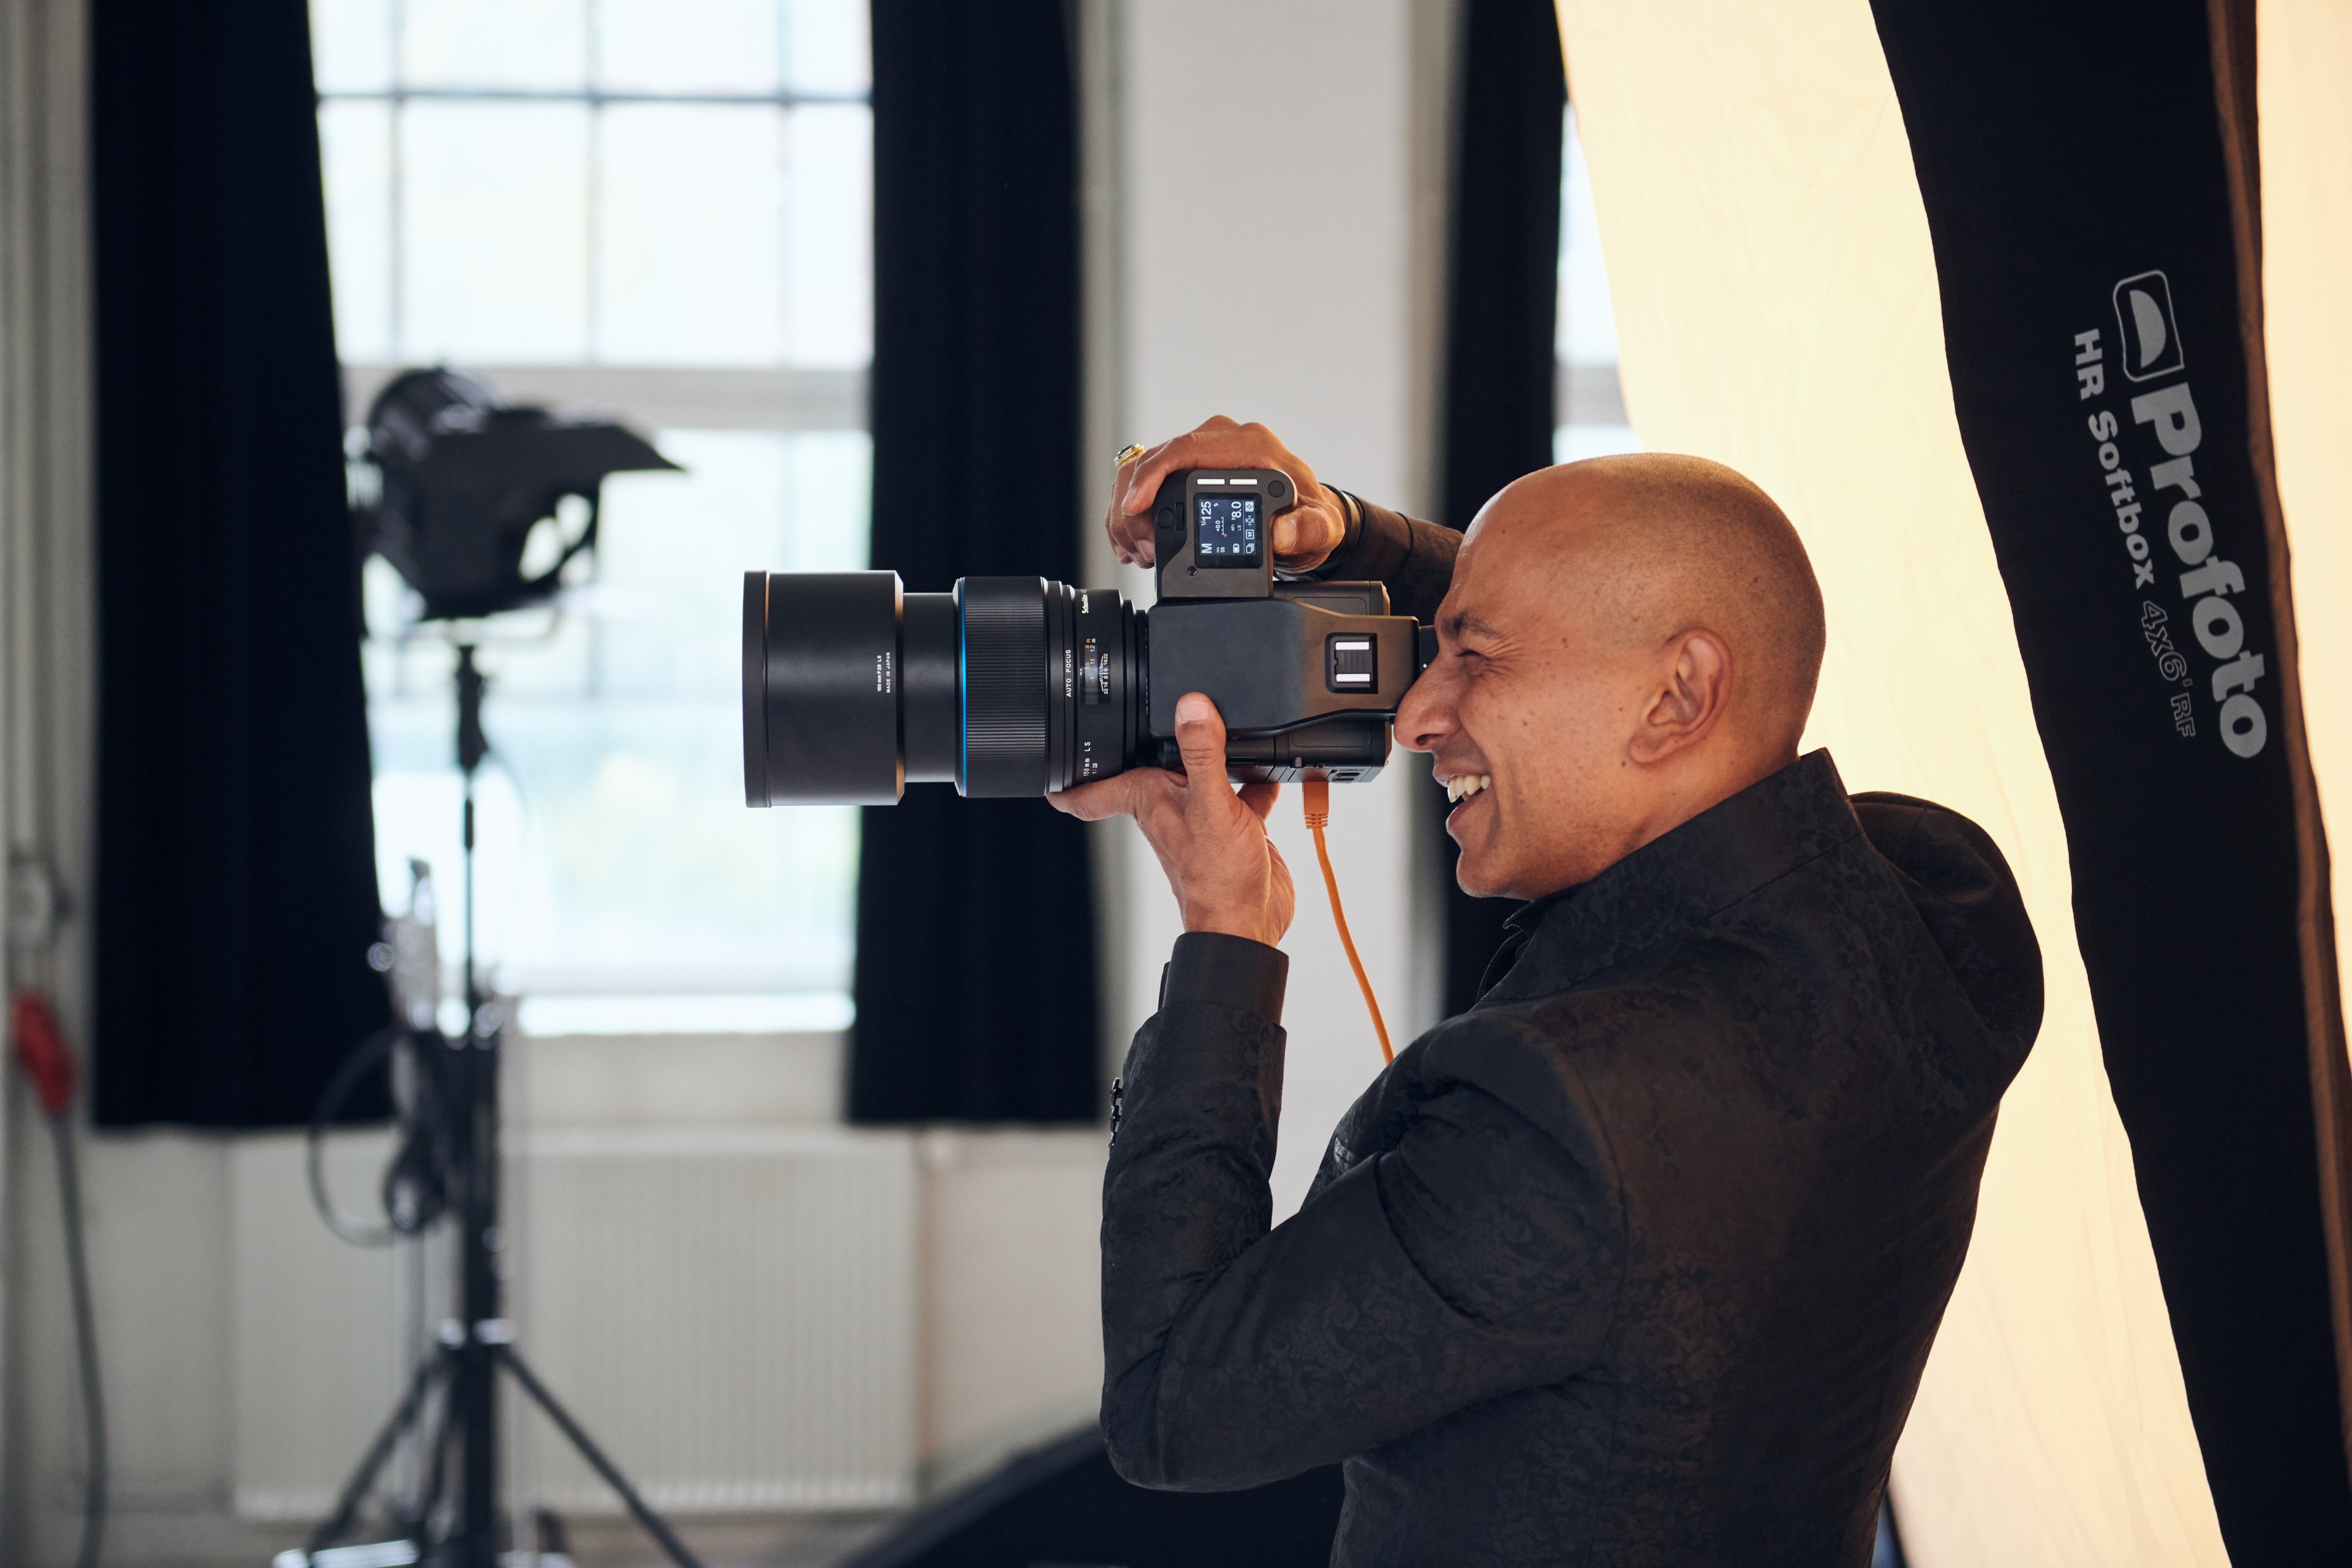
How to get the best lighting techniques
Andrea Belluso’s 3 tips:
1. Build a knowledge bank of light shaping tools. Take time to learn everything about the light shaping tools. Buy or rent them, you won’t regret it.
2. Use all light. There’s a common perception you shouldn’t use flash but this mainly comes from not really knowing what flash can do. Flash can bring edge and drama to your photos or create a natural-looking light. You are always in control with flash.
3. Go out and create! Use your imagination and creativity – only you decide what works and what is fun for you.
There is no such thing as the best lighting set-up
According to Andrea there is no such thing as the best lighting set-up. The best lighting set up is the one created by a photographer for each single image, not based on any rules or on anyone else’s point of view, but only based on what feels totally right for the photographer in that specific moment. “The trick is to be brutally honest with oneself when working this way and to always compose the light that would create a greater result for the client, the product and everyone involved in the shoot, including the photographer.”
Watch the behind-the-scenes video
Soft light for the bright and romantic touch
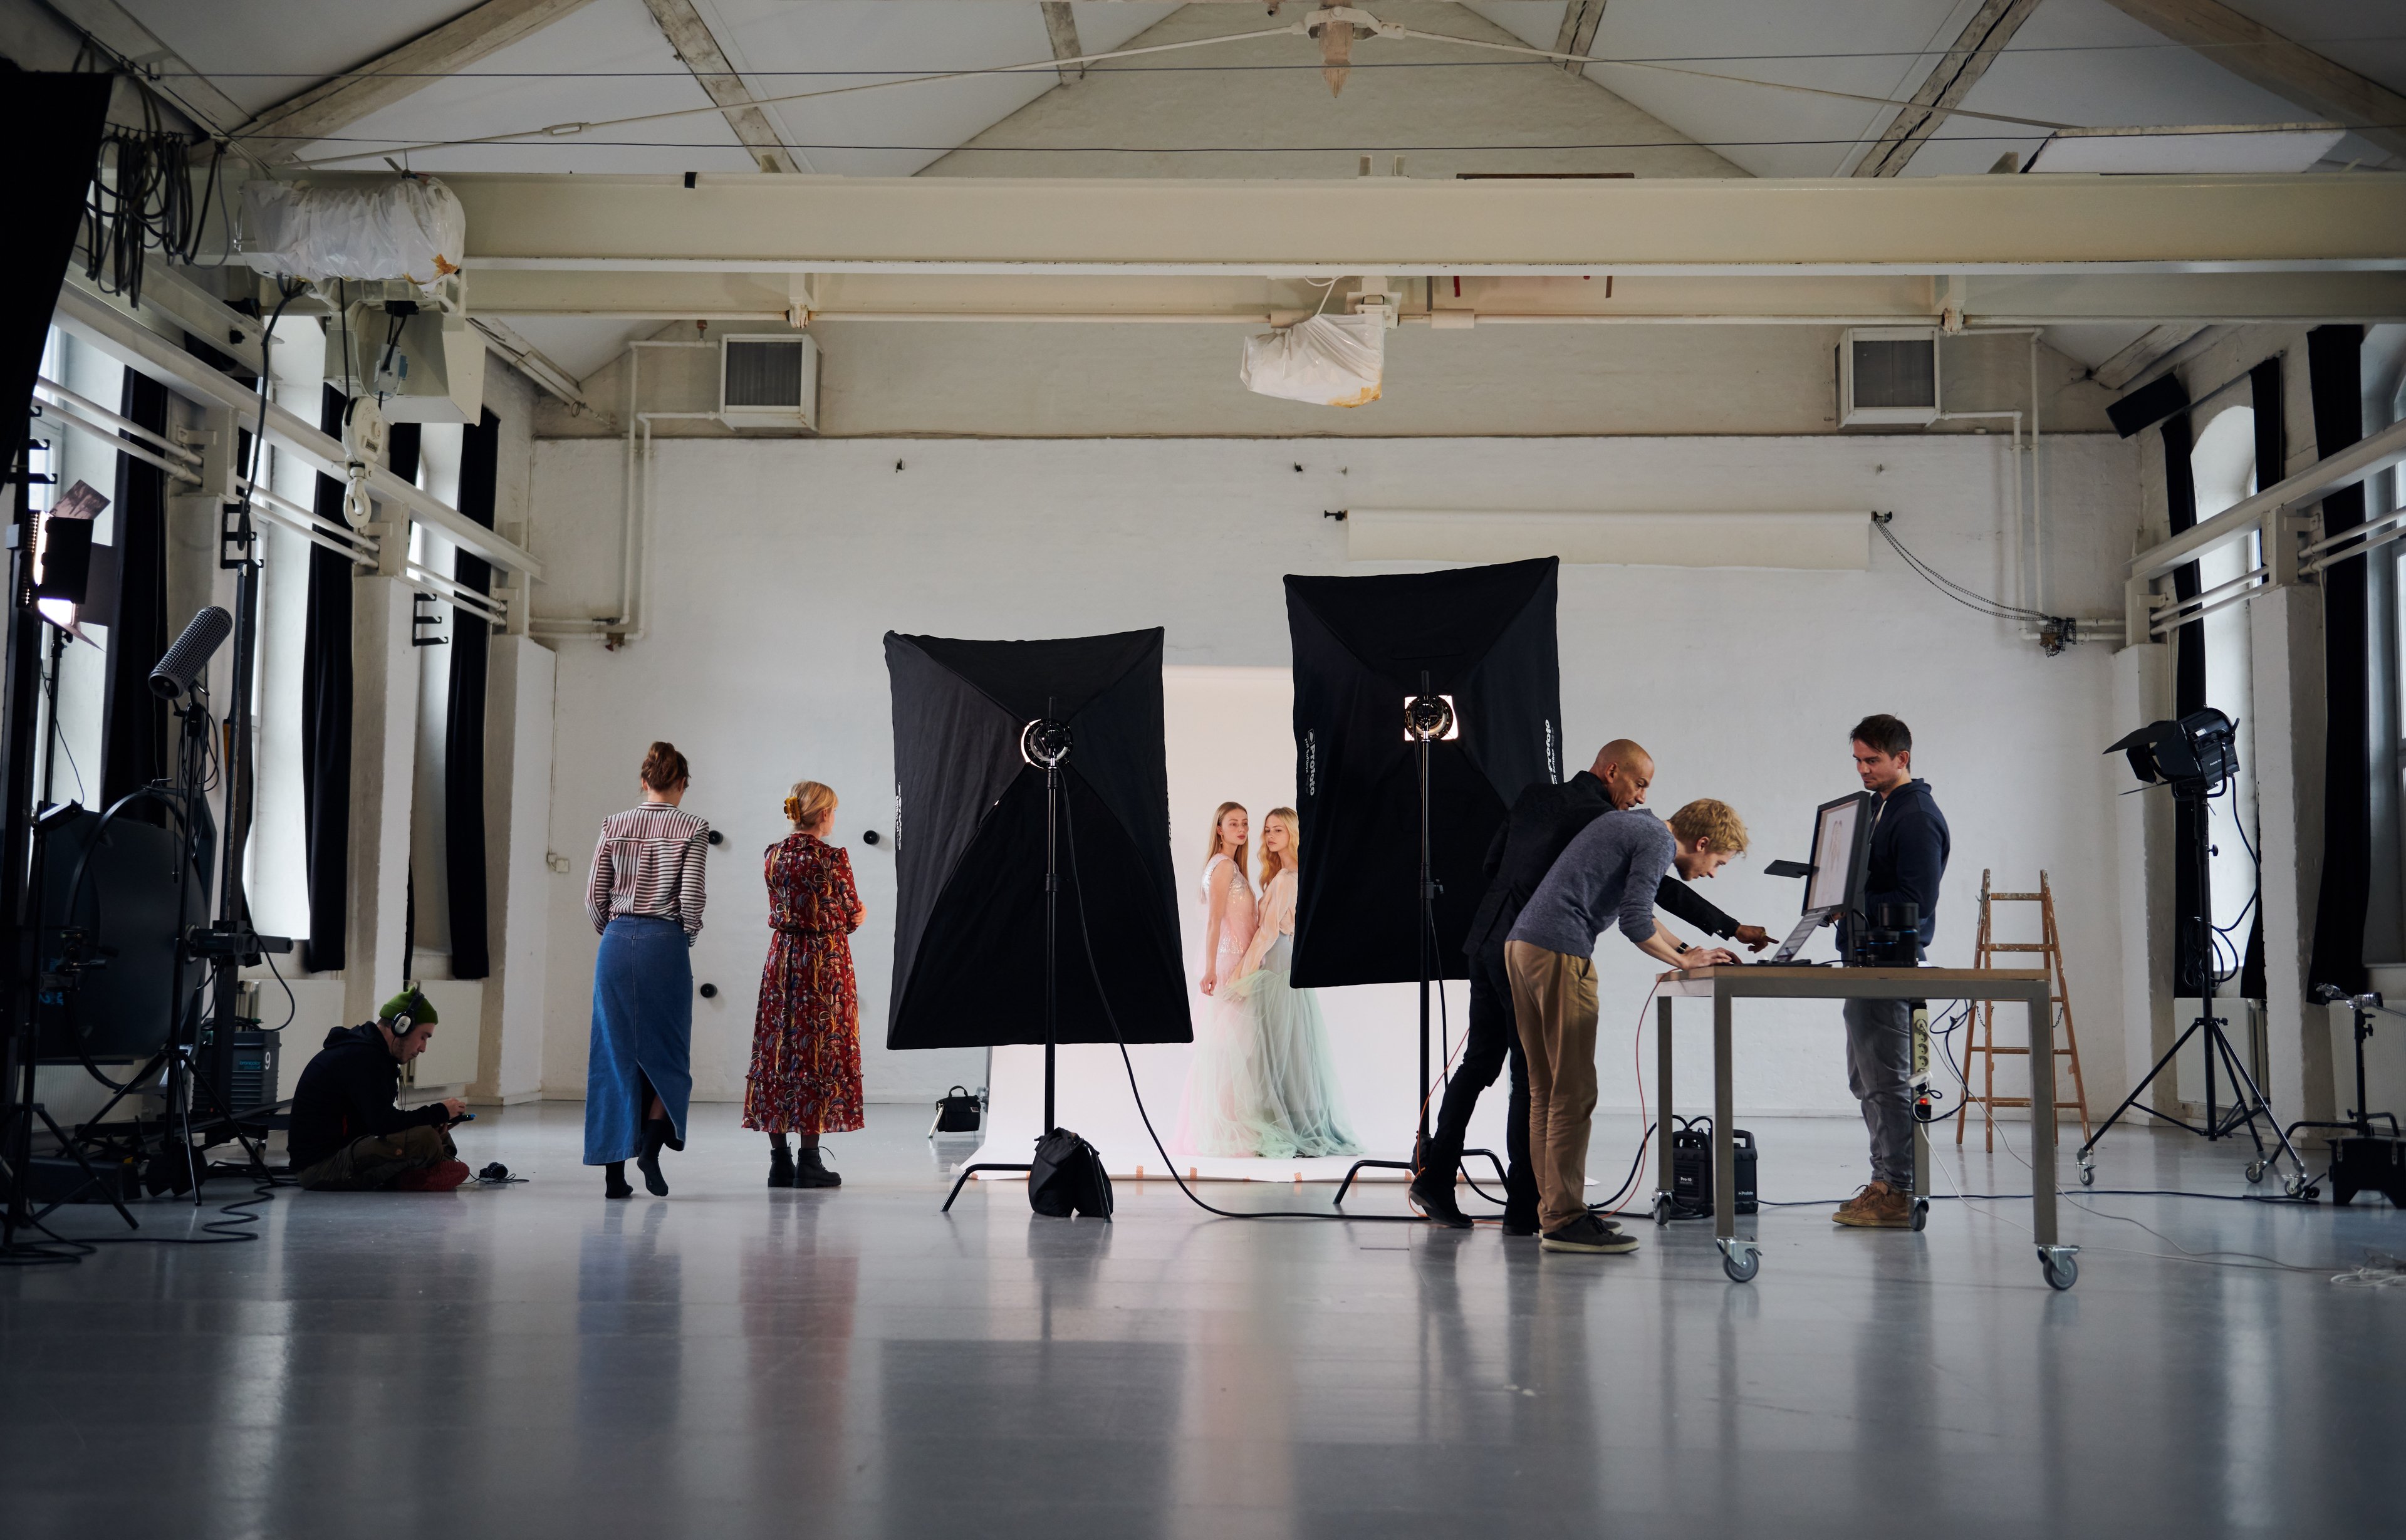
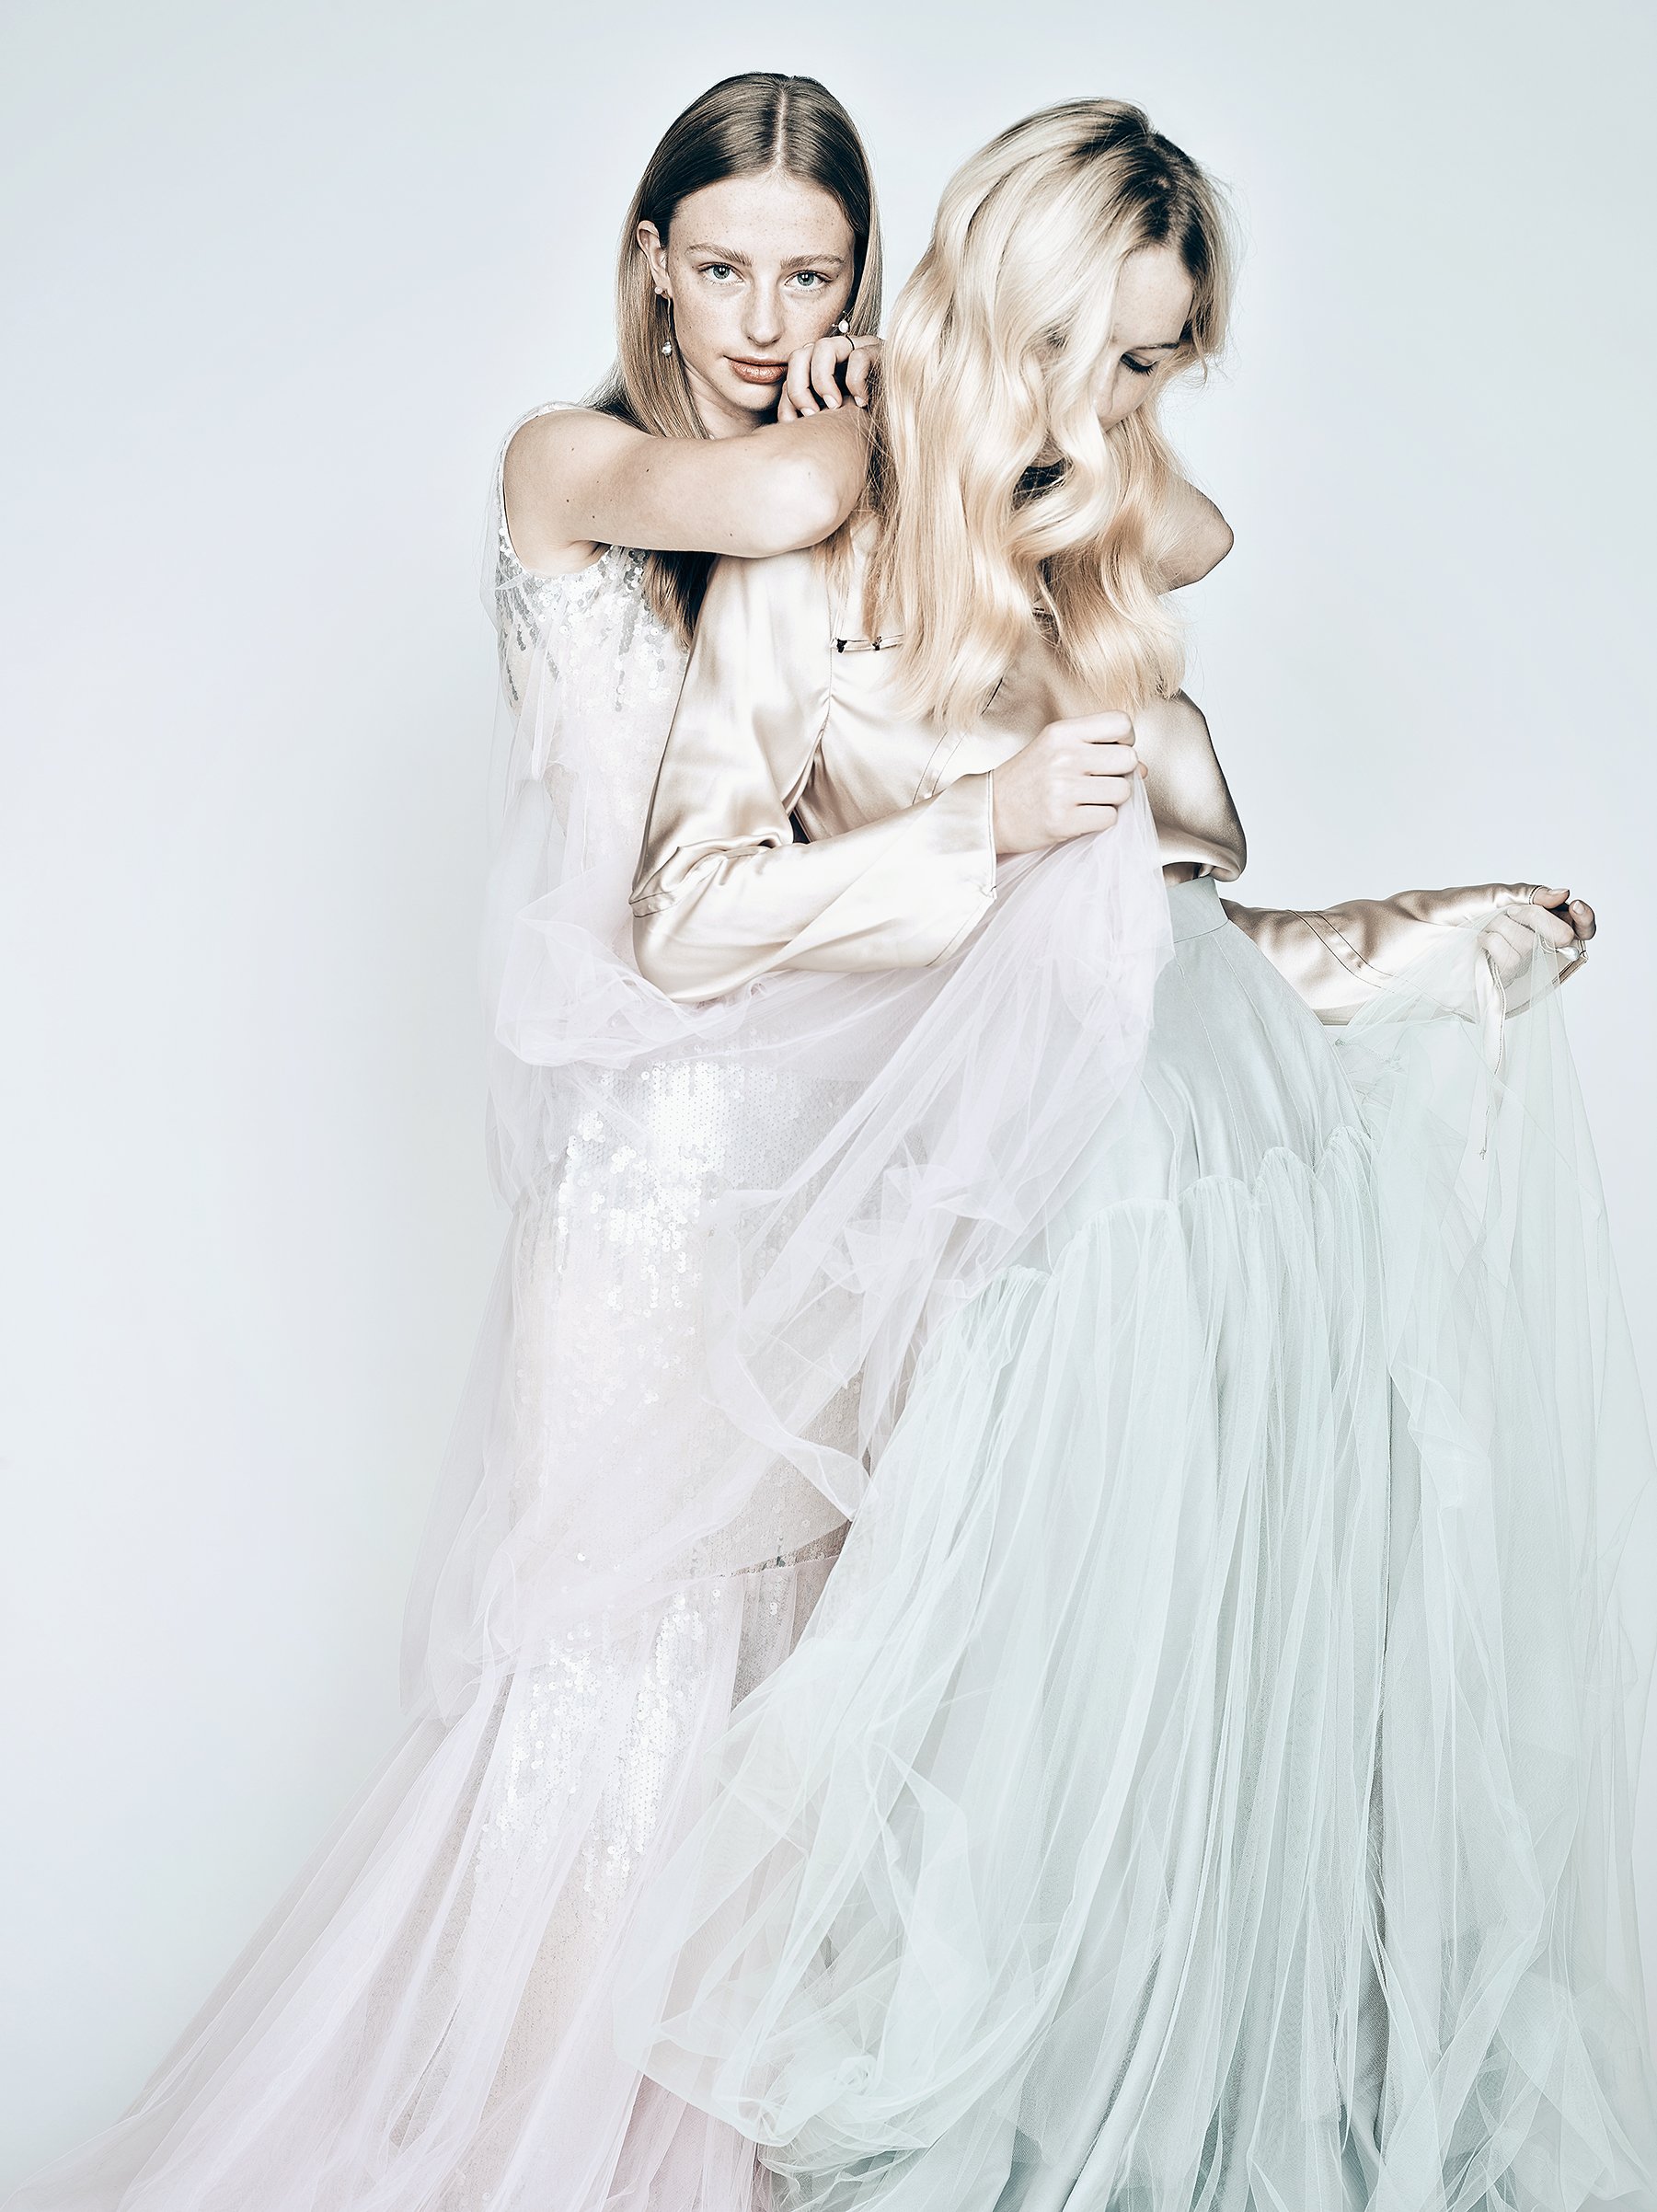
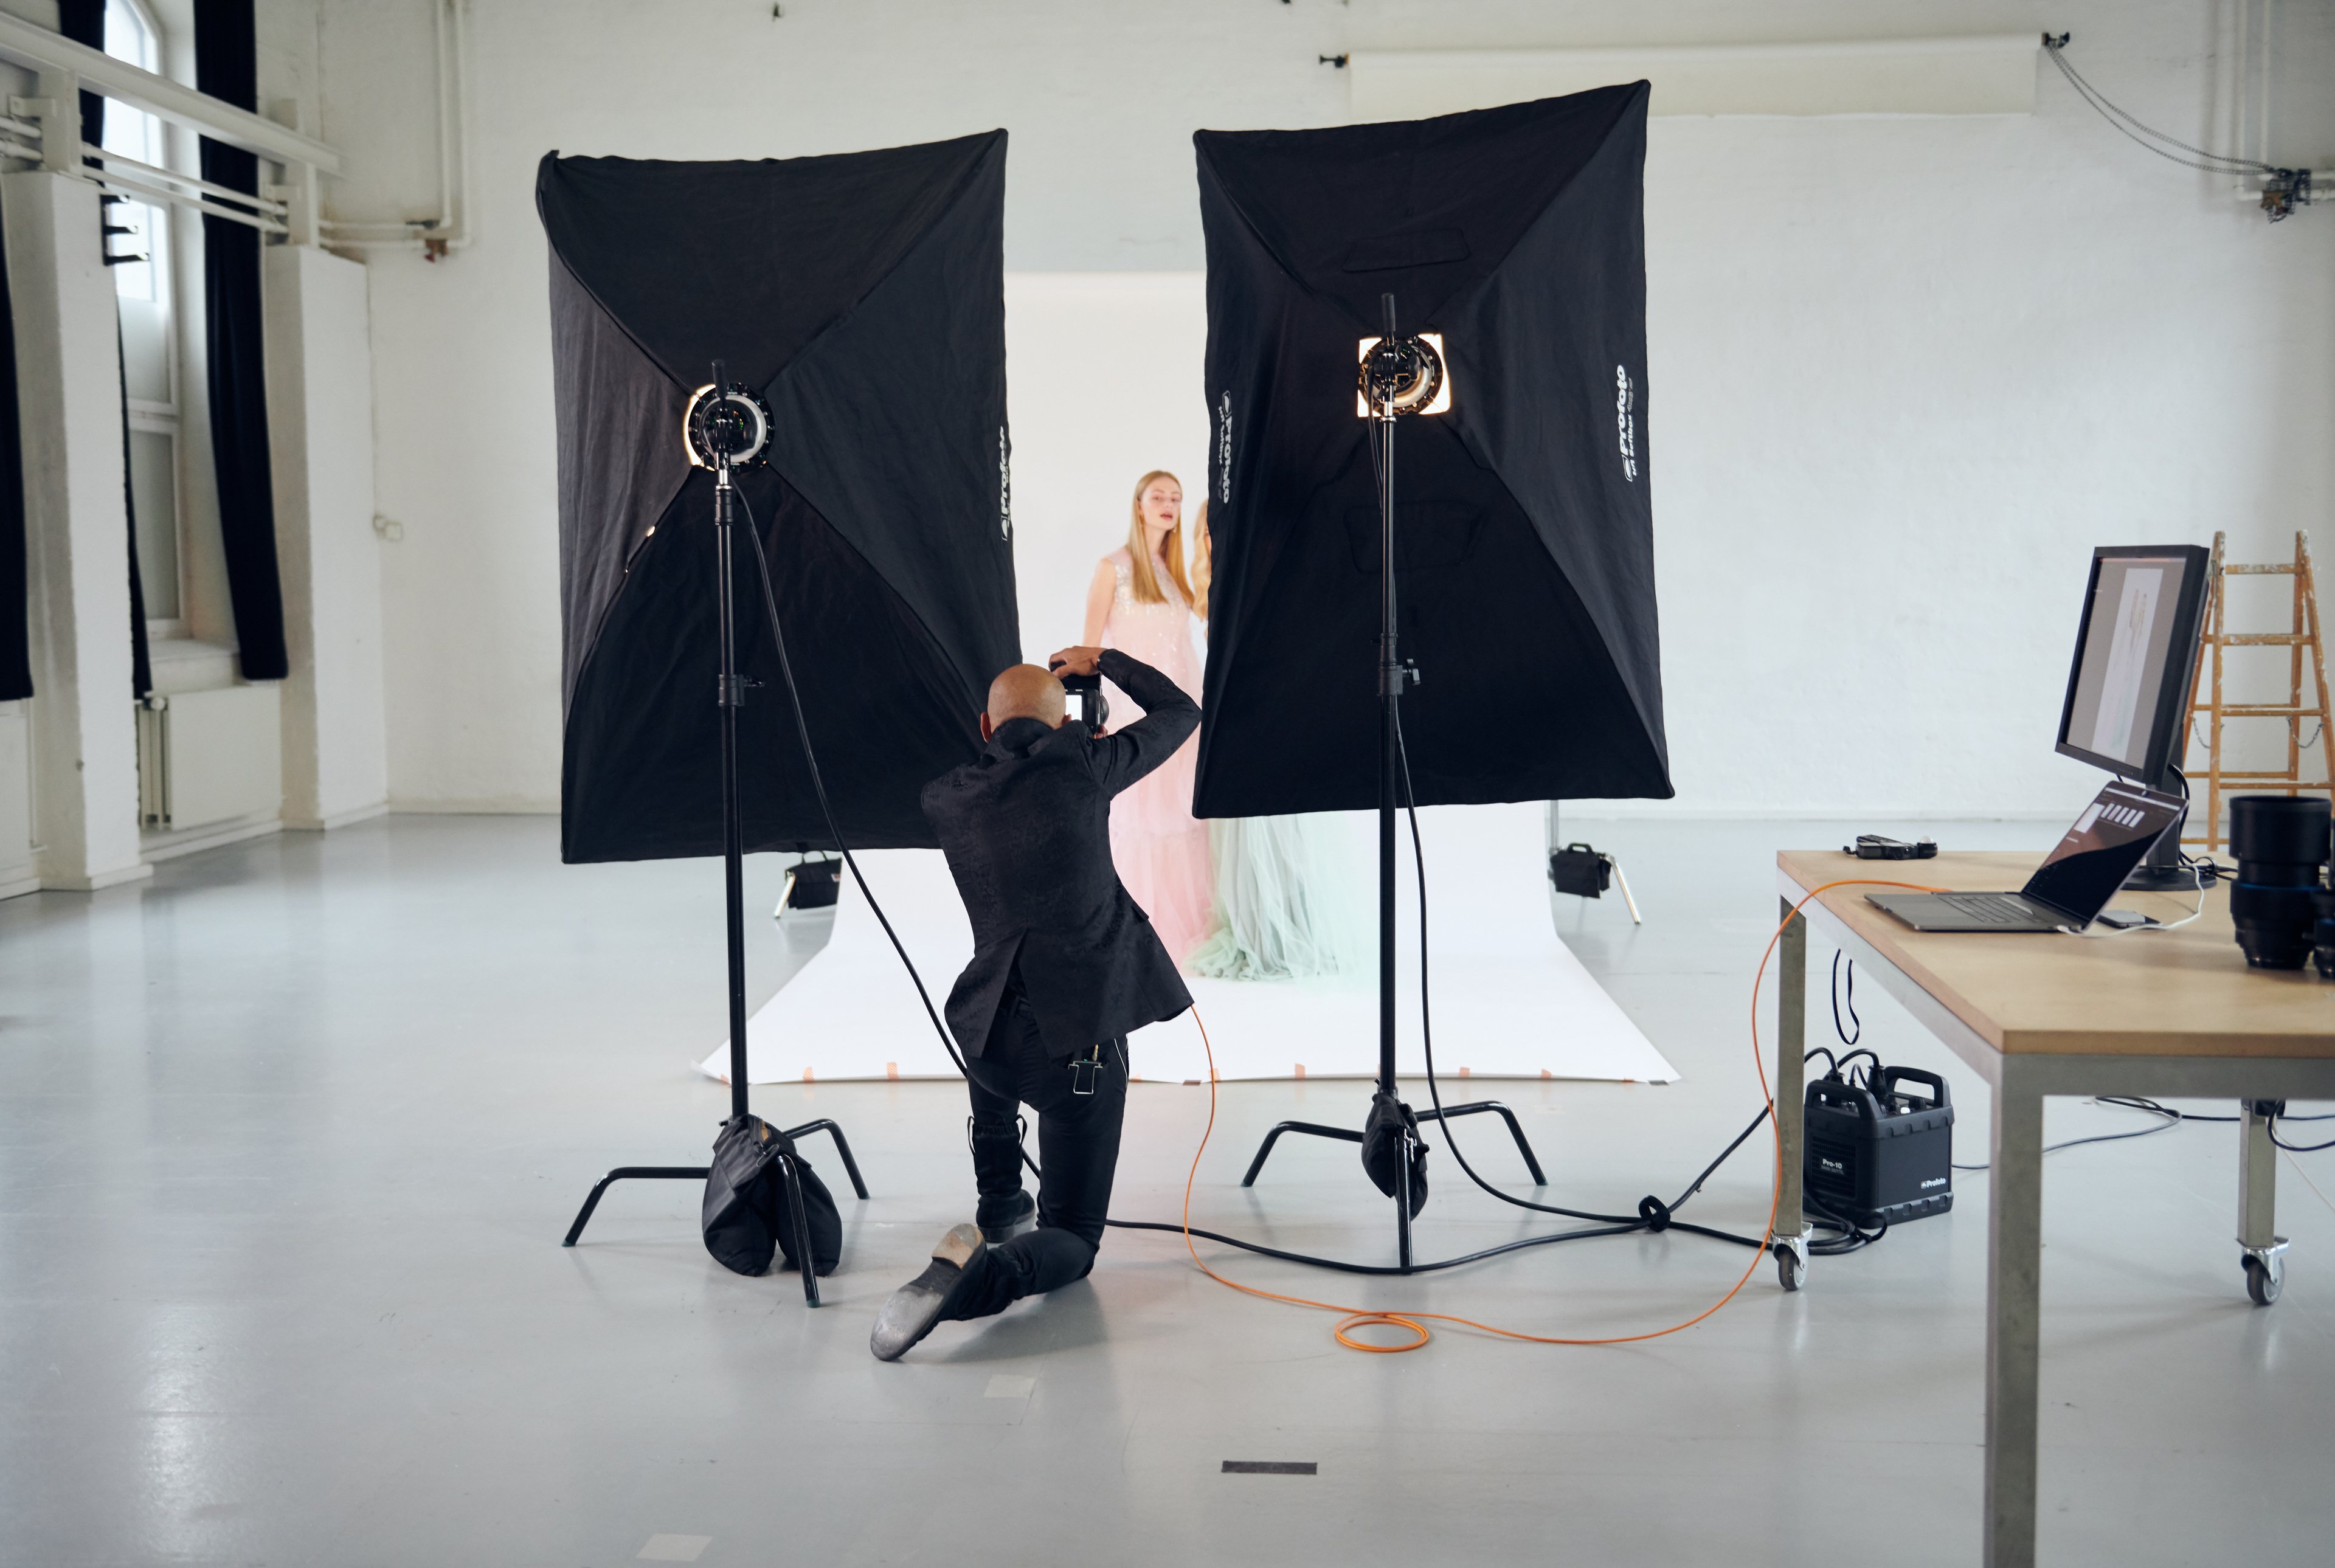
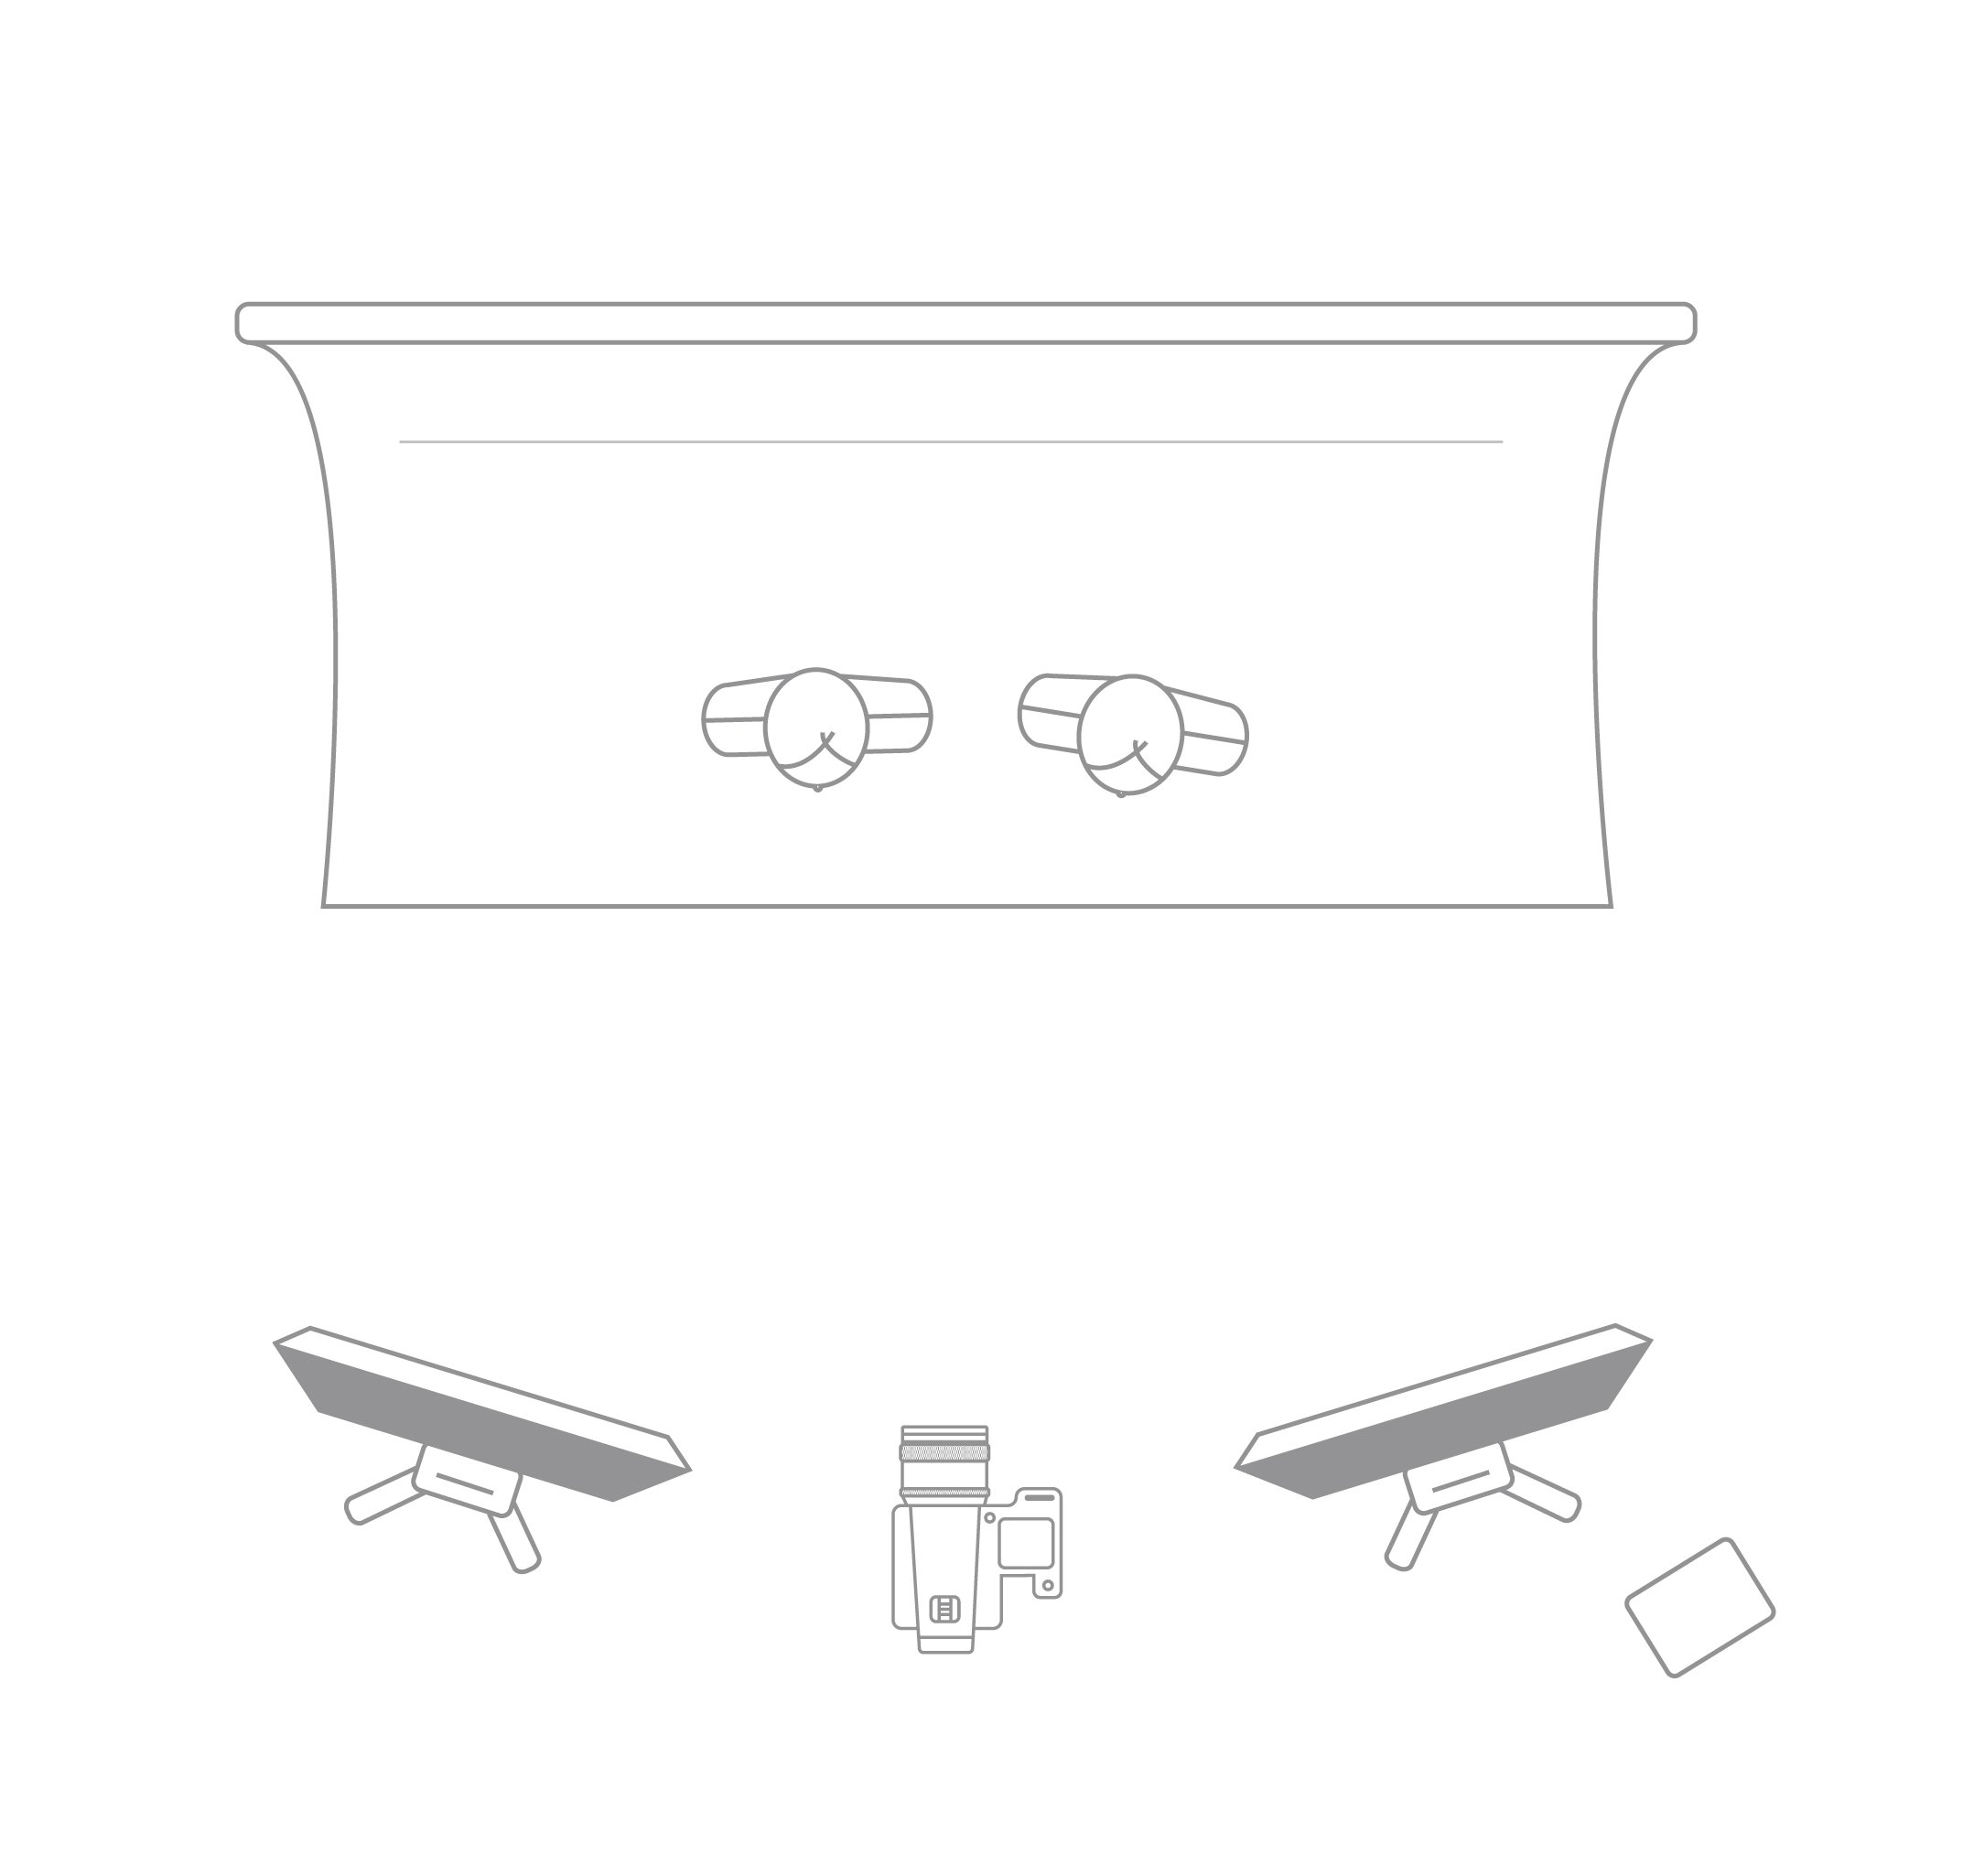
“With soft light you will get a wonderful result, no doubt. I use soft light when the task is a photo with no shadows and no drama. By using two soft boxes in front of the model or the object, the light will get even softer. Just remember to have them close to the subject, if they’re too far away the light will get harder”, Andrea says.
How to create an even softer light:
- Increase the size of the light by using two soft boxes. The larger the light source, the softer the light.
- Keep the light close to your objects. By moving it further, the light will get harder.
Mixing hard and soft light
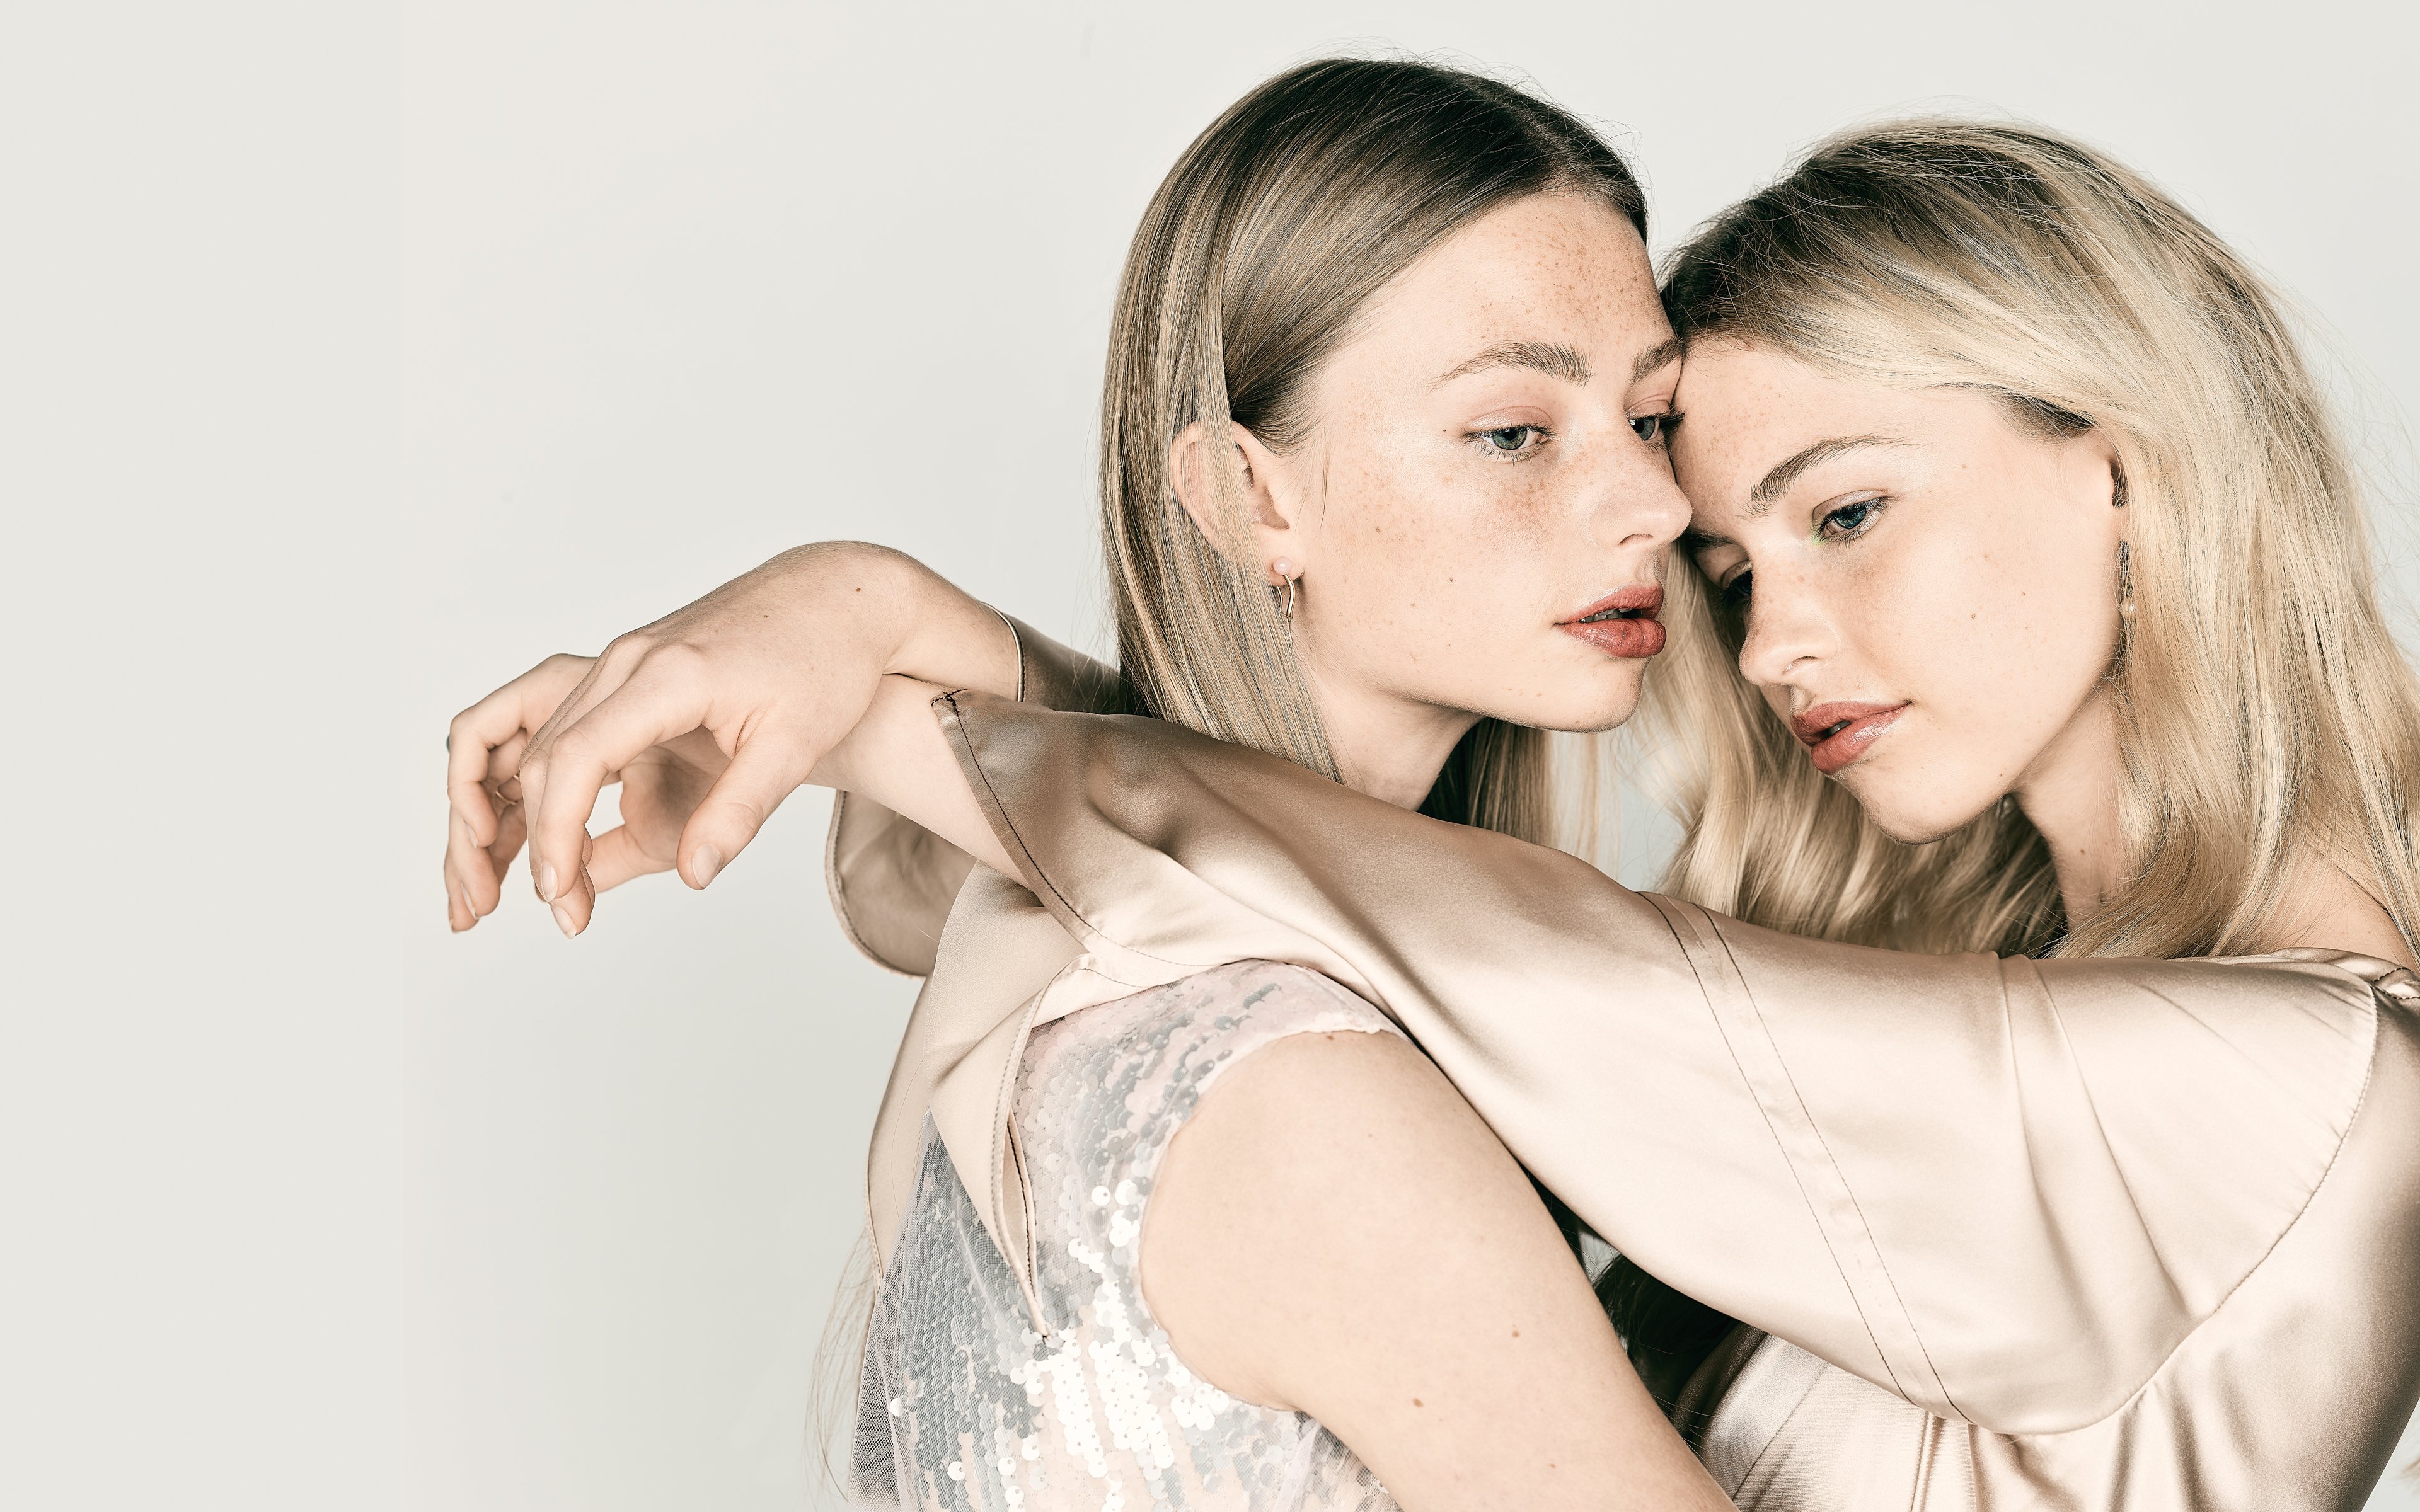
“The whole point of creating a mixed light set-up is to treat different parts of the image in different ways. You might want to have a general soft light on an image, but also have more contrast and detail from one particular element. Adding a hard and focused light on that element will give you just that. An example of this could be a portrait with soft light and a very narrow and focused hard light to enhance a diamond necklace on the model”, Andrea says.
Why mix hard and soft light:
- To treat each element in a picture individually.
- To have the benefit of both hard and soft light in the same image.
- To enhance some elements and soften others in the same picture.
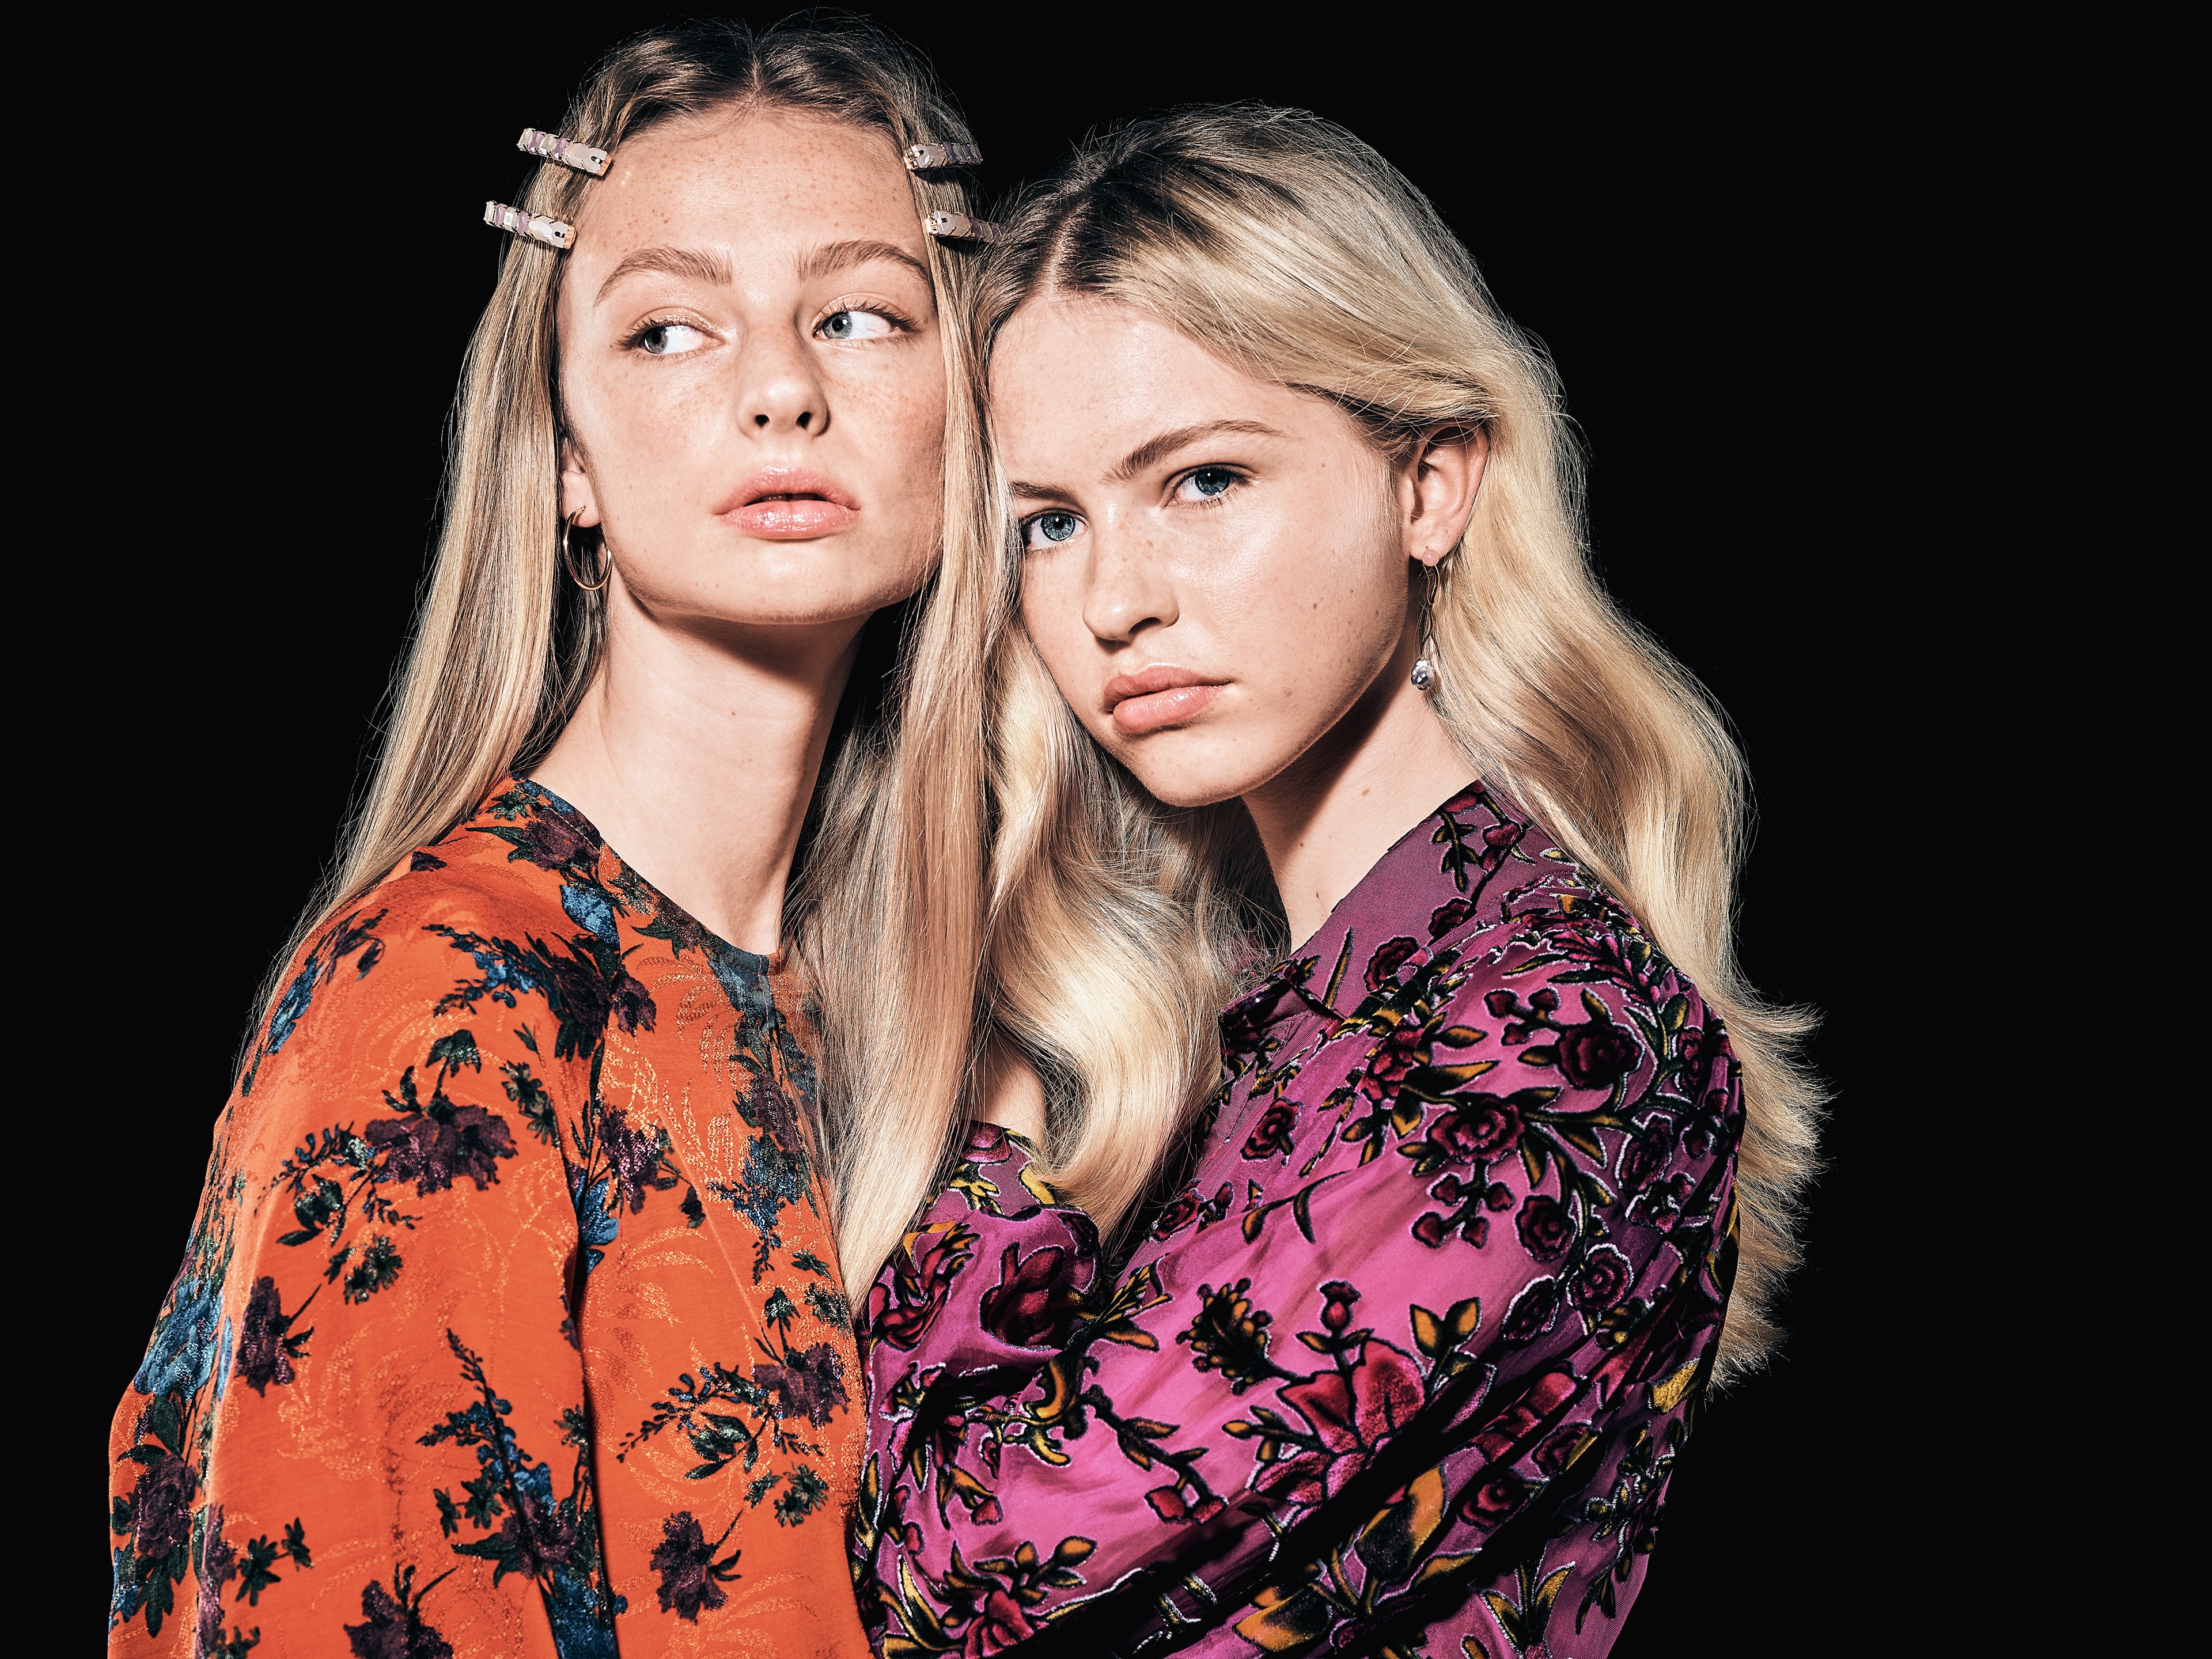
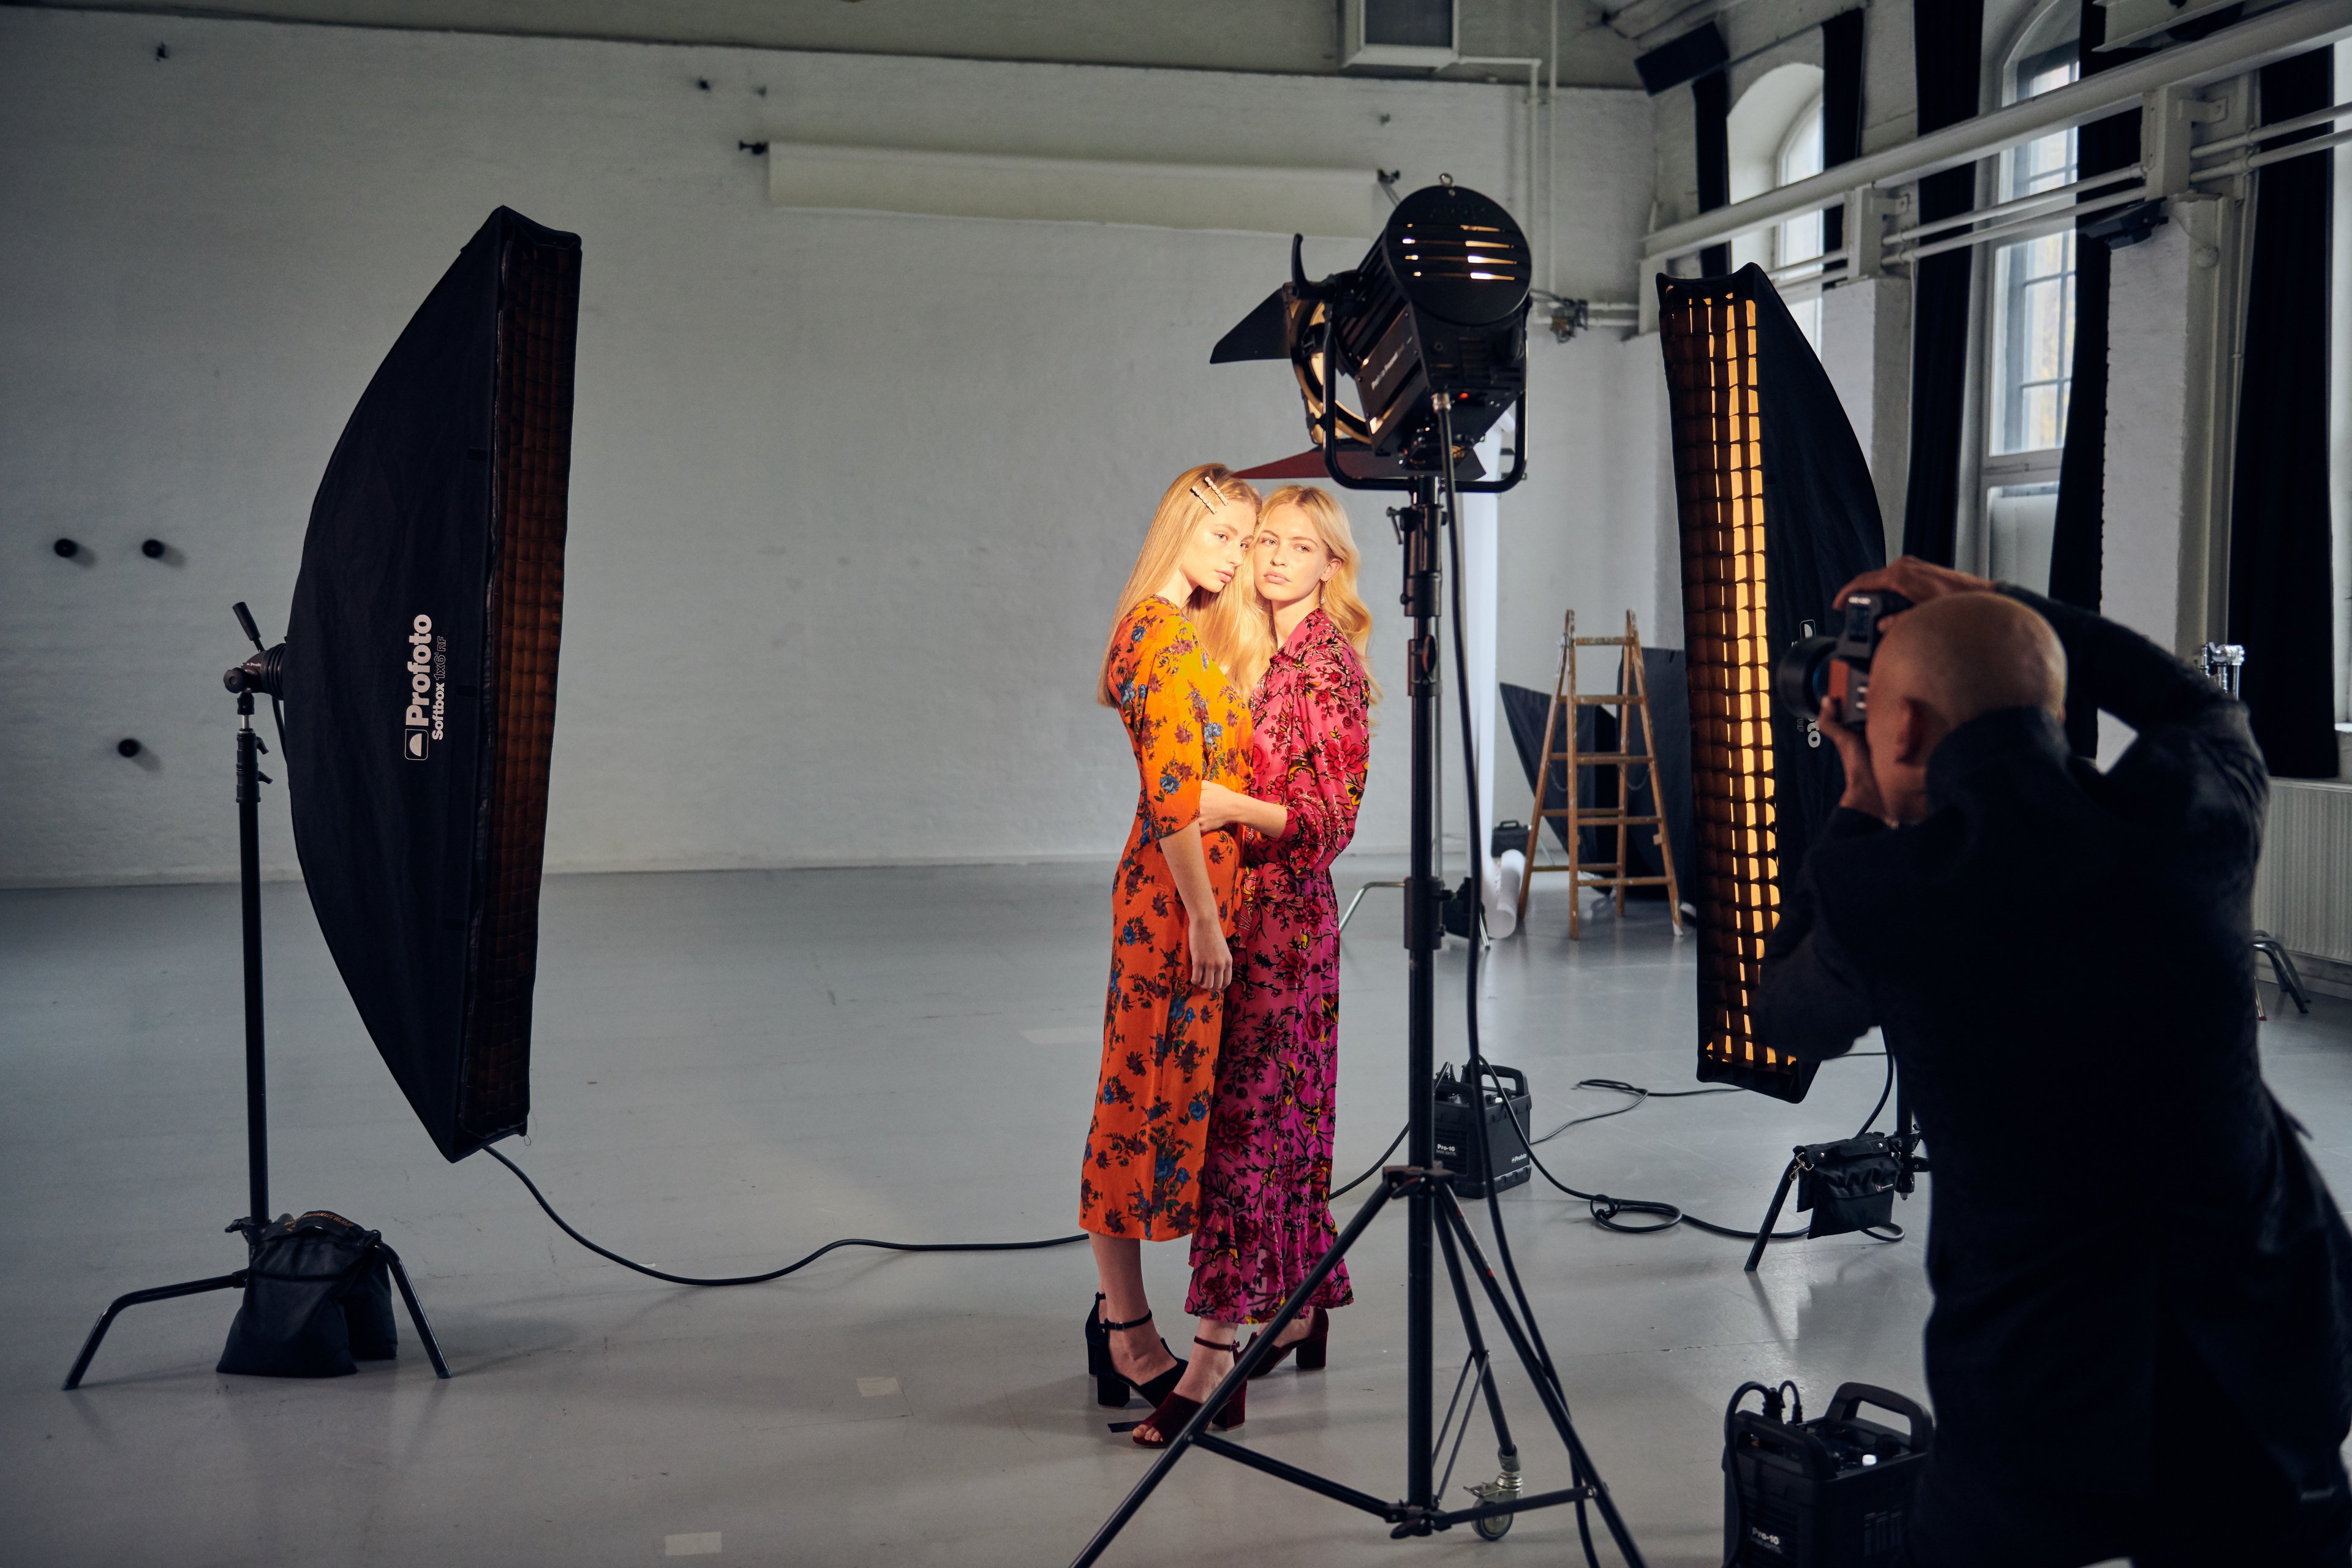
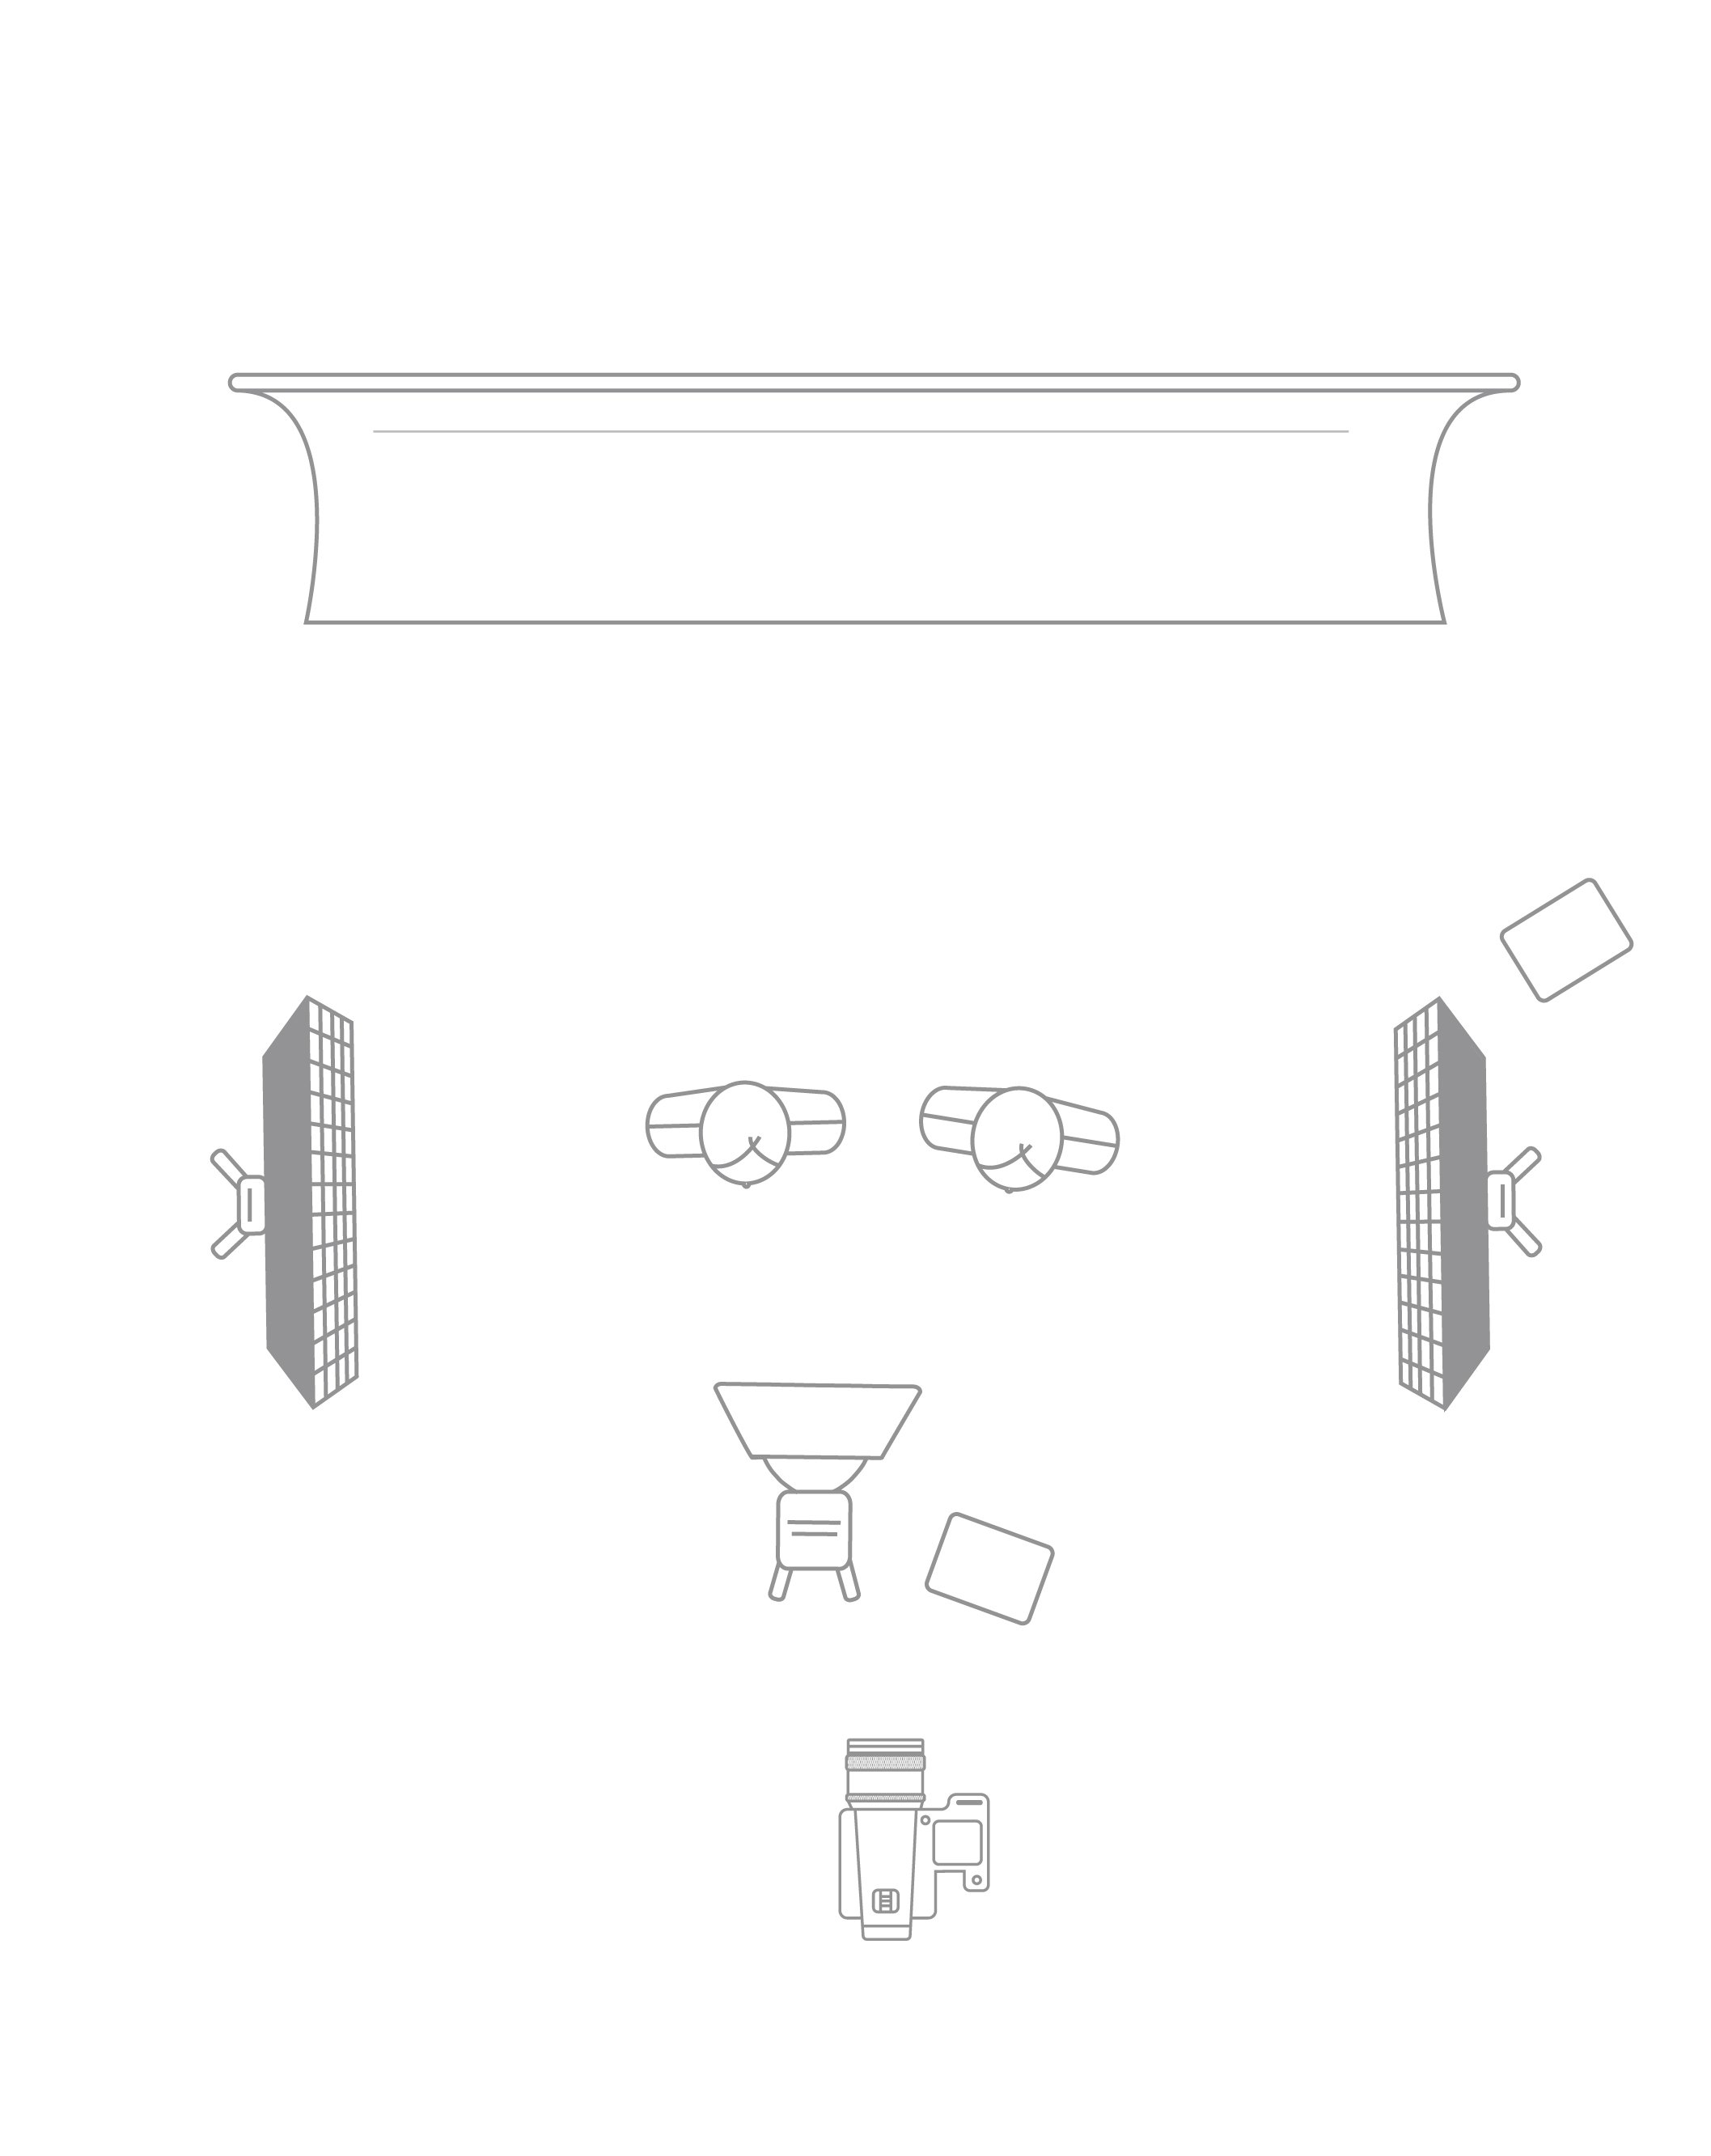
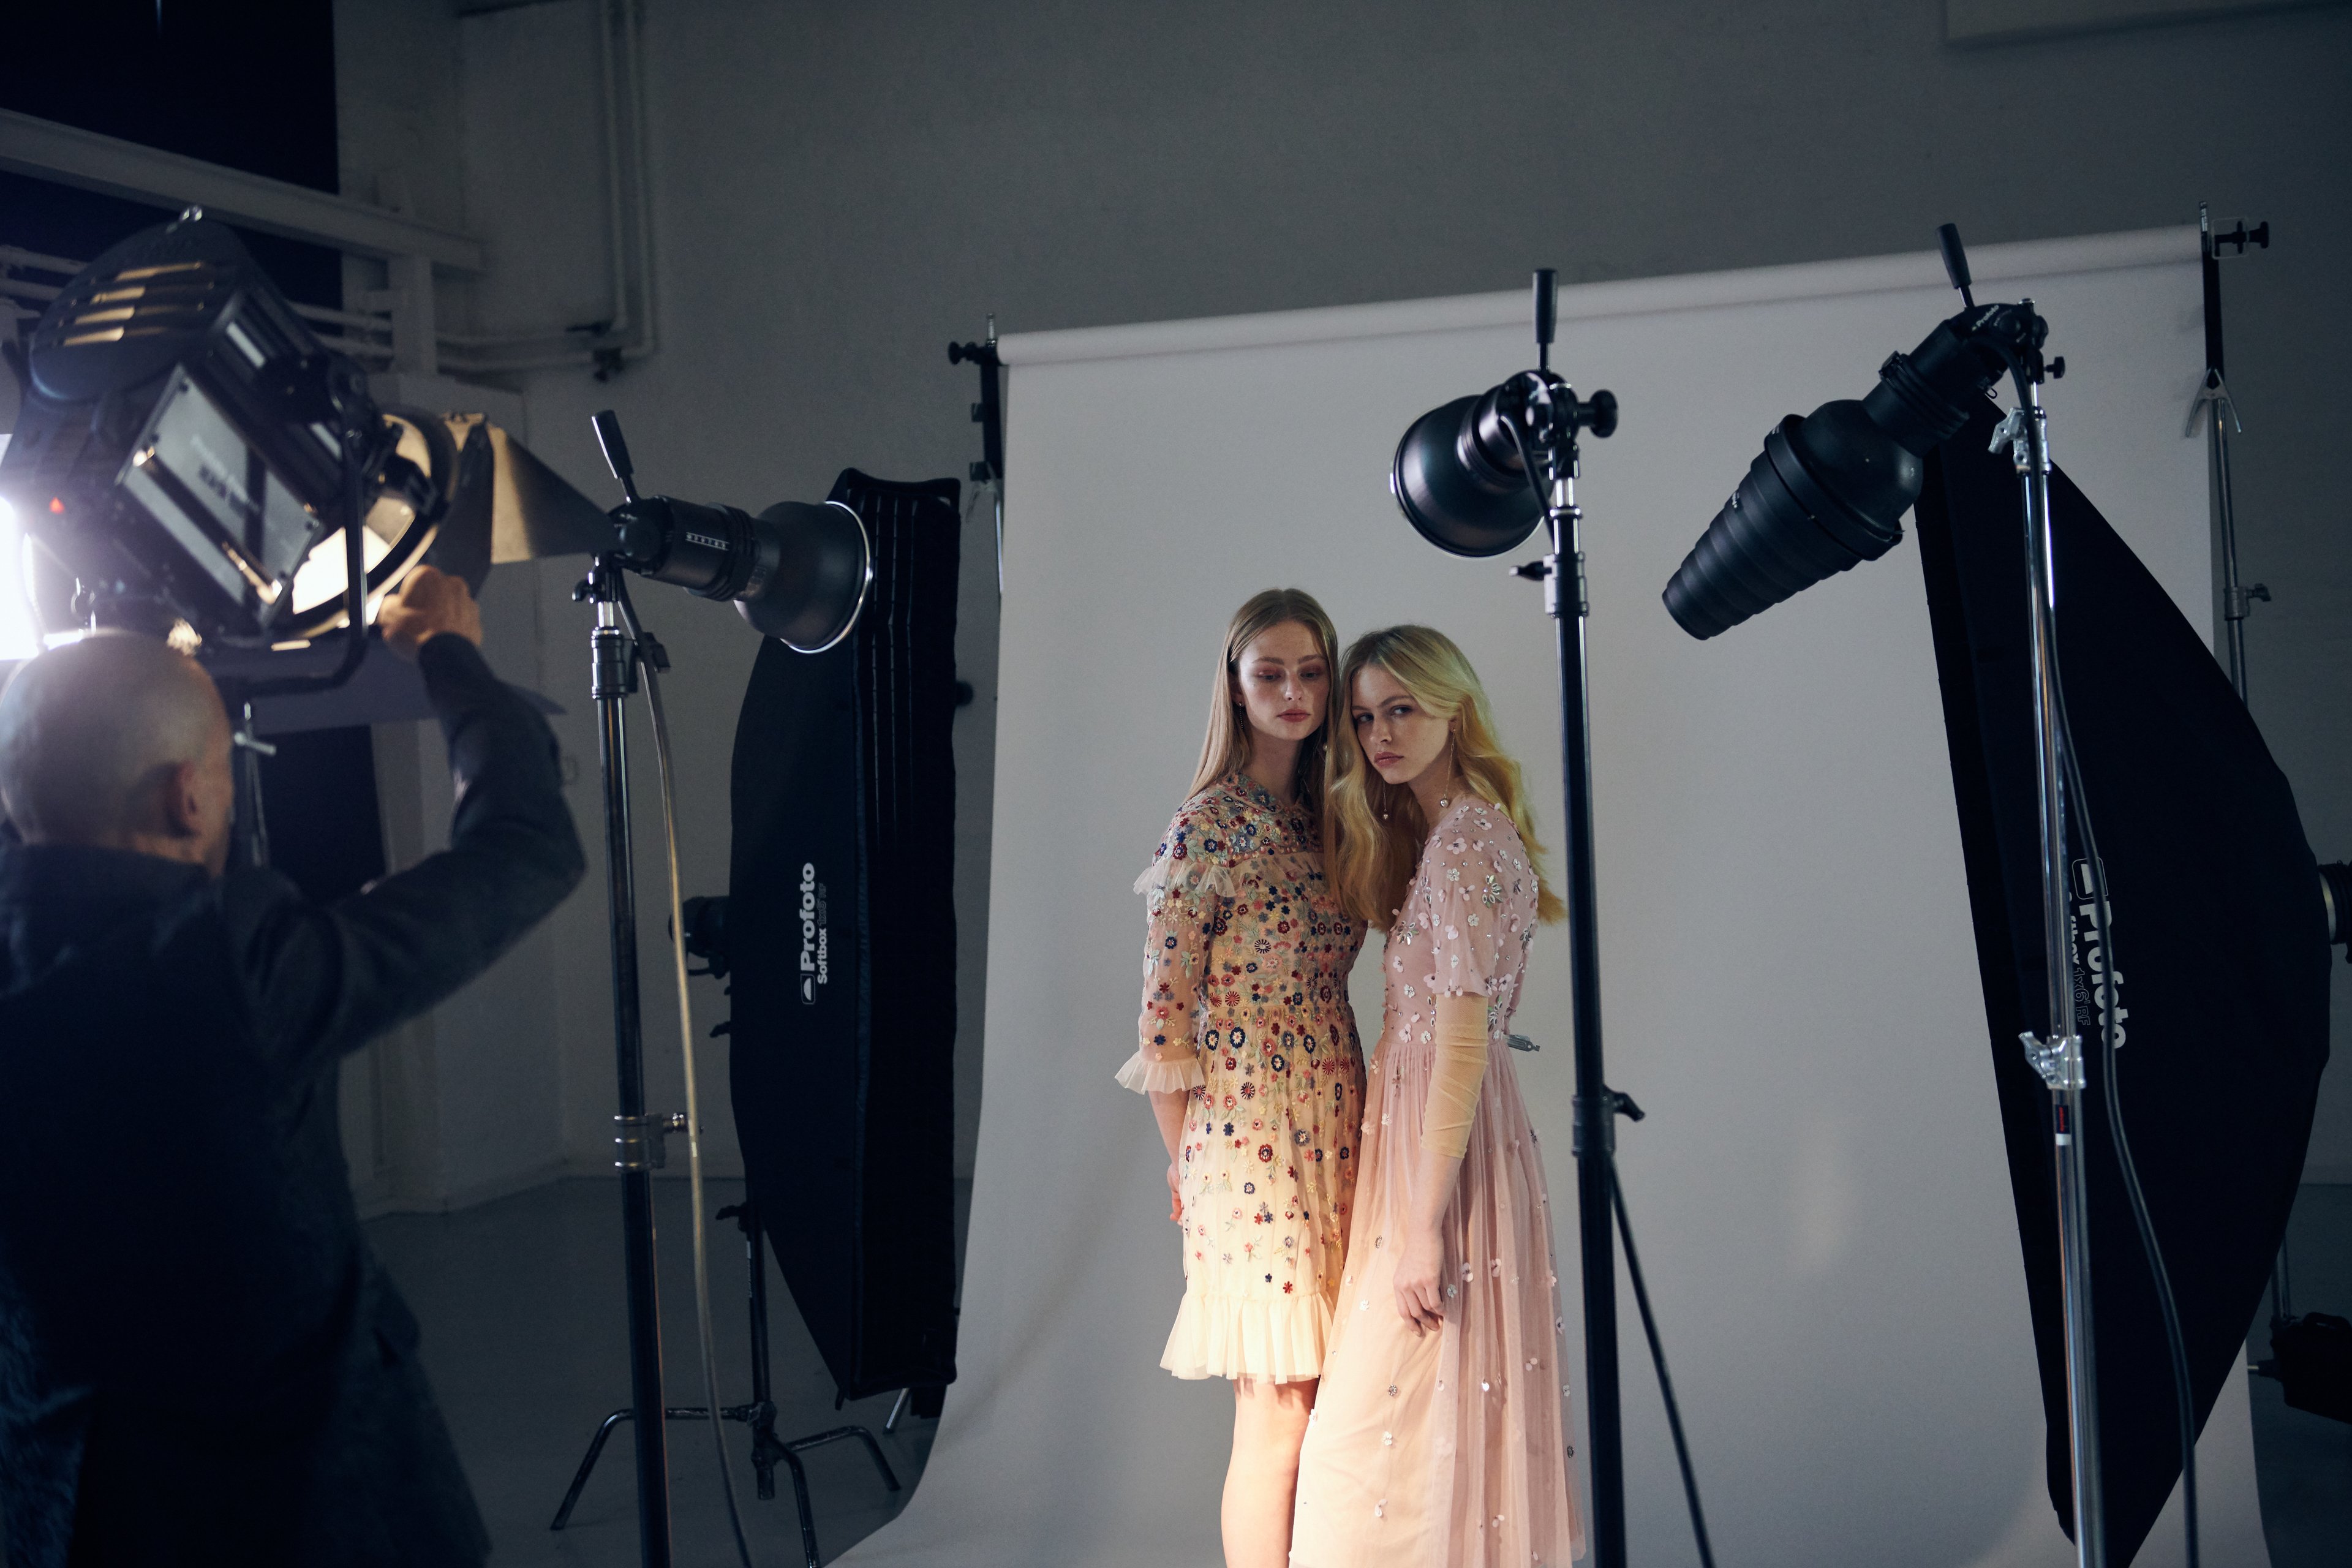
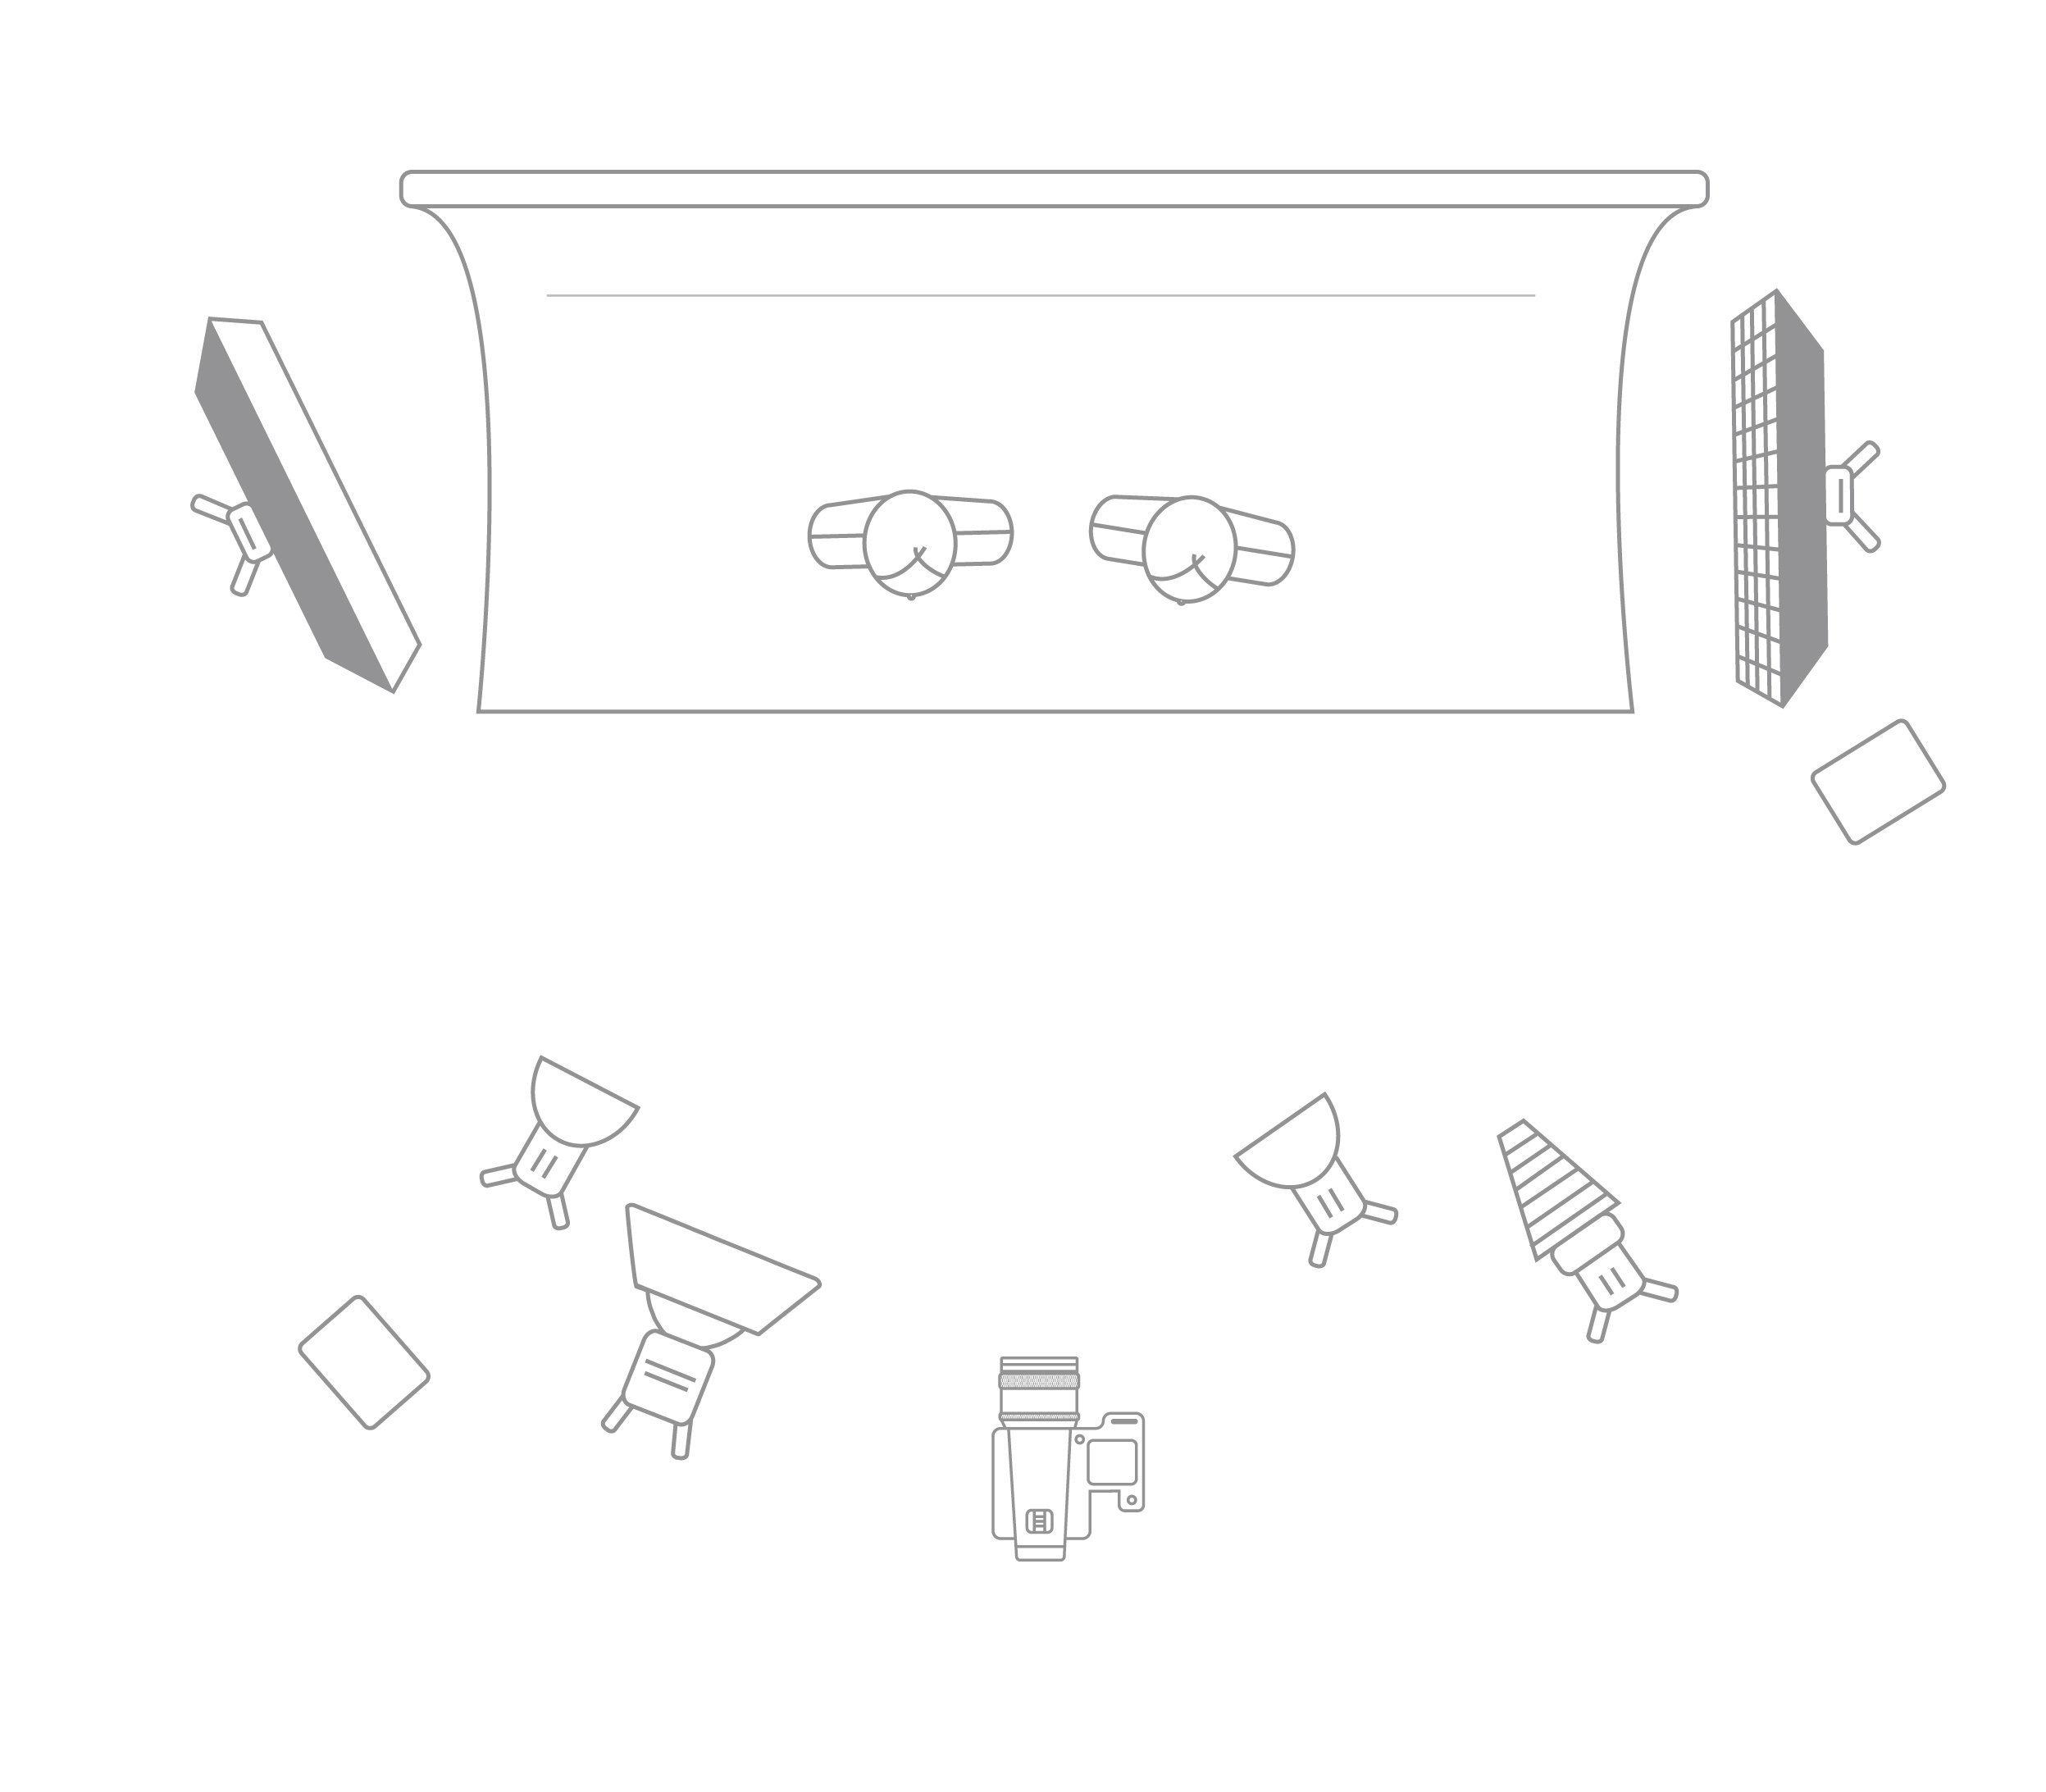
"In this picture I used a hard light on the models to create more drama and an edgier picture. I used a Fresnel Spot as my key light and I lit the sides of the models with soft light with the RFi 1x6 Softboxes for more softness on the hair and back", Andrea explains.
“Get to know the light. Don’t eliminate anything when it comes to light.”
Dodge and Burn in real life – with multiple light
This type of multiple light set-up was invented when Andrea wanted to create a good dramatic still life picture, but with models. The inspiration came both from intricate still life lighting as well as cinematography lighting techniques. “I find this type of lighting very efficient when I want to create something luxurious, with precise lighting and with enough drama to really “pull” the viewer into the image. This is what I consider painting with light. Some say it is like doing “dodge and burn” in real life, on the subject. I like that analogy since I believe in doing as much as possible with light and in camera and as little as possible in post-production.”
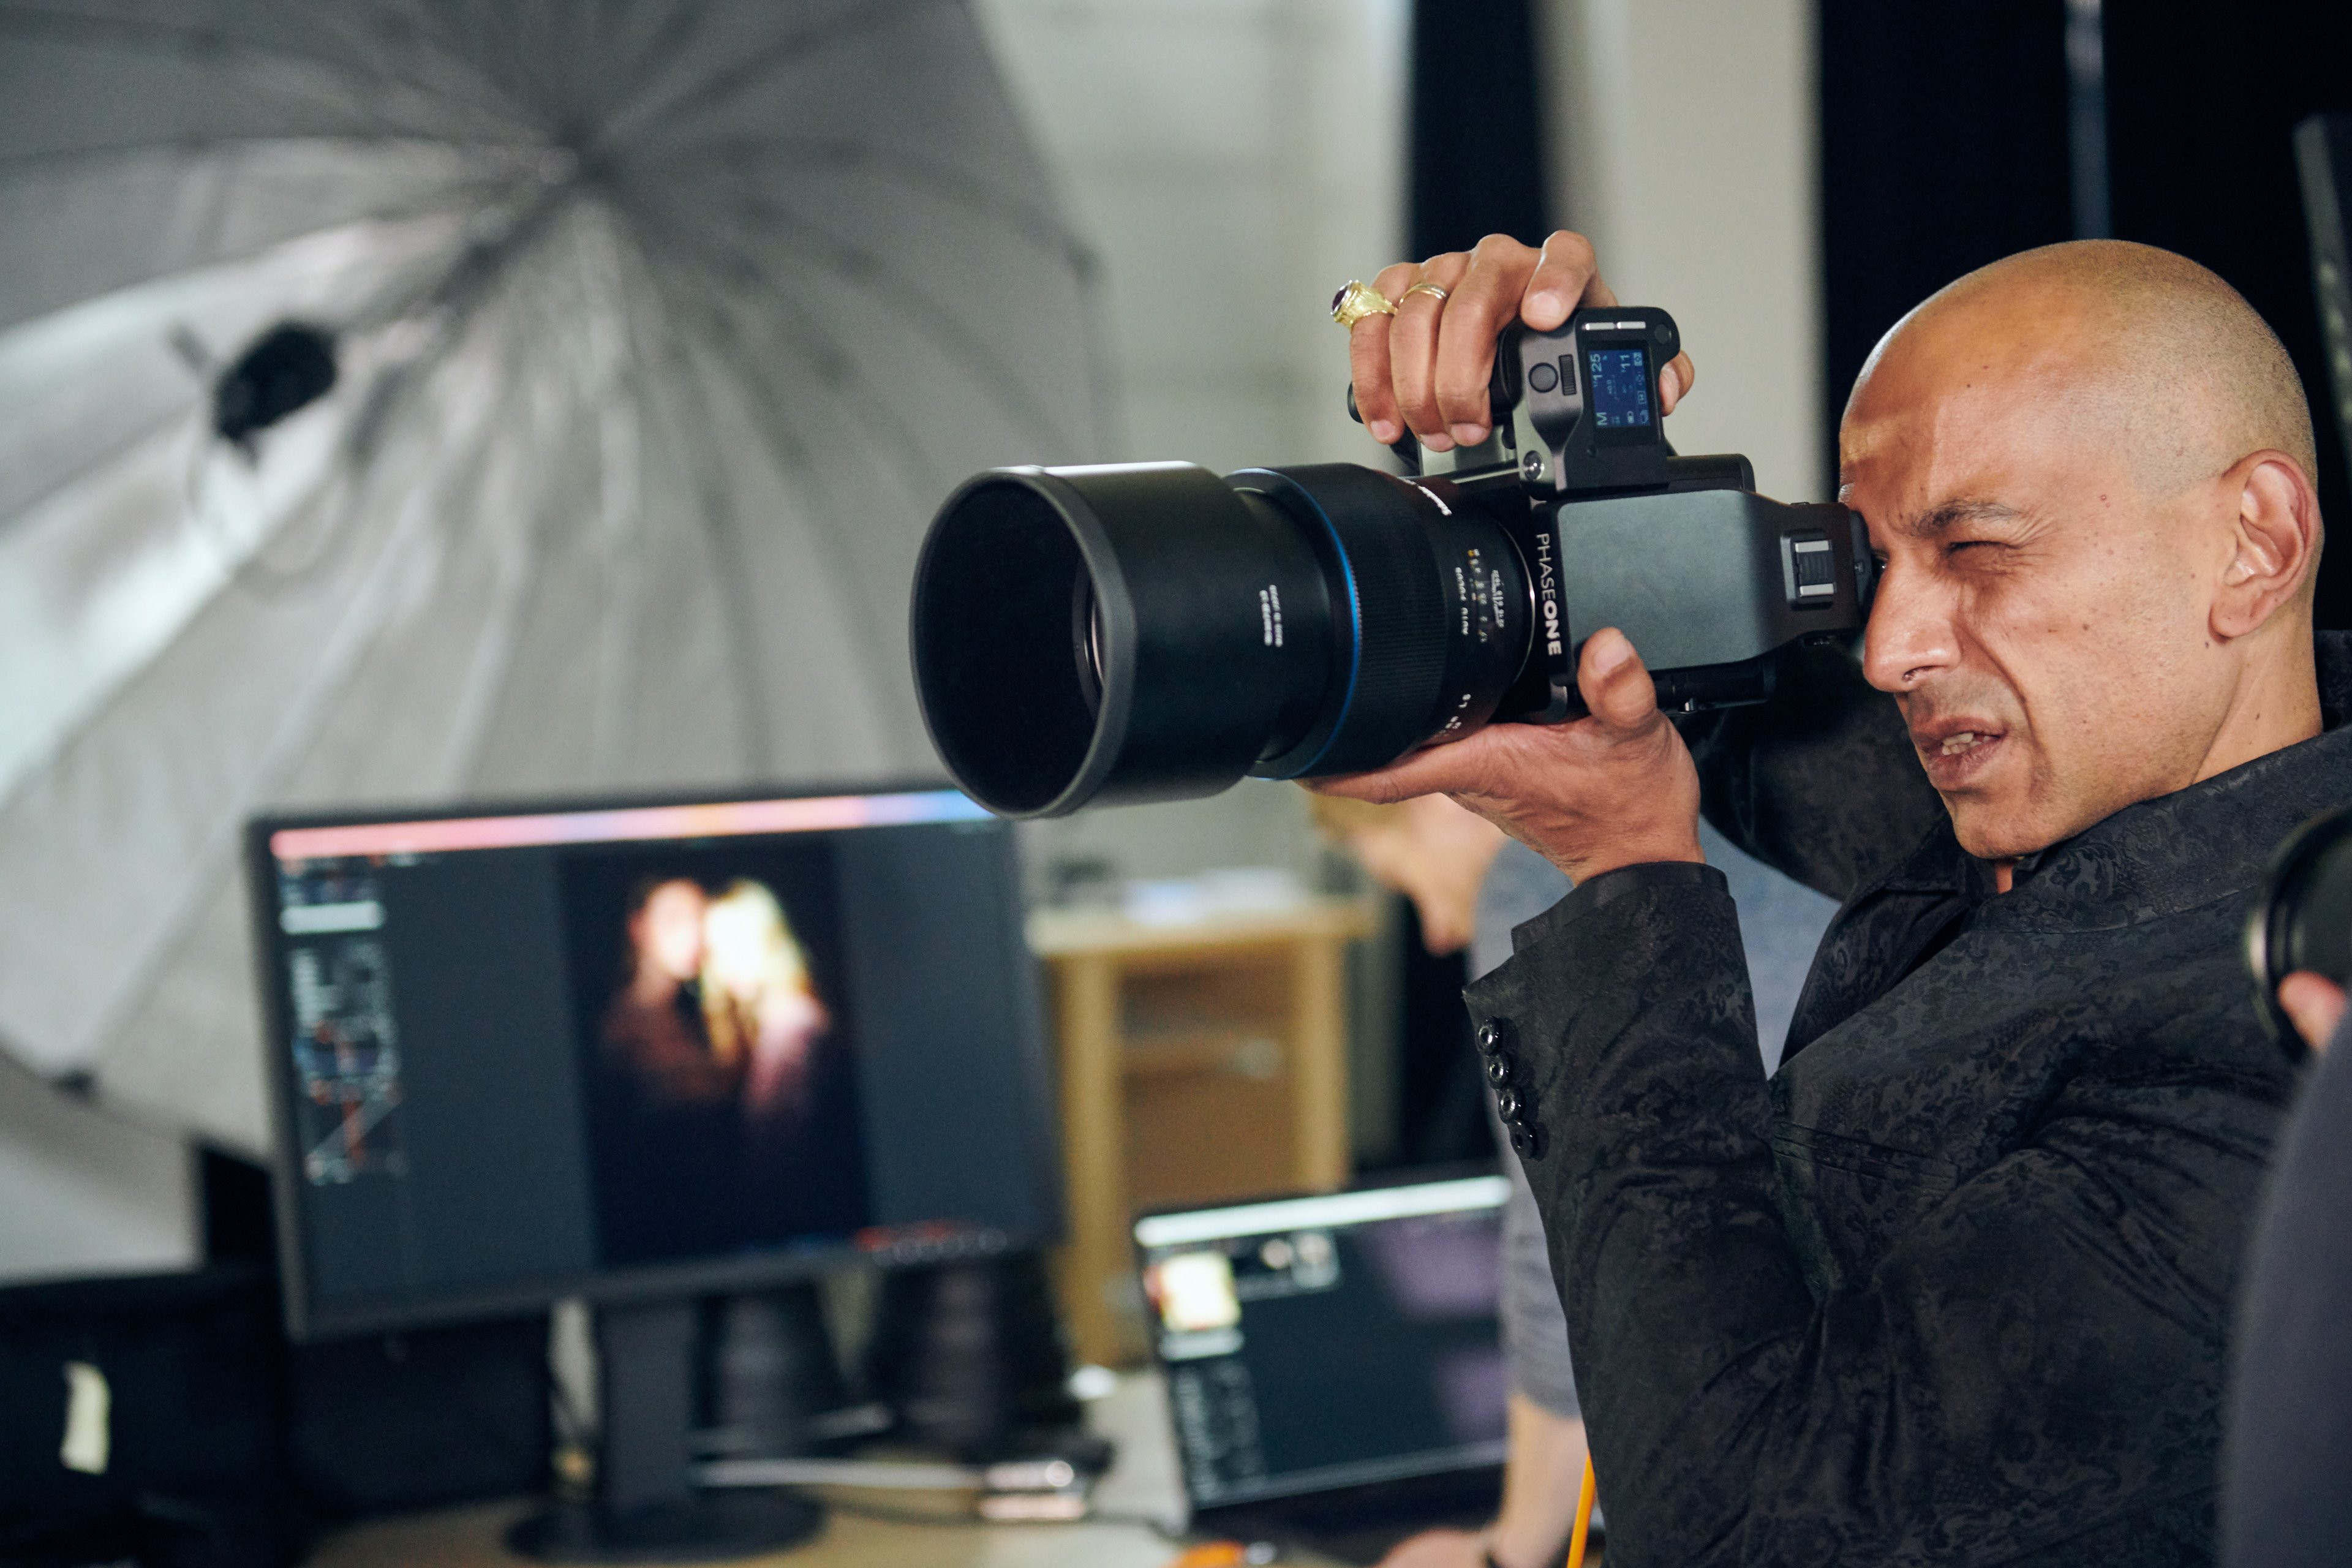
With the multiple light set-up Andrea starts with a black canvas. This means he keeps everything in the image black, until he casts light in a very precise way on the elements he wants to present. “I choose the light shaping tools for each element I want to show depending on how I want to highlight that particular element. Then I will either over-expose or under-expose each light source in the picture, depending on desired effect. Like a painter using different pressure on the paintbrushes. After all, light shaping tools are a photographer’s “light painting brushes”.
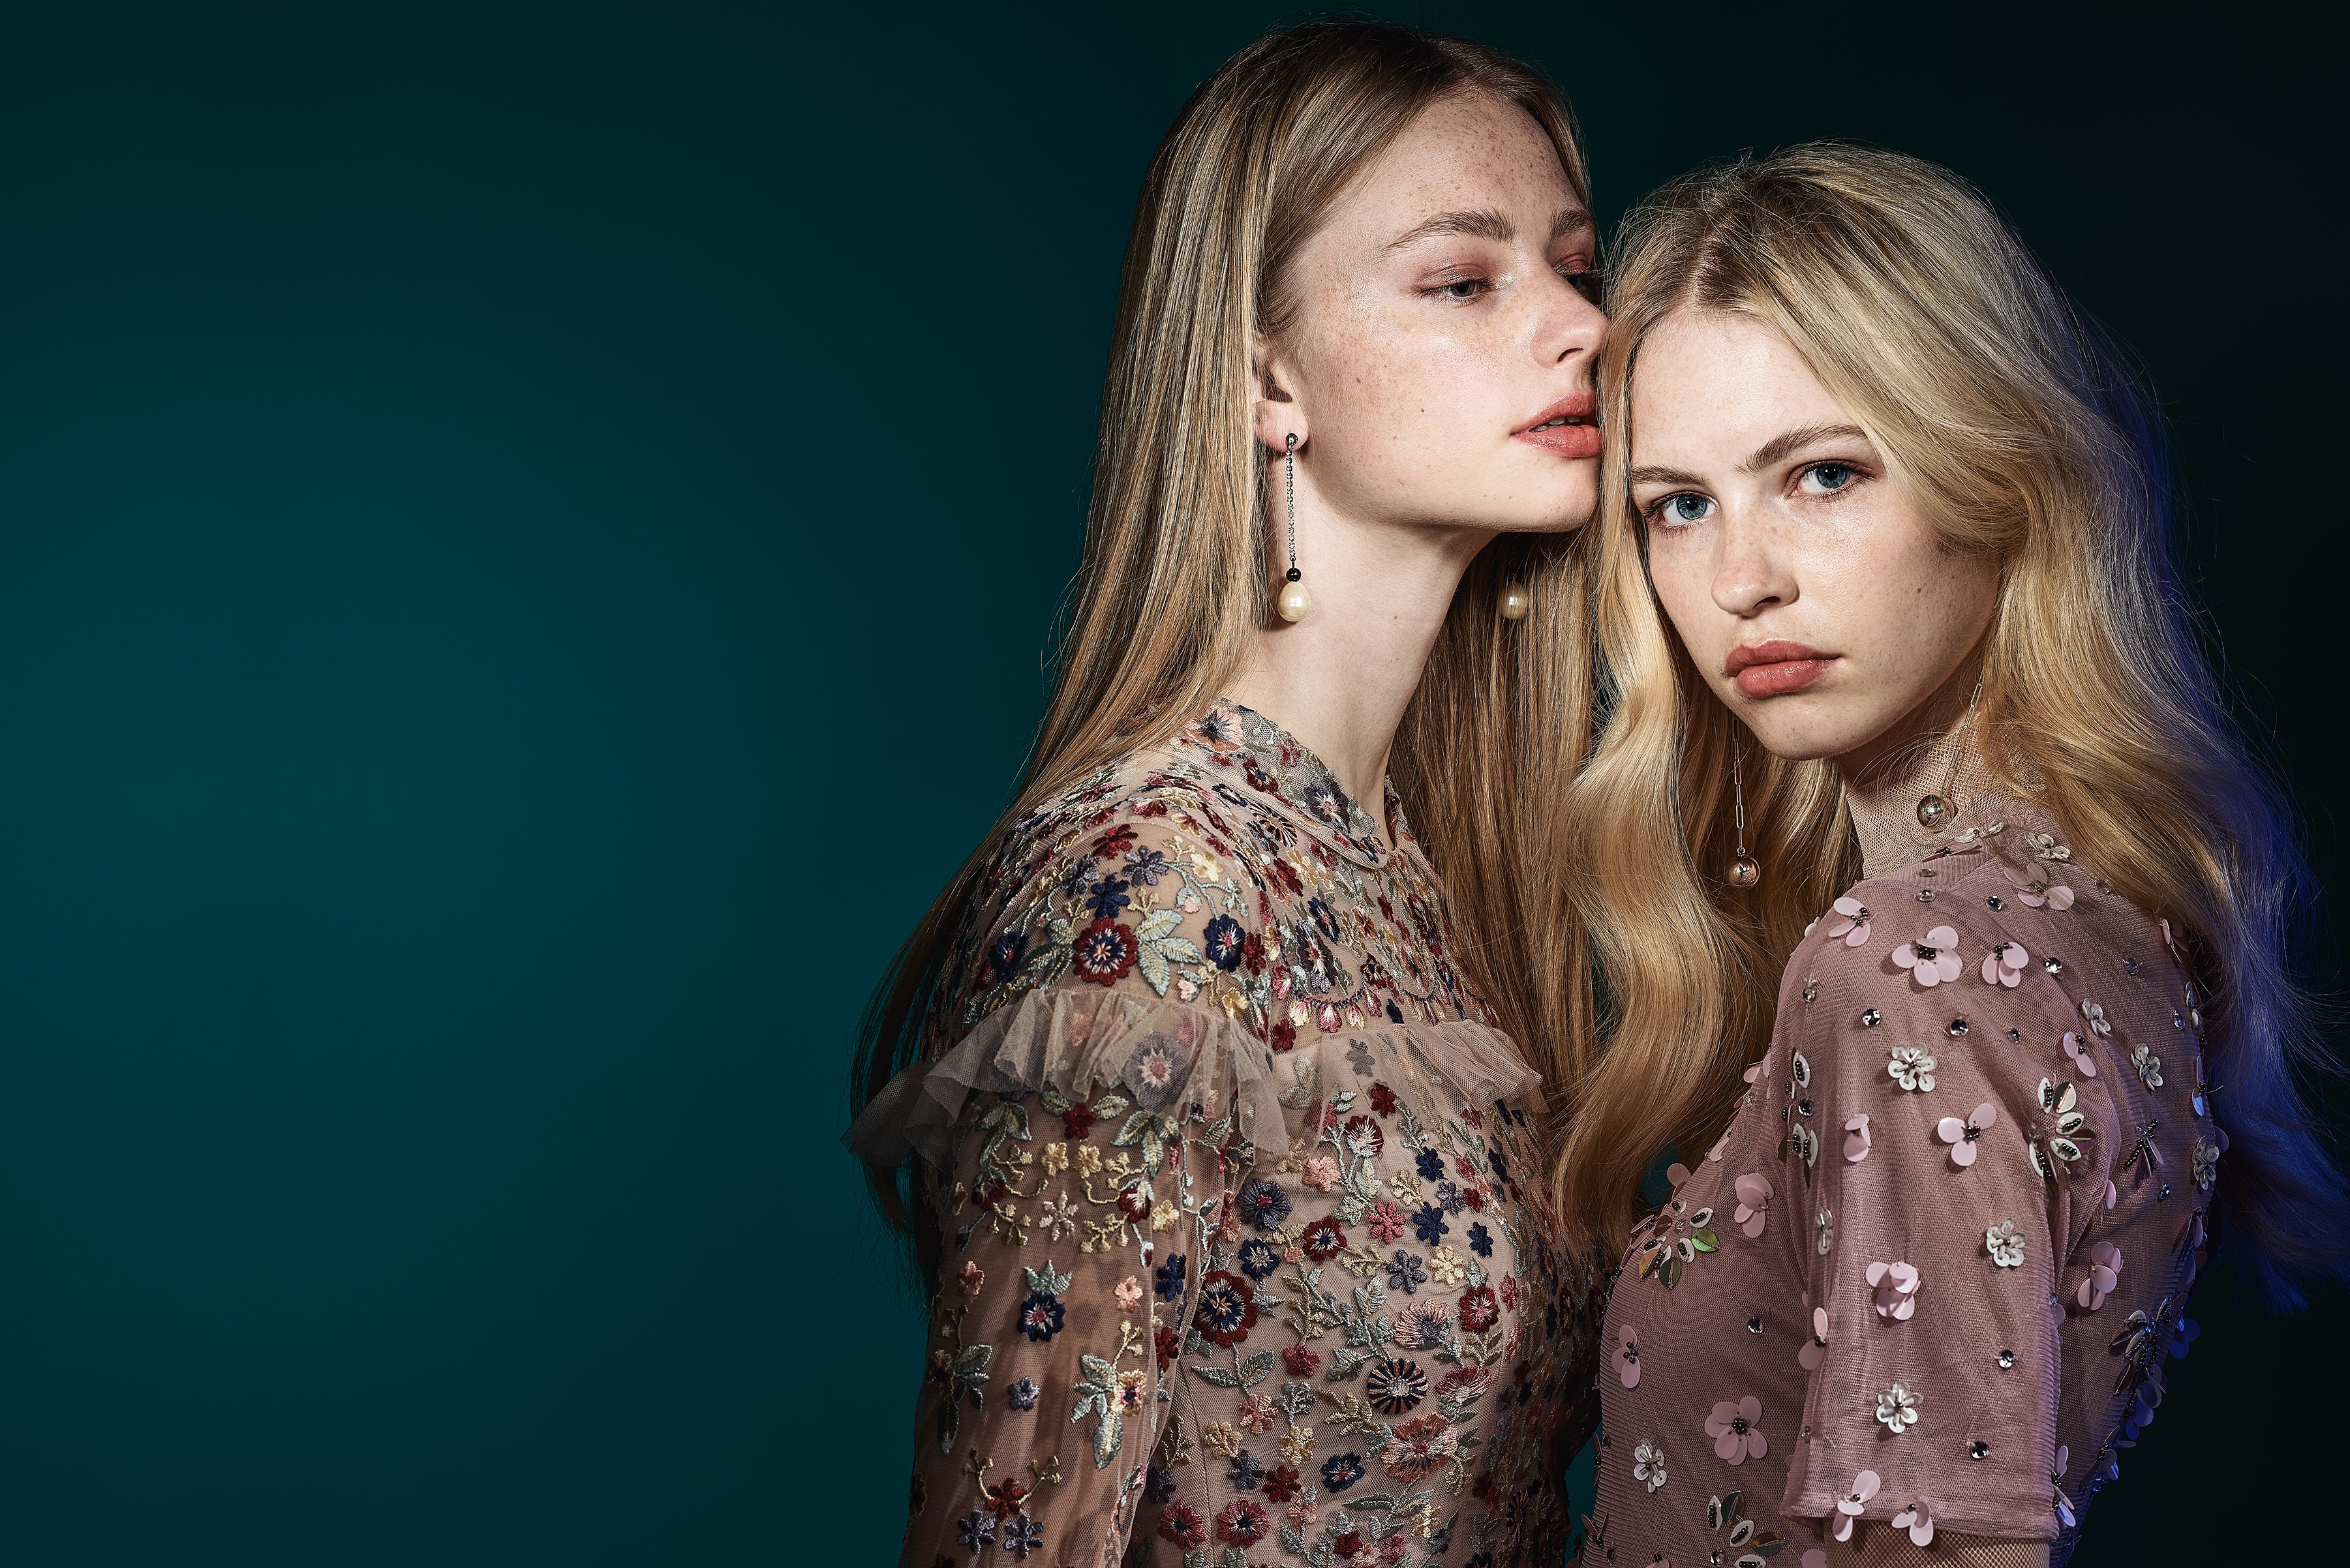
"This image was created with one of my more subtle multiple light set-ups. Narrow and focused light sources highlight different elements of the picture at various powers and distances. All Light Shaping Tools create their unique effects at the same time as they blend into each-other harmoniously."
"On the two models I only used hard light, mainly Zoom Reflectors with grids and snoots. The models’ faces were lit with two different light shaping tools, the model on the left of the picture had a Zoom Reflector with a 10° grid wile the model’s face on the right of the picture was lit with a Fresnel Spot. The goal was to create two different skin textures on the models."
Use multiple lights when you:
- Want to truly “paint with light”.
- Want to create many different light effects in the same shot.
- Want to treat each element of an image individually.
Have fun with all light shaping tools
When I ask Andrea what he would never use when it comes to lighting he hesitates for a moment. Then he says with certainty:
“No shoot is like the next. I never plan ahead exactly what lighting to use – or not to use. I’d rather choose something unexpected than to go into the assumption that I should use a certain light. Since I know my Profoto products and what they are capable of so well, I’m certain they will bring me great results – as long as I’m using my imagination and creativity. It is important to me not to limit my work to a certain style or a technique – because the lighting possibilities are limitless! I’m very glad that I chose to create my life by doing what I truly love. I am basically making money with what many would just call a hobby, where I can play around, experiment and try new things. I can honestly say I’m having fun – every day.”
Facts about Andrea Belluso
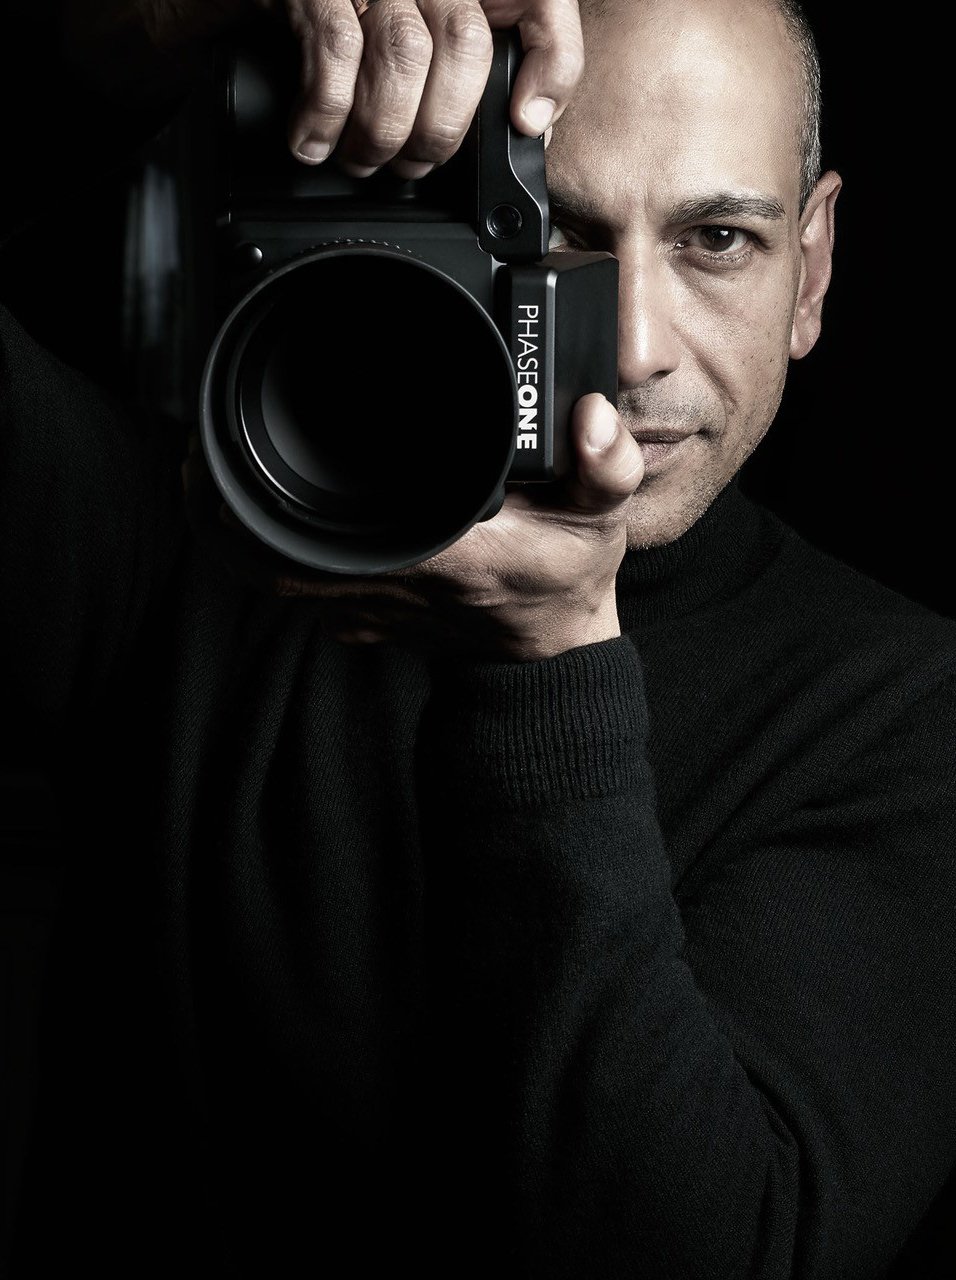
Type of photography: Fashion and Beauty as specialties. Also shooting Automotive, Food, Portraits and Fine Art.
Been a photographer since: 1981
Using light shaping tools from Profoto since: 1991
If you could only buy one Profoto light and one light shaping tool which ones would you choose?: I would probably buy a Profoto B10 Plus and an Umbrella Deep XL White as an all-round set-up, and also rent a D2, a B1X, a Pro-10 and a C1 and all the available Light Shaping Tools.