How to photograph kidswear flat lay
Styling childrenswear flat lay or on tabletop is a great way to quickly show off kids' clothing in a number of creative ways without relying on finding the right size mannequin - or even live model. In this fashion product photography tutorial, we will show how you can photograph and style a brightly themed collage.
Shooting kidswear on tabletop and flat lay is preferable to using a mannequin. Mannequins in kids' sizes are quite hard to come by and, although we do offer a small number of child-sized invisible/ghost mannequins, the proportions don’t always match the size of your garment sample - especially when you have a variety of ages and sizes to shoot.
Another benefit of using flat lay photography for children’s clothes is the ability to use it for showing off multiple products in one shot and telling a story. Think in the vein of Instagram and Pinterest-style collages. The garments can be styled in all sorts of creative ways and superimposed onto any background of your choosing to create a more inspirational look for your brand.
To learn how to photograph and style children's clothes and kidswear for your online fashion store, read on. But first, let’s run through the essential tools you’ll need to get prepared:
The equipment you need to photograph your kidswear flat lay
- Camera - Any camera will suffice but a Canon EOS 5D Mk III is recommended as the industry-standard for professional product photography
- Studio lighting - A source of continuous cool LED lamps are recommended for lighting to ensure exposure, shadows and contrast are kept consistent
- Your garments - Effective kids' flat lay photography is best done with an outfit or selection of matched garments
- A tabletop - A white tabletop surface is recommended, although you can always superimpose a background in post-production or get creative with your choice of surface
- Tissue paper - Tissue or crepe paper is essential in giving depth when styling garments flat lay
1. Create a story using a collage to show multiple products in one shot
When it comes to kidswear, the buying motivations of parents tend to be focused on functionality - such as ‘What winter clothes should I purchase?’ Your photography should seek out these kinds of questions and answer them visually.
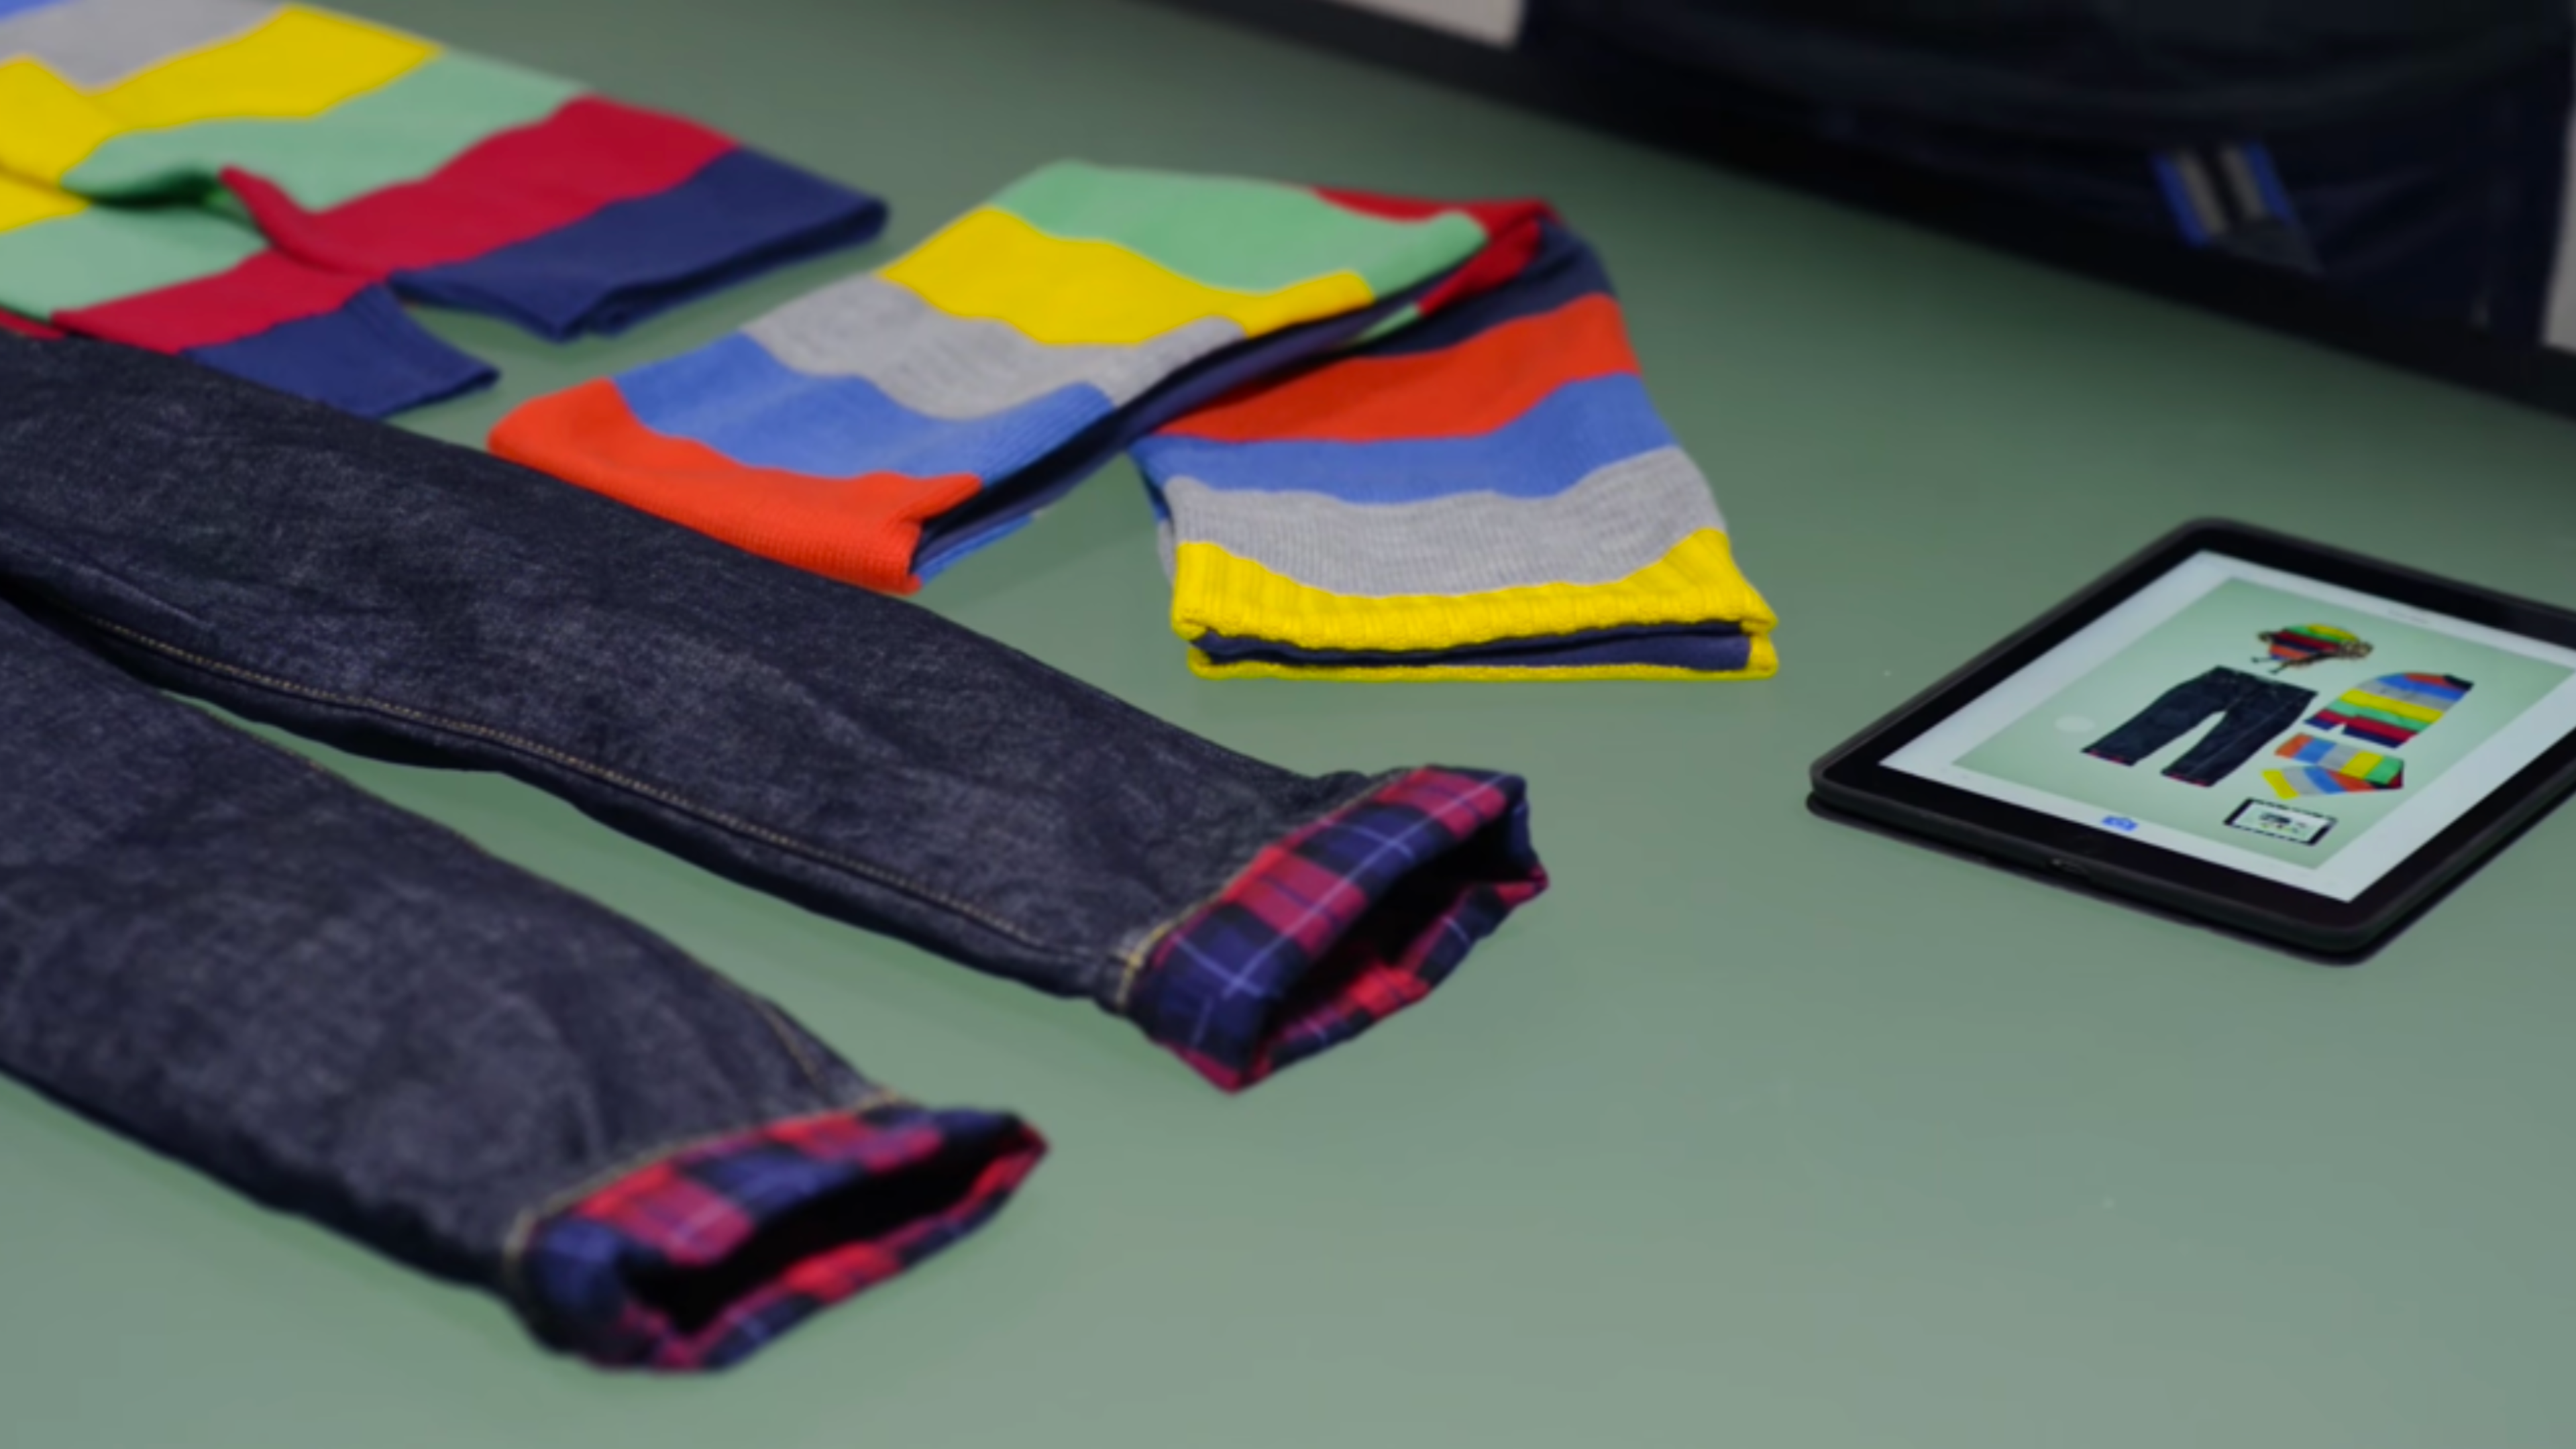
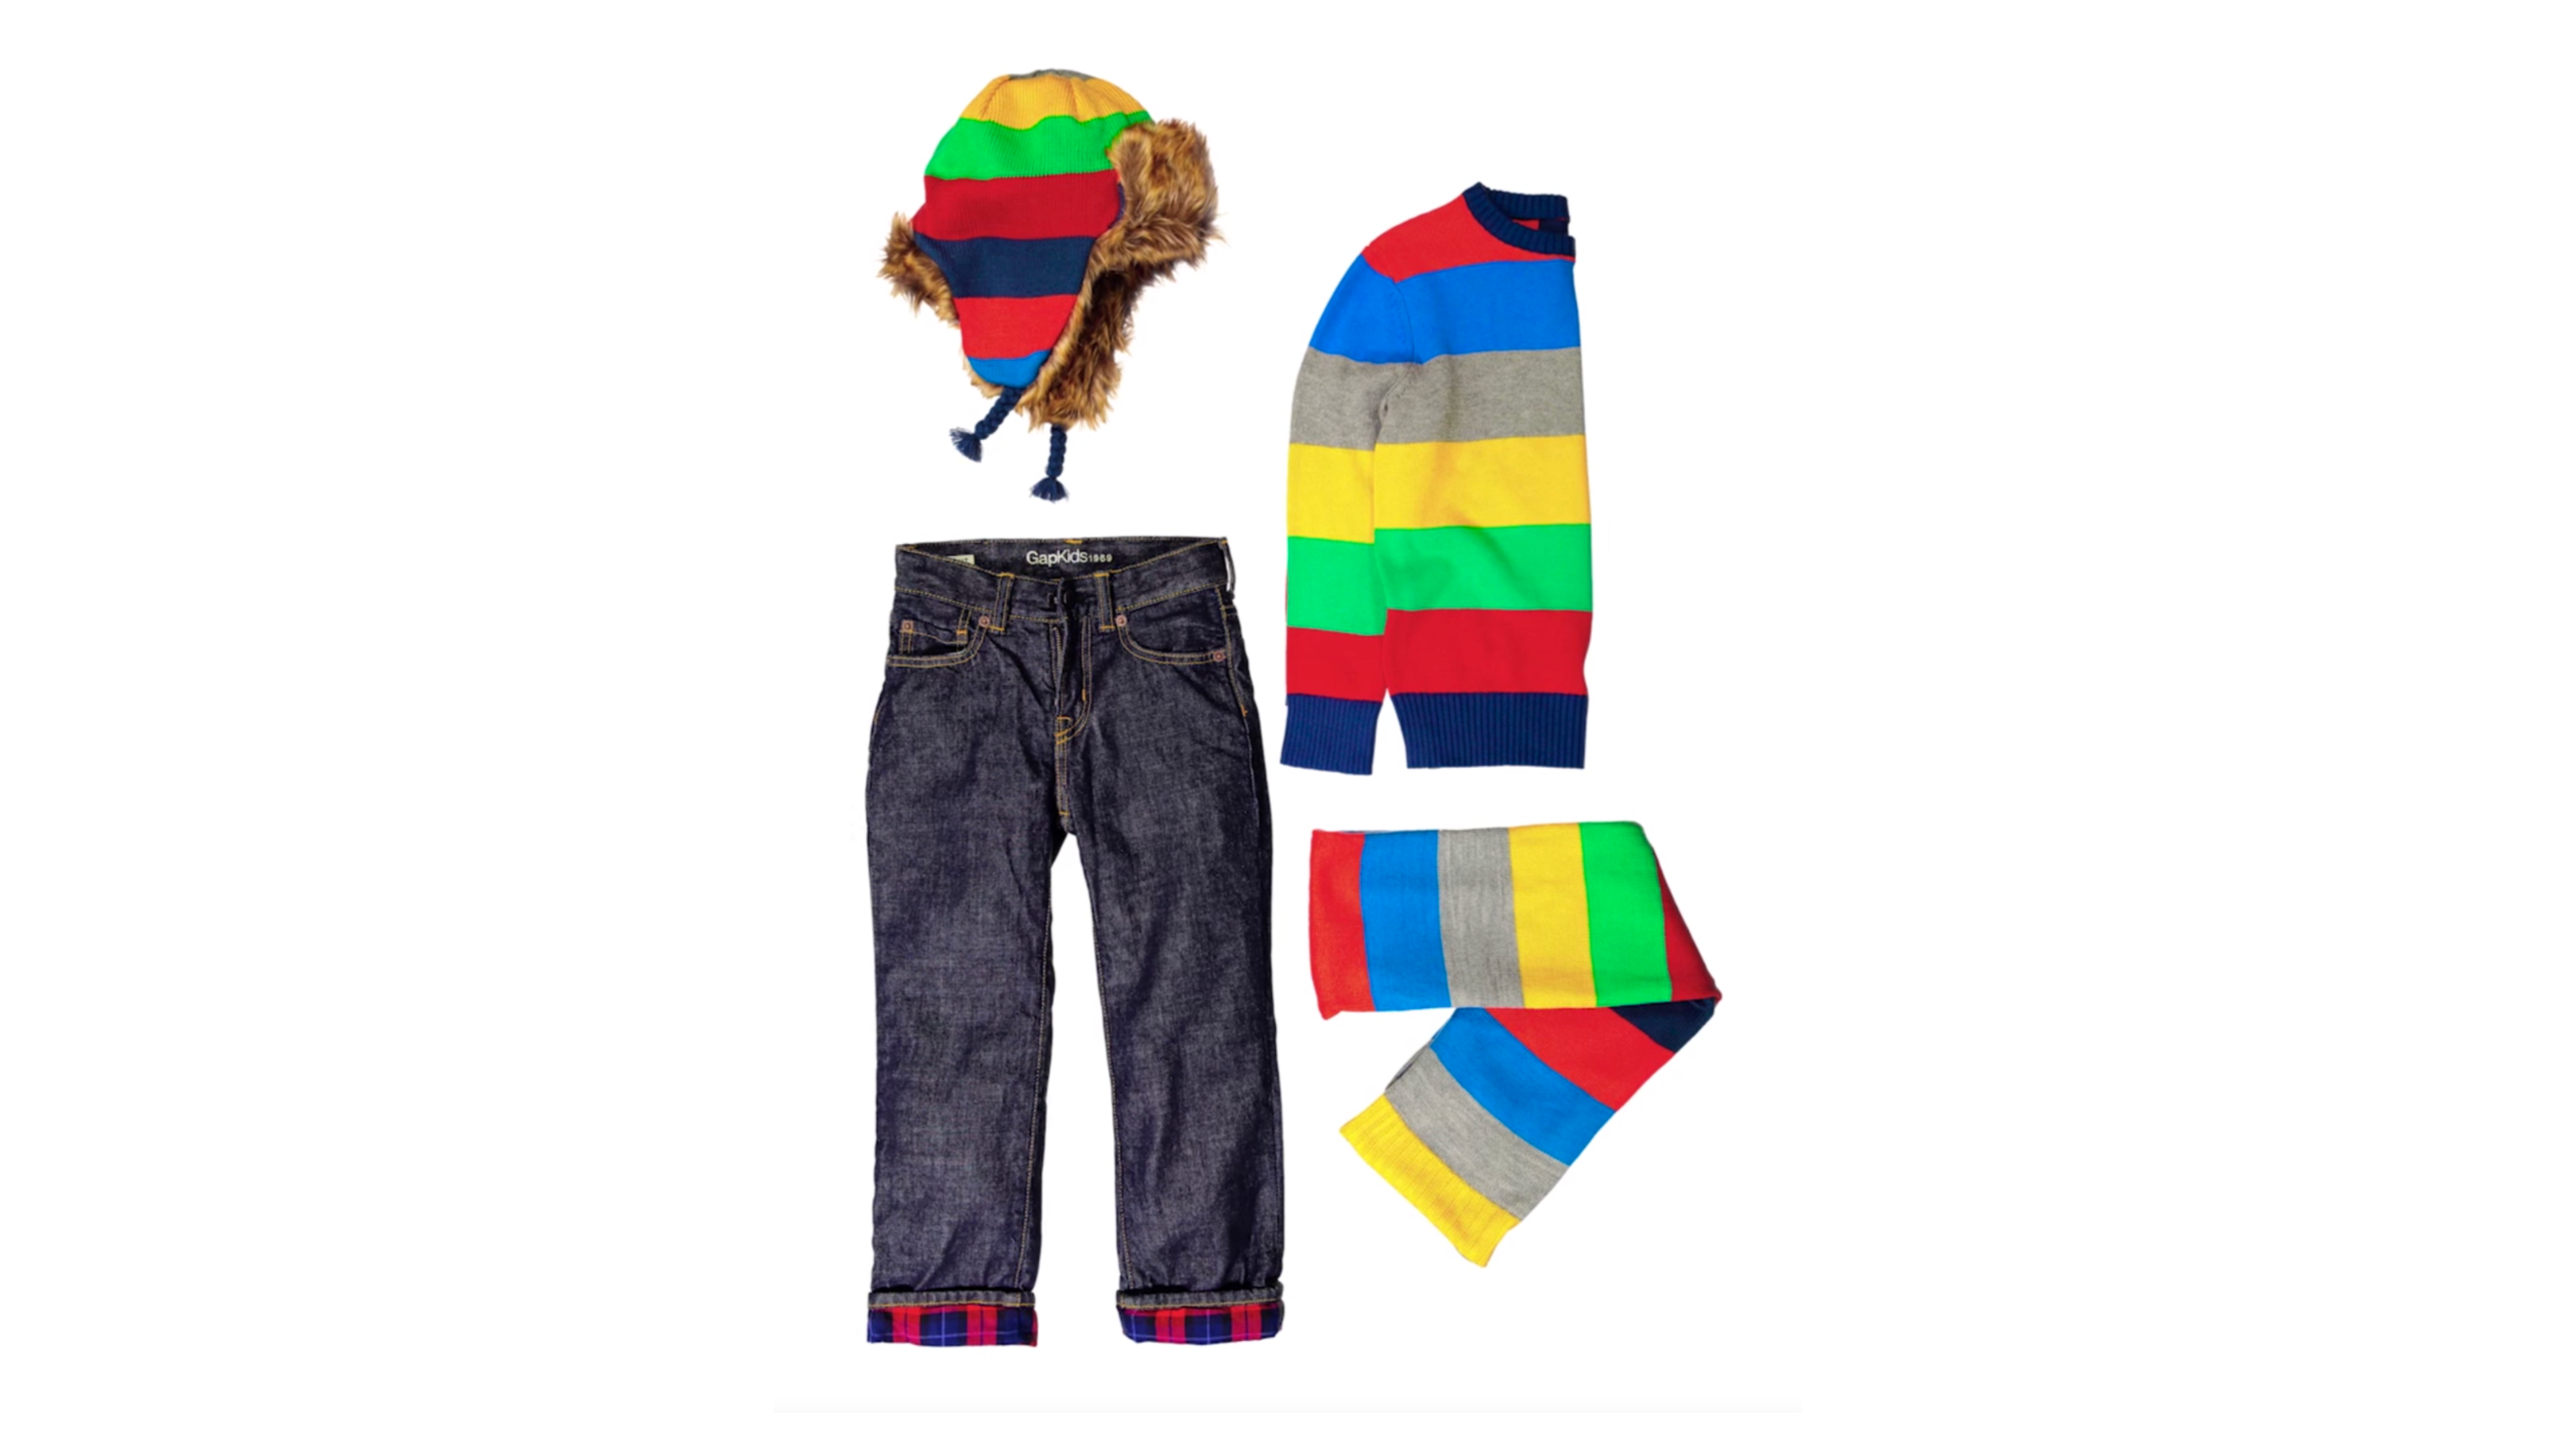
So it makes sense to create a flat lay collage where all of your products fit into a certain theme or use case. Use seasonality for inspiration - just as we have done in this example. A striped scarf, jumper, hat and jeans imparts a nice story to potential customers and it’s fairly quick and simple to put together.
2. Stuff and fill your garments for a 3D effect
A pitfall many product photographers and stylists fall afoul of when shooting flat lay or on tabletop is letting the garments appear flat and lifeless. Luckily, there’s a very simple trick to remedy this.
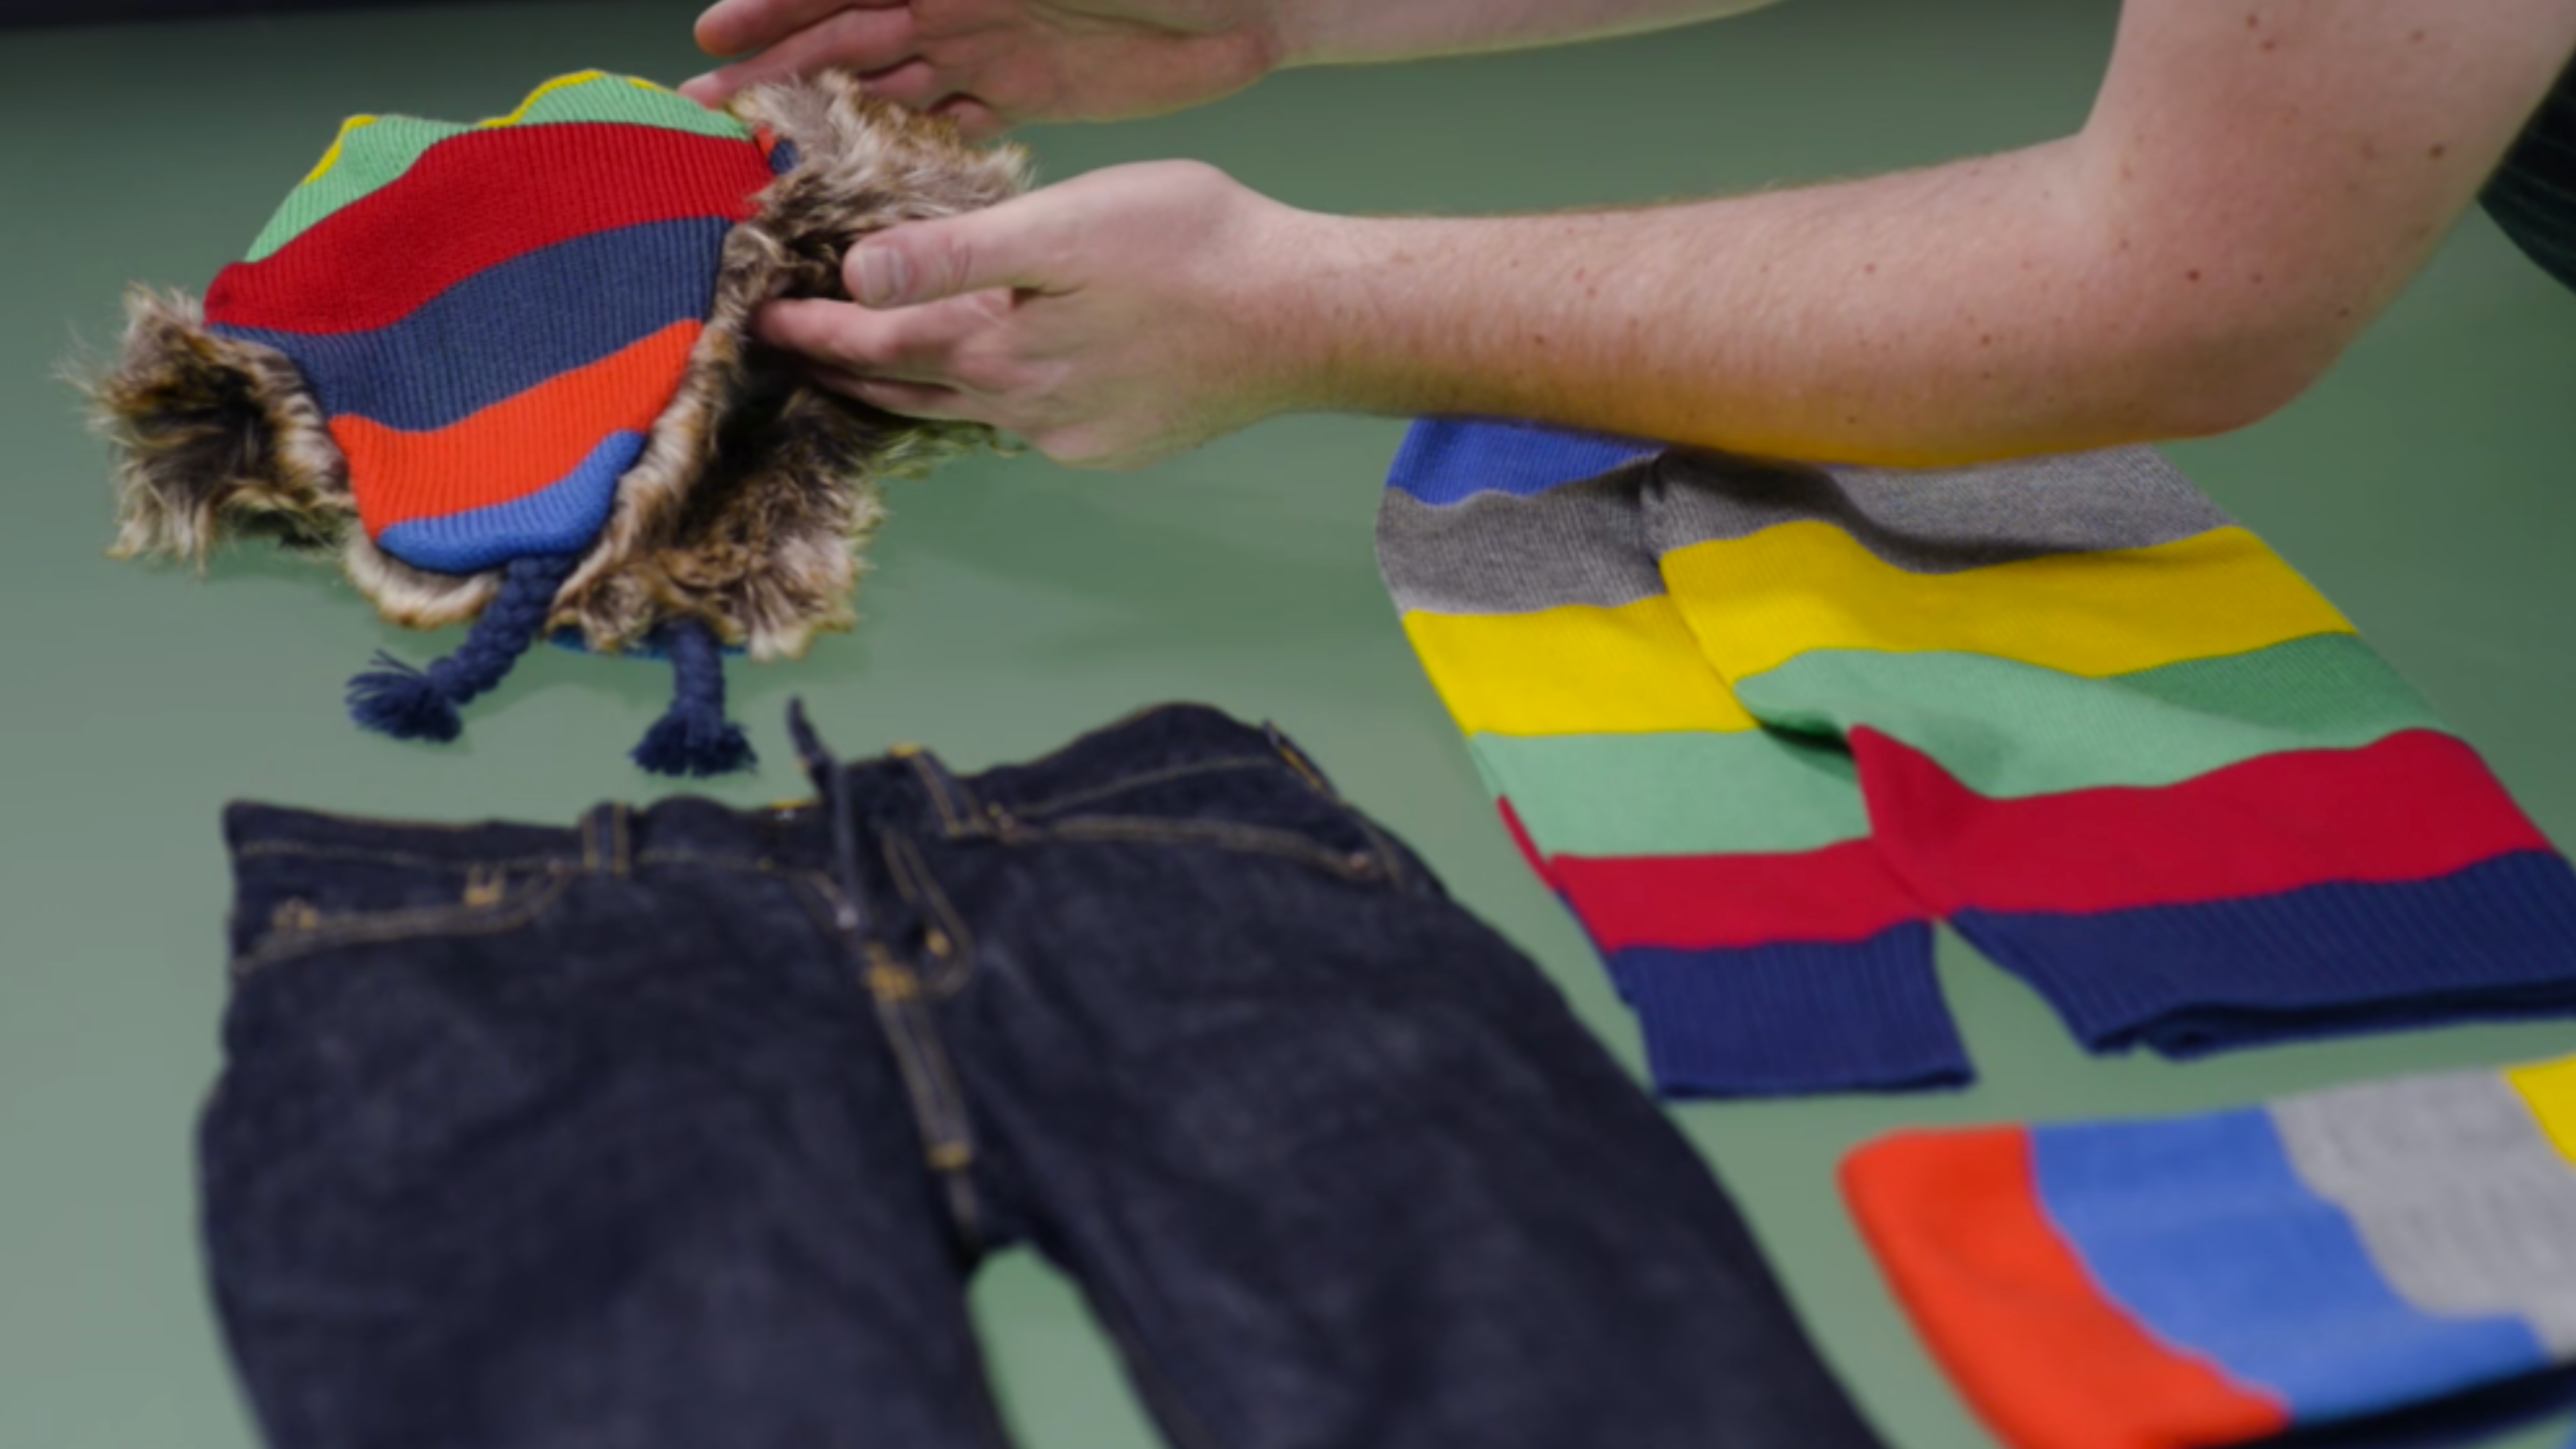
To give your children's clothes a more appealing, lived-in effect, simply take some tissue or crepe paper and stuff them in areas you want to create depth. In this example, we’ve added some stuffing to the inside of the hat as you can see from the stronger shadowing.
3. Create interest using flow and movement
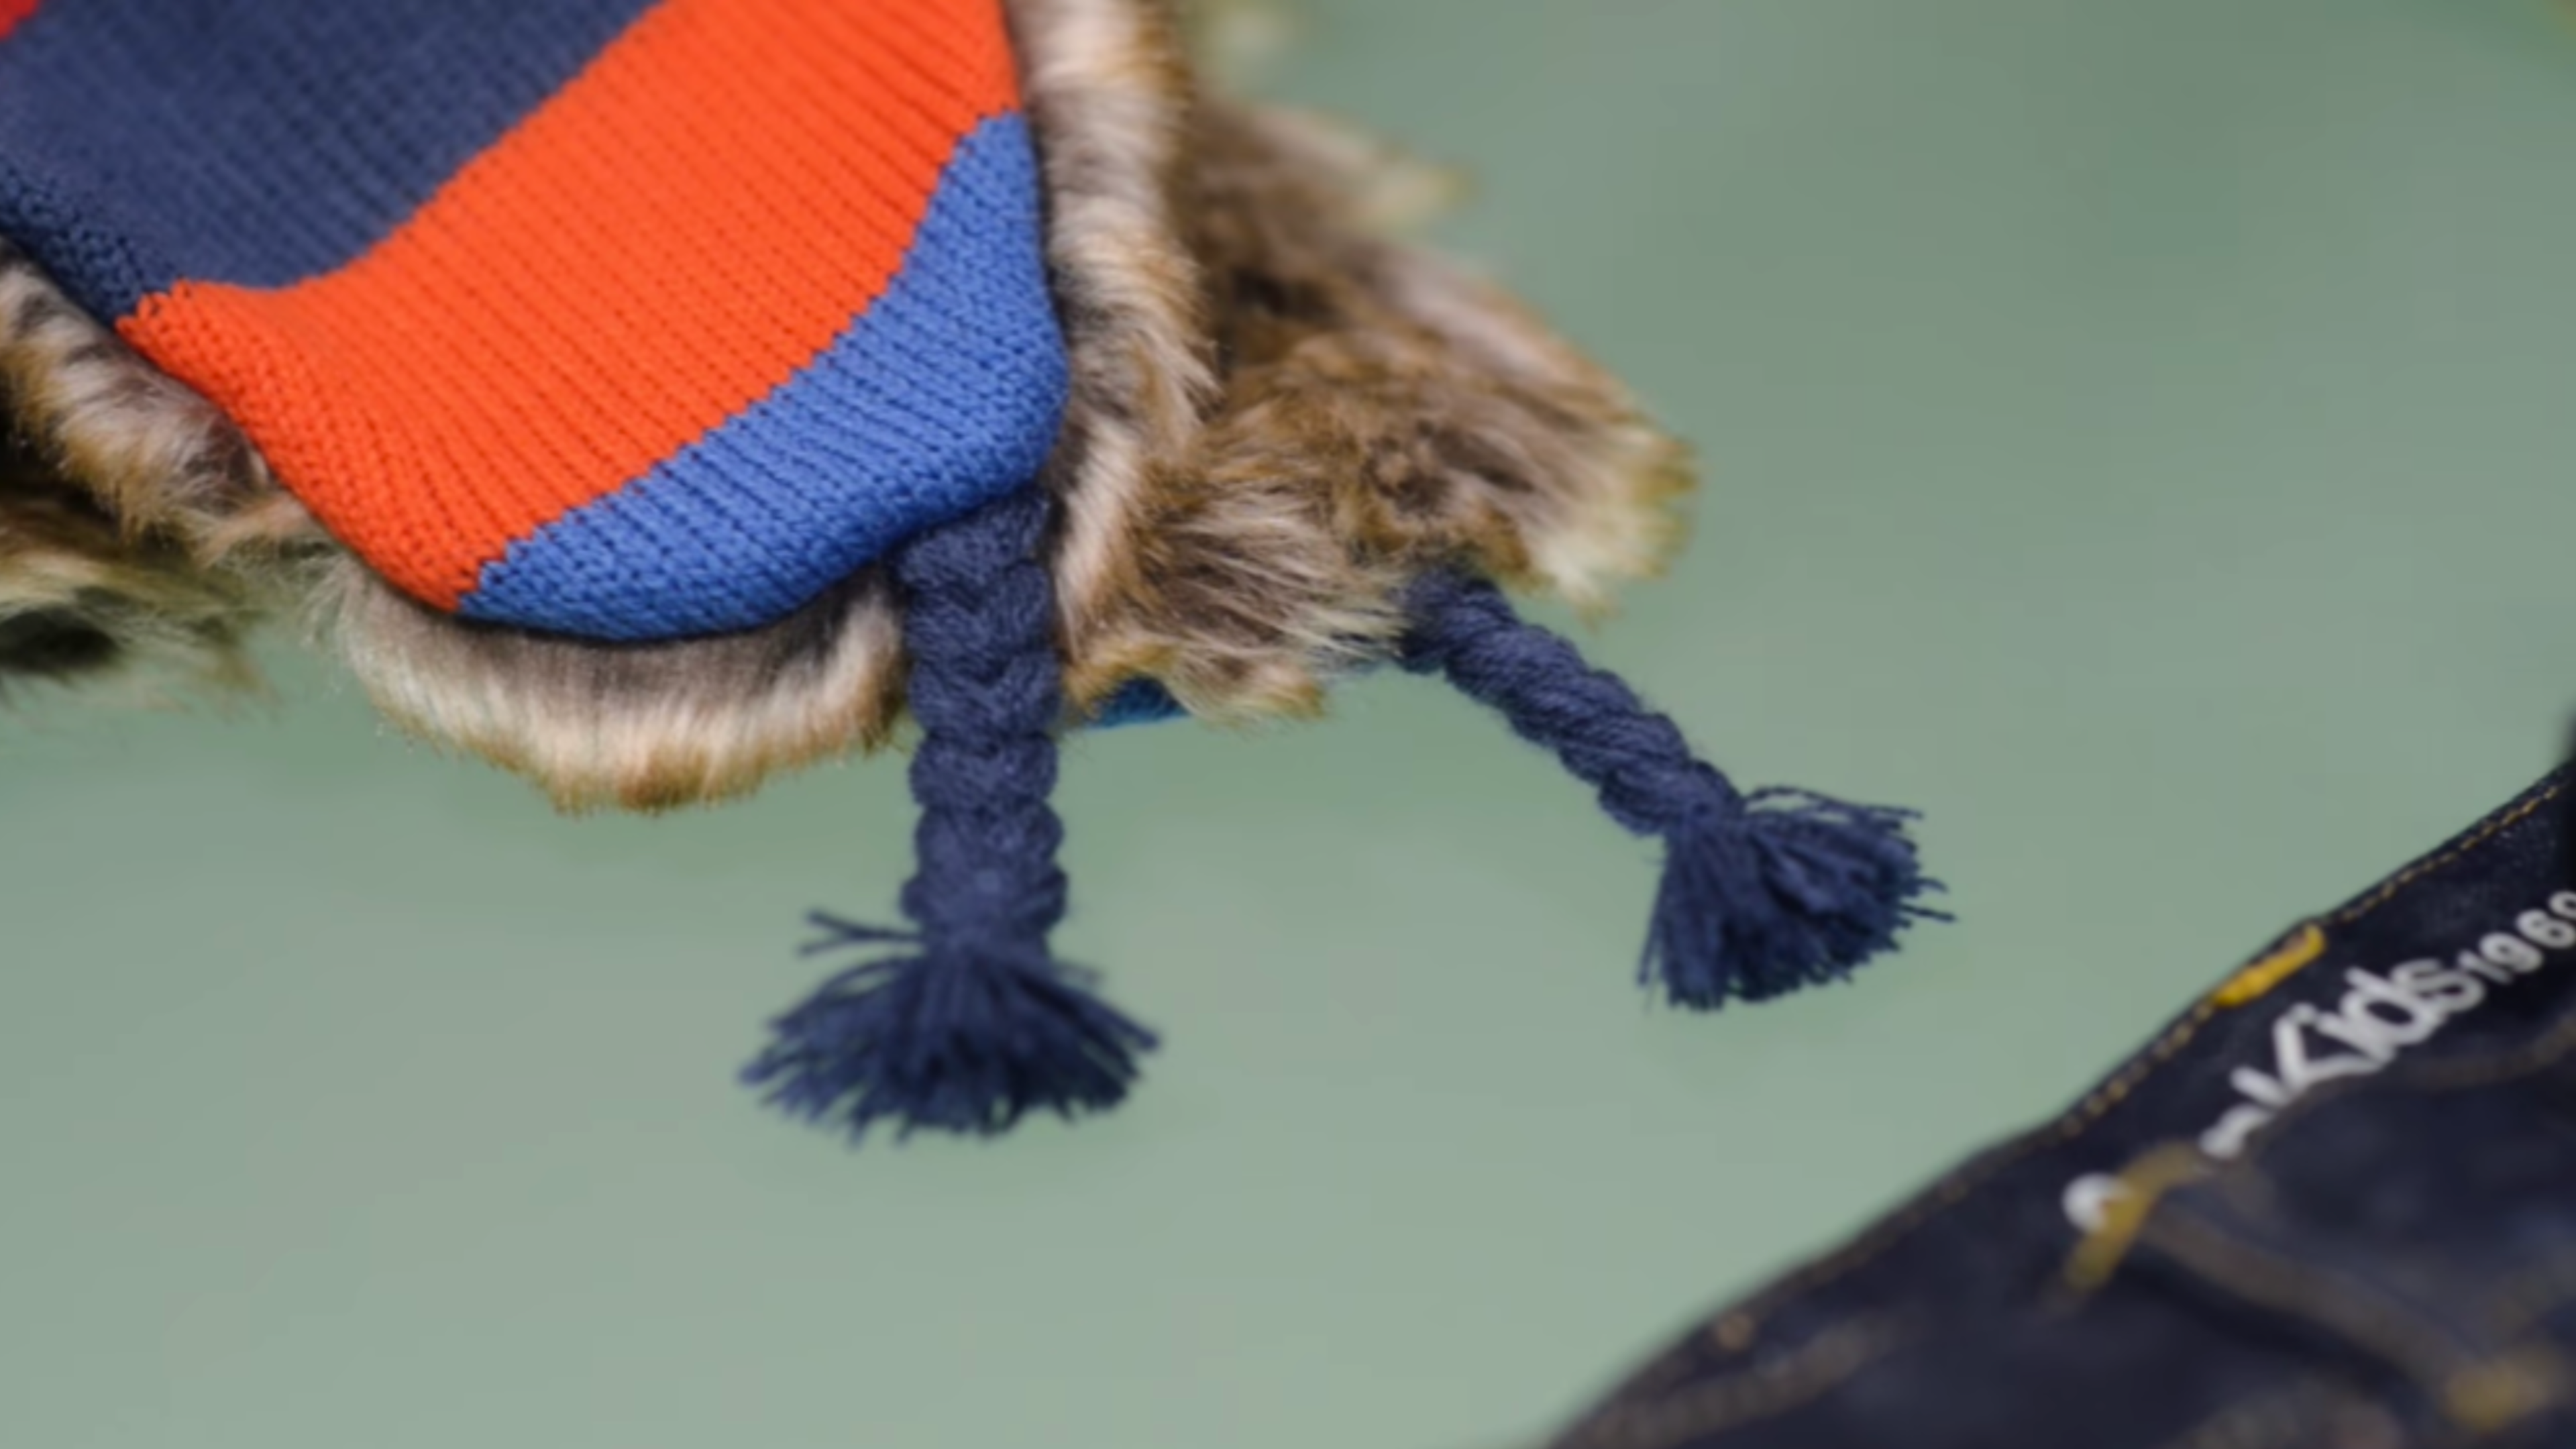
Shooting flat lay gives the hands a lot of creative possibilities to work with when styling, especially when there’s a story or theme to convey. A more dynamic, interesting composition can be achieved by moving parts of your garments in different directions to give the effect of flow and movement.
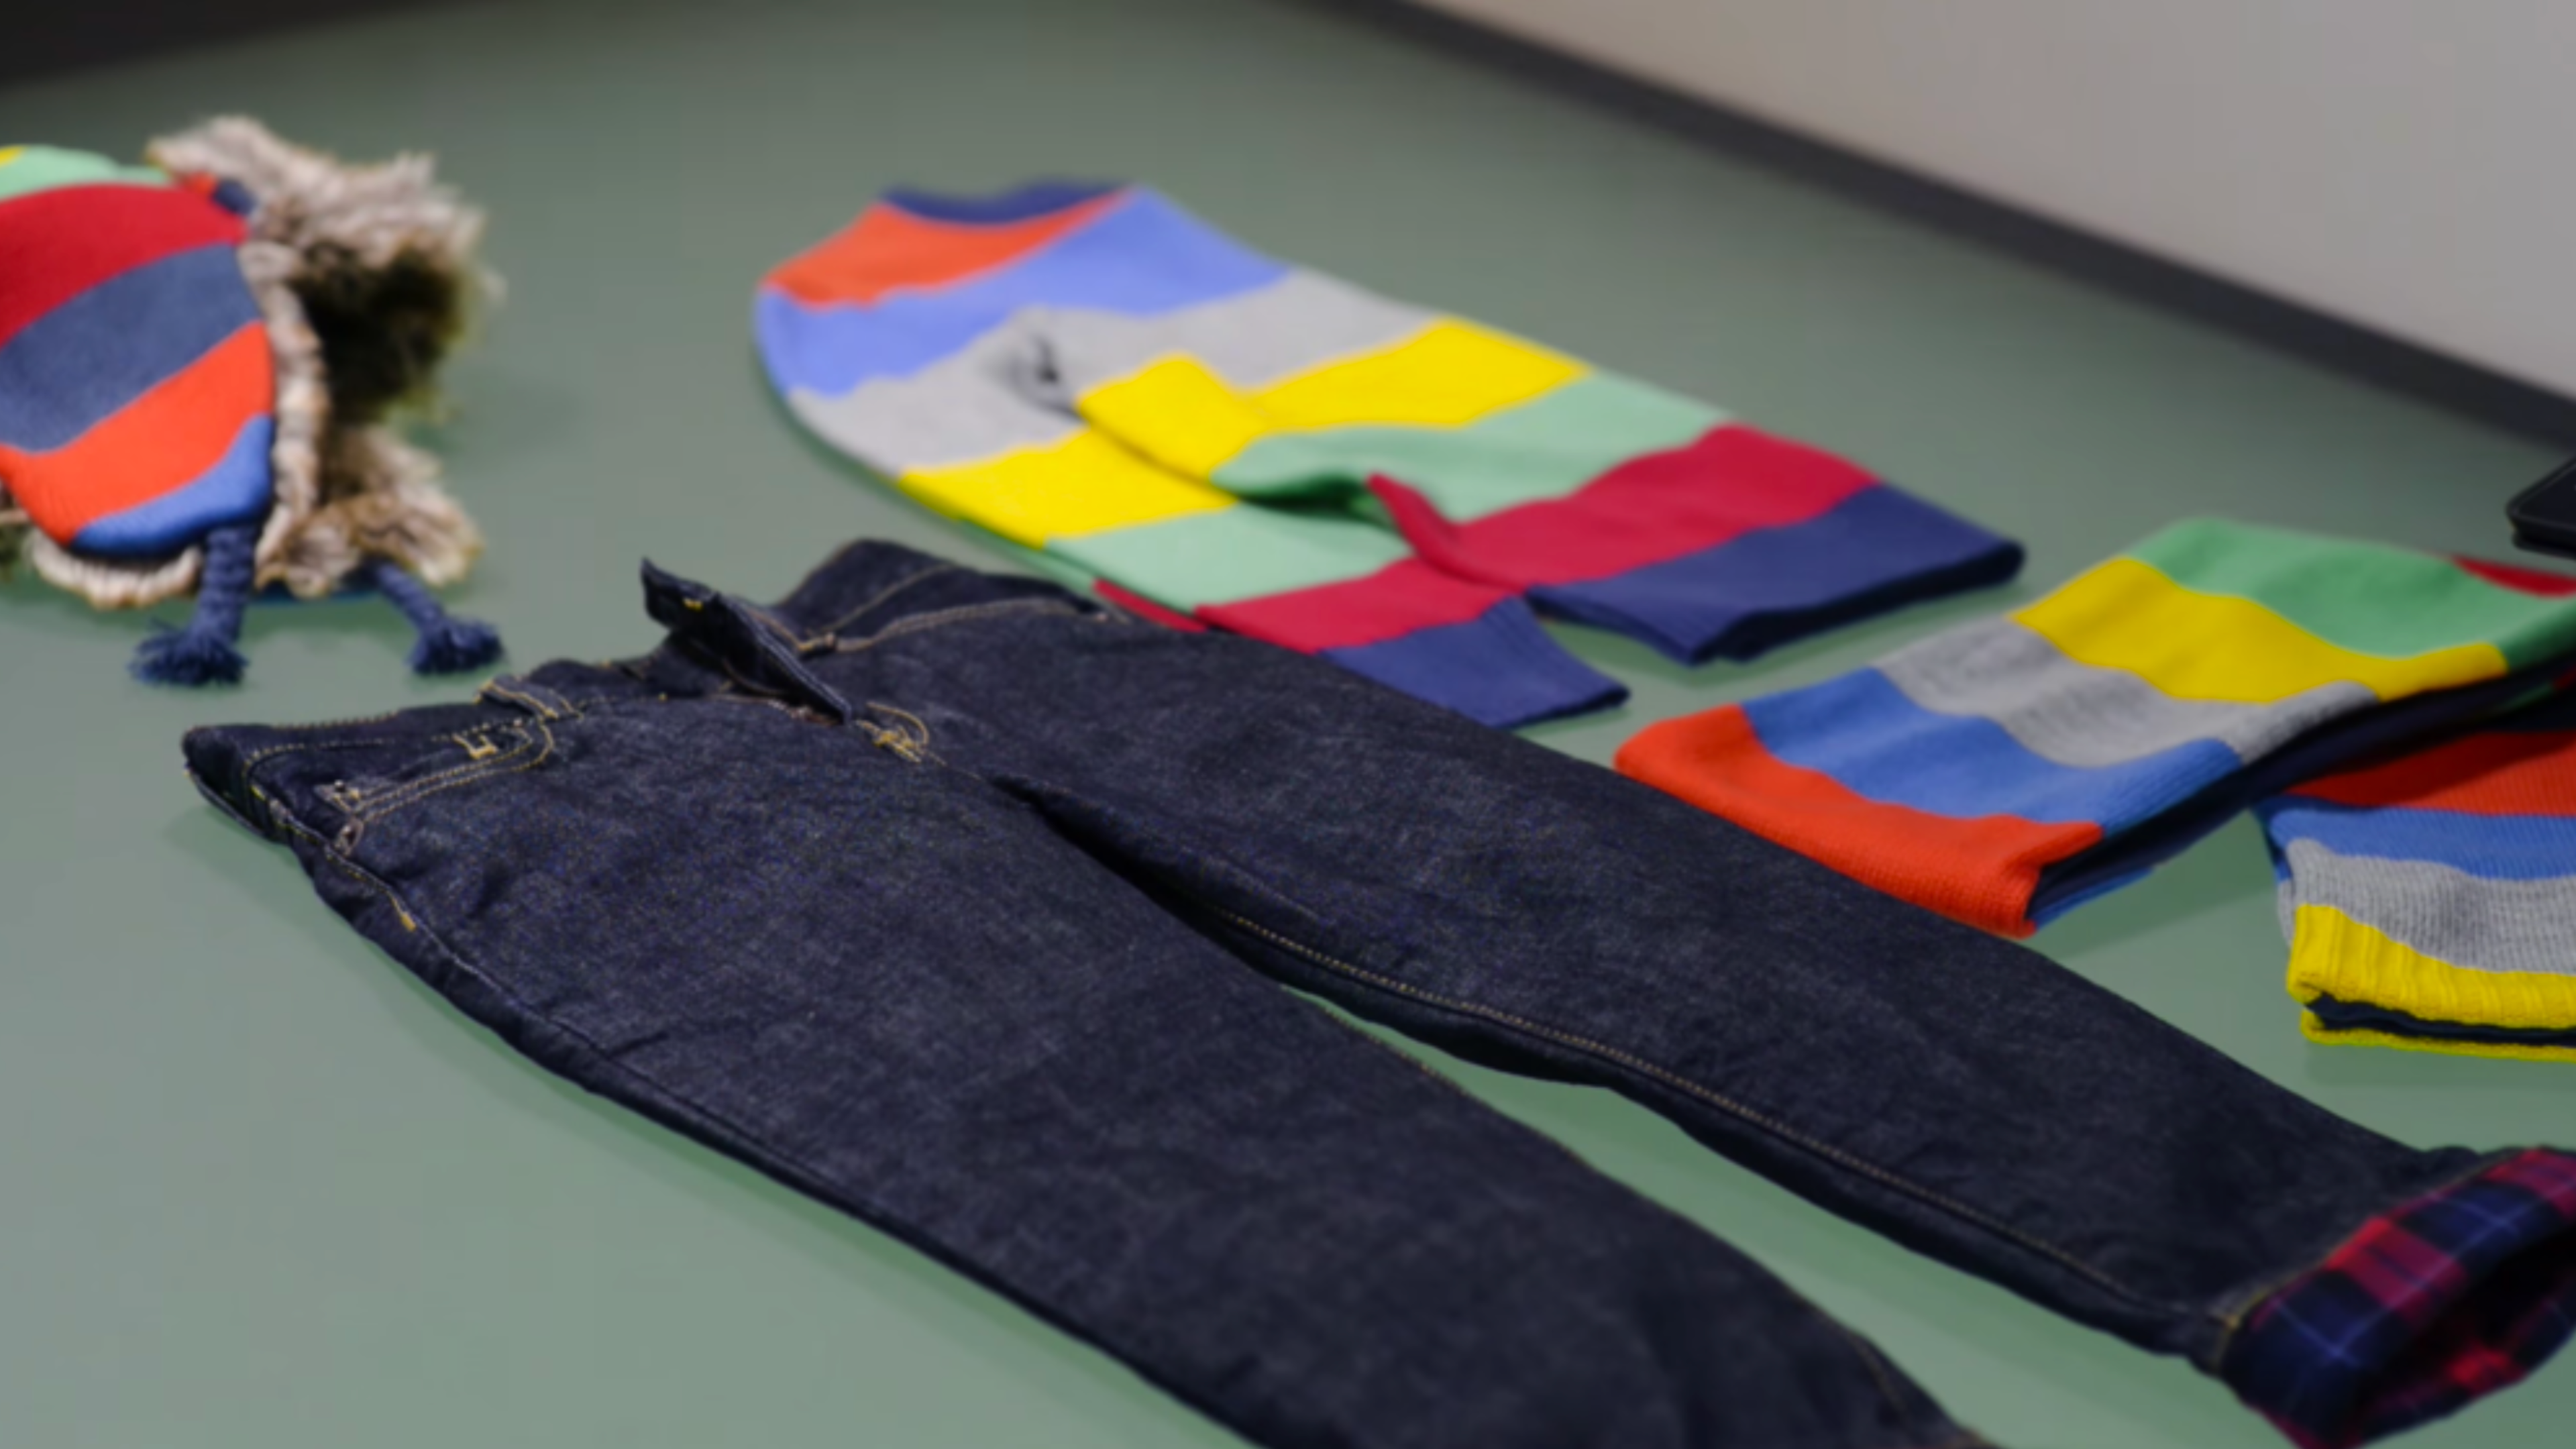
In this example the drawstrings of the hat taper to the side, as if it were a windy day. The kids jumper has been shot in profile to match that of the hat, whilst the scarf follows the natural flow of the ‘wind’.
4. Highlight details such as zippers and linings
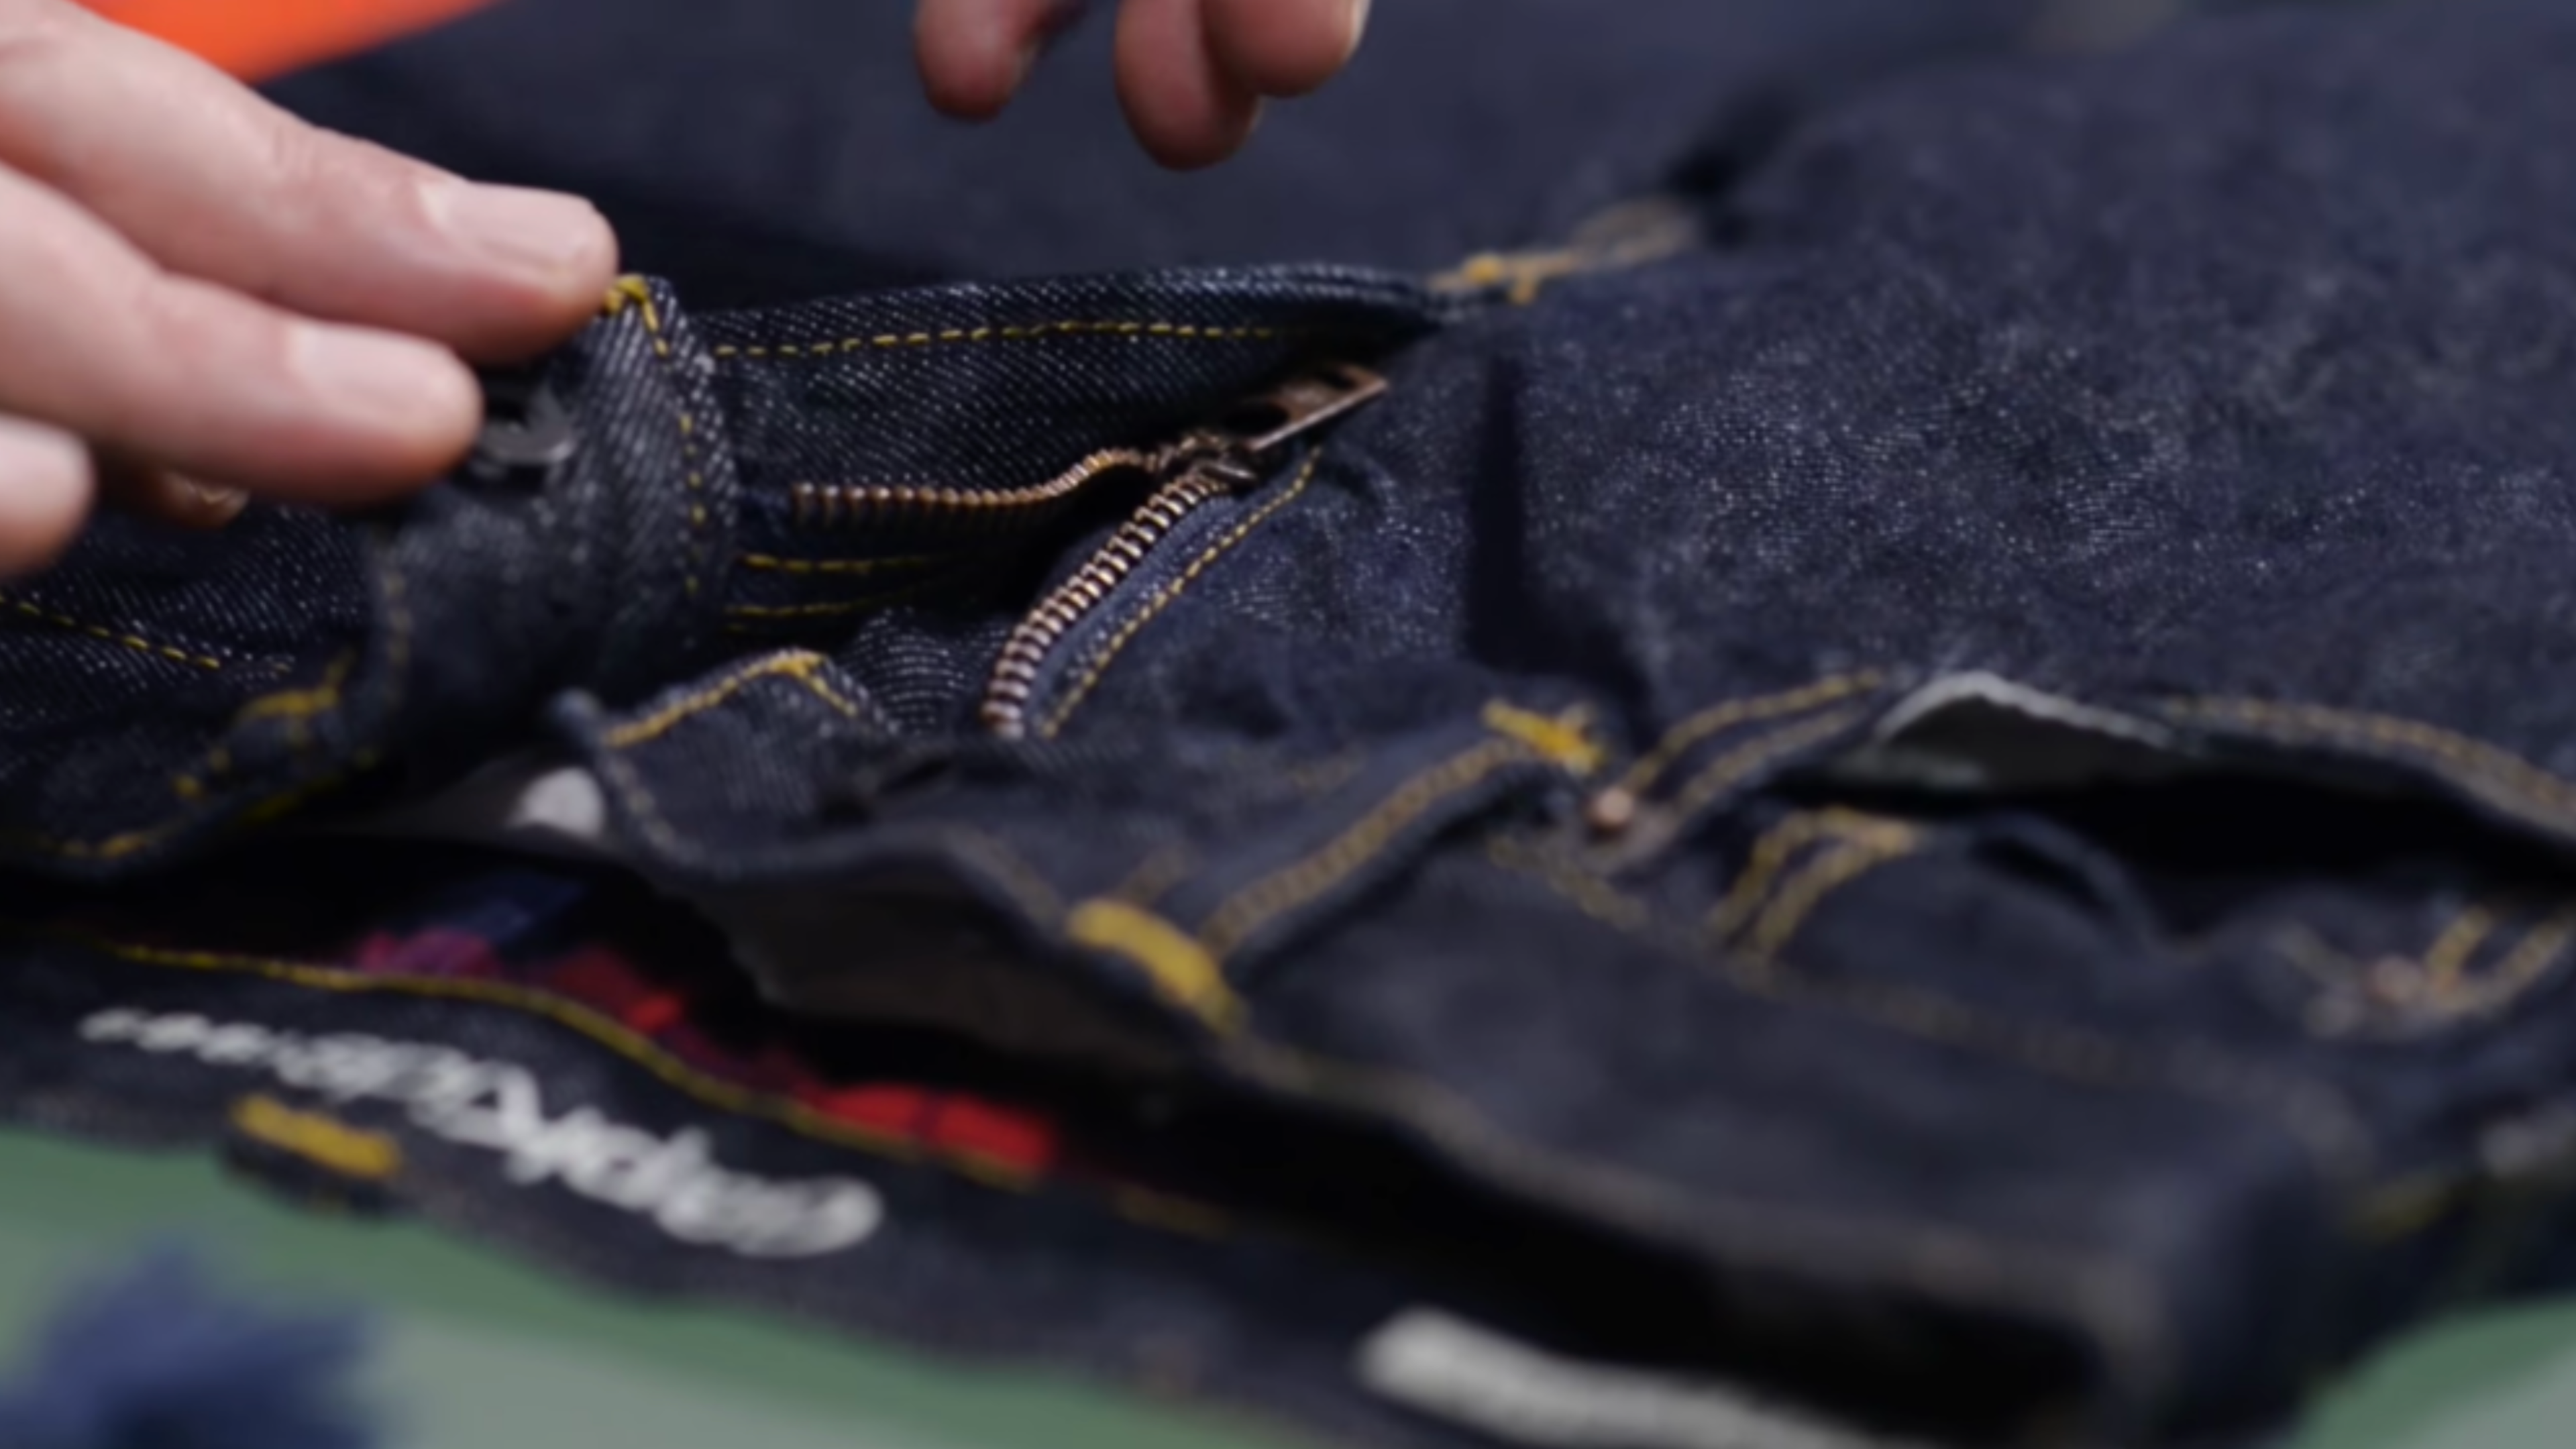
When presenting products online, it’s often easy to forget about the little things customers are looking for by focusing on the bigger picture. For example, when it comes to kidswear, parents may prefer purchasing clothes that have zippers rather than buttons.
You can draw the eye’s attention to the smaller details with the right styling. In this example, we’ve turned up the bottom of the jeans to expose the plaid lining. We’ve also made sure to open up the jeans to show there is a zipper instead of a button - details matter!
5. Use lighting for dynamic effect and set your exposure settings correctly
Photographing dark and light garments in the same shot can be tricky in making sure both sets of garments have their finer details highlighted properly. Learn all about how to adjust your exposure settings here.
Lighting can create another added layer of interest to the shot. You can cast shadows and highlight features simply by angling the incoming source of light in a certain direction. In this example, the light is moving from left to right, giving a more worn, natural feel combined with some delicate creasing of the fabric.