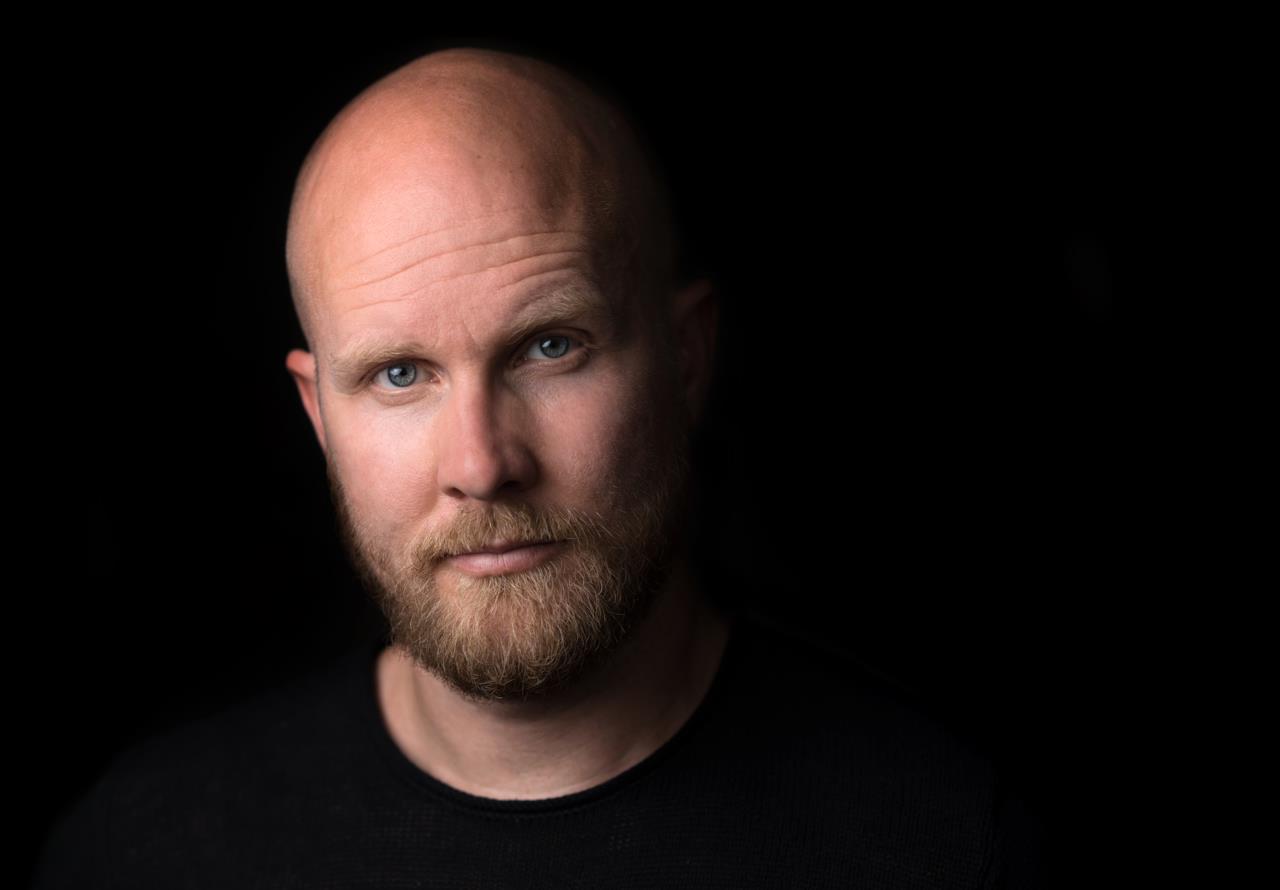
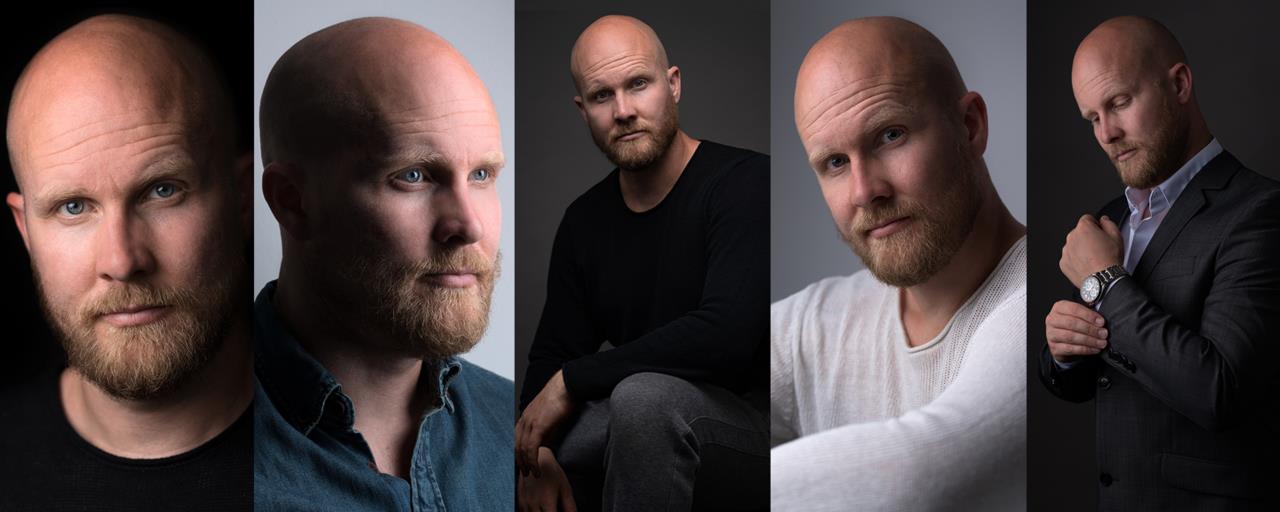
In this article, portrait photographer Hannah Couzens will show you how to create 5 different studio lighting setups for portraits, using just one Profoto B10 light. Hannah will show you everything from camera settings, placement of light, composition and which light modifiers to use to create 5 different looks for your studio portraits.
“Since I shoot a high volume of corporate headshots and portraits, I need flashes that can work well in the studio, but at the same time portable enough to bring to a client on-location. That’s the reason why I always pick Profoto B10 as my go-to flash” - Hannah Couzens, photographer.
Here are Hannah's tips on how to use her favorite flash, the Profoto B10, in five different ways.
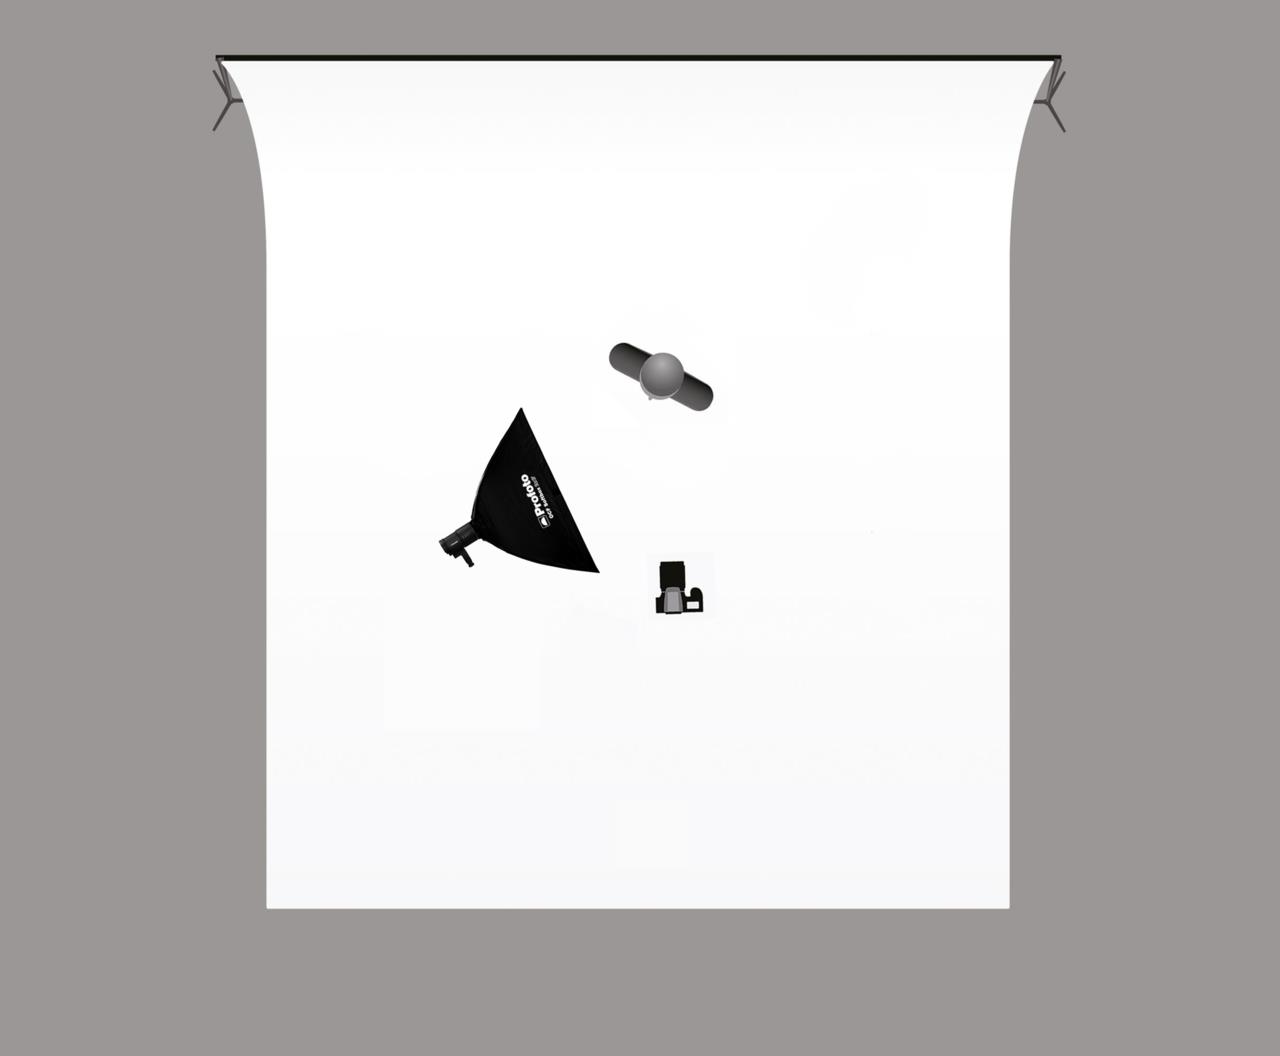
1. The formal portrait - Soft light with definition using a rectangular softbox
For this image, Hannah used an OCF 2X3' softbox to create a soft light on the model. The rectangular shape of the softbox is perfect for both full body and close up portraits, and the recessed edges make it easier to control the direction of light.
The result
A more formal portrait with flattering light, yet with defintion.
Camera settings: ISO 100, f/8, 1/125s.
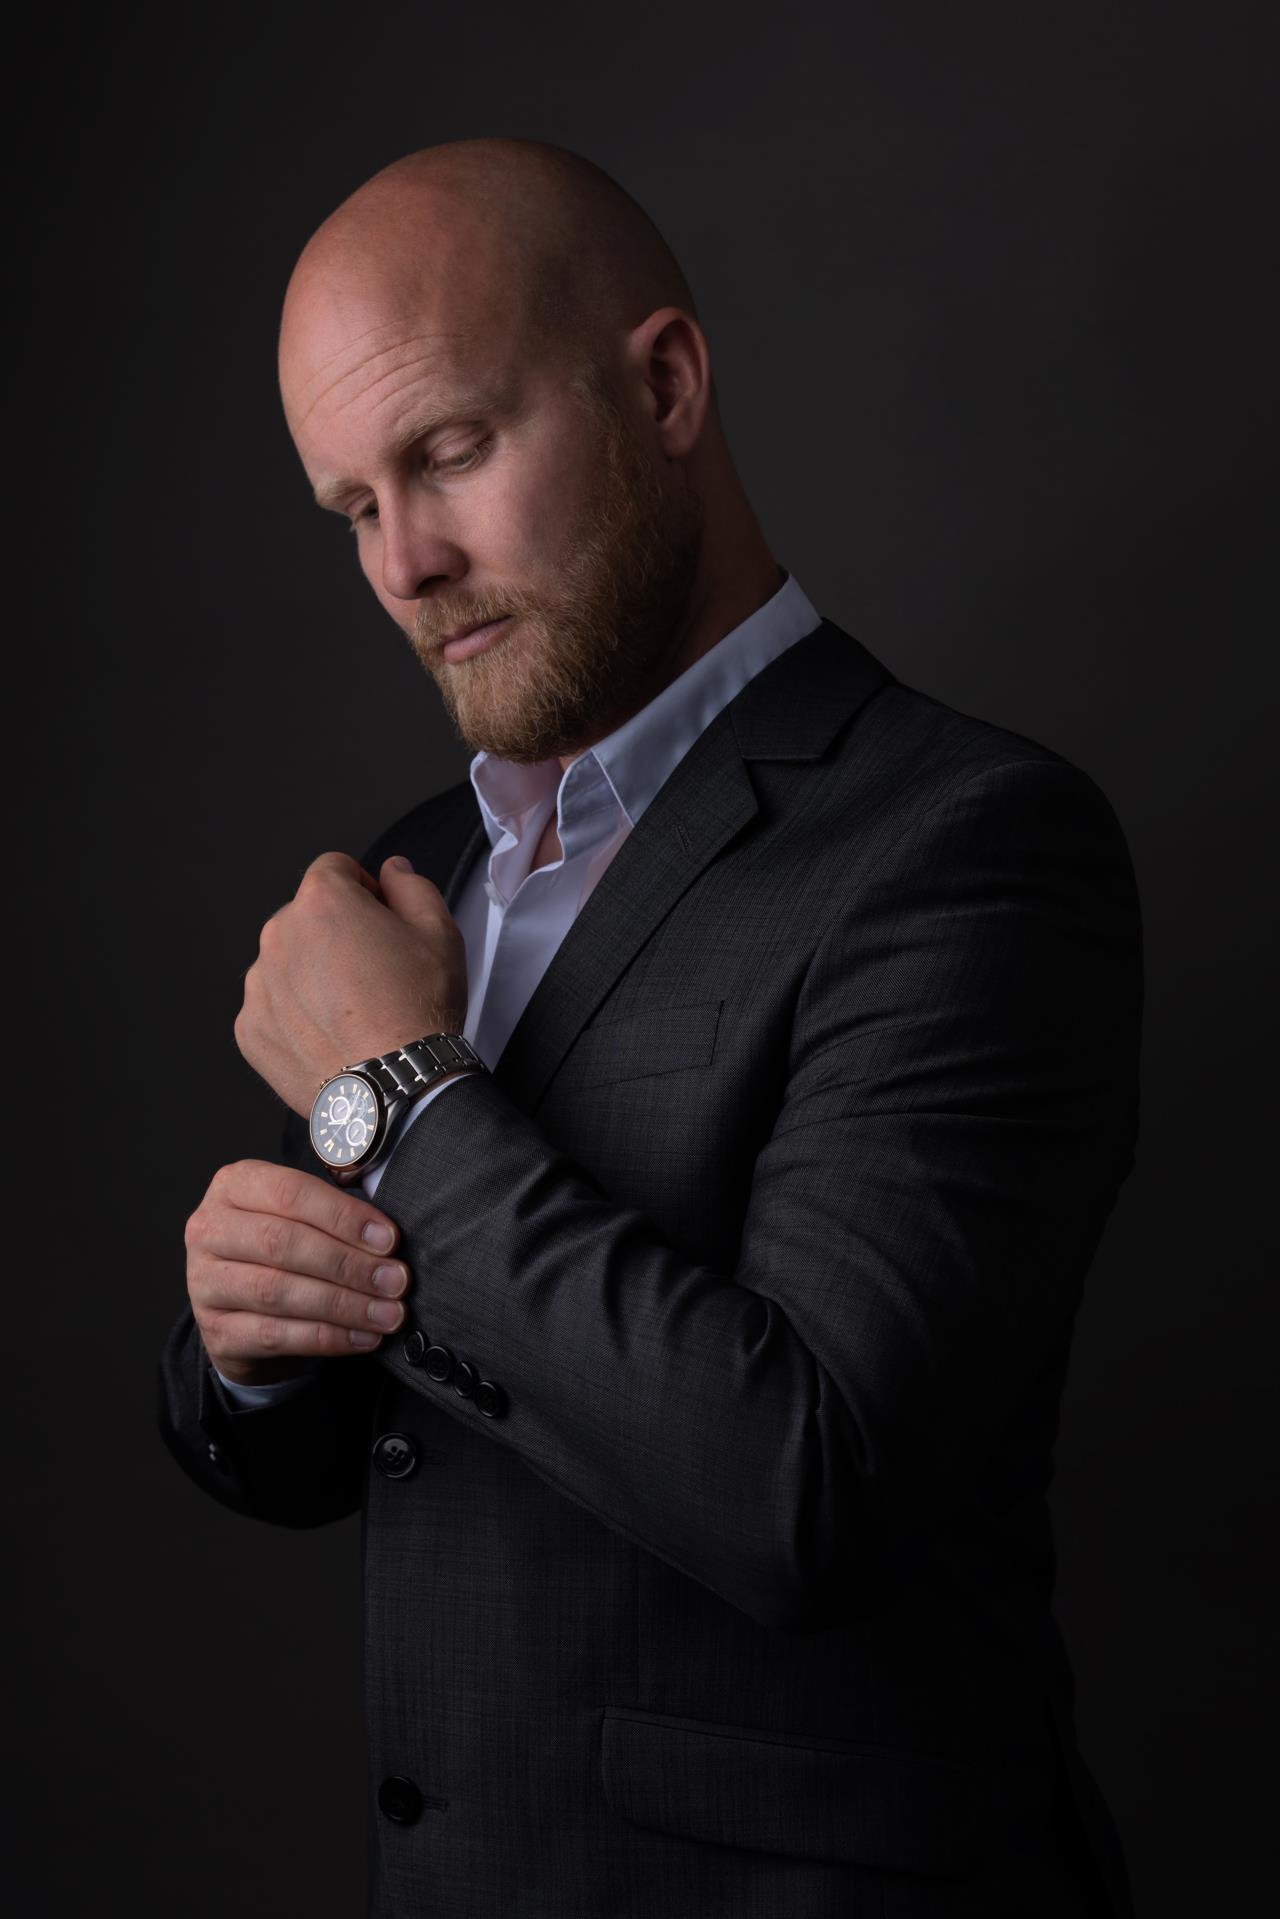
2. A portrait with contrast - Creating shadows using a strip softbox
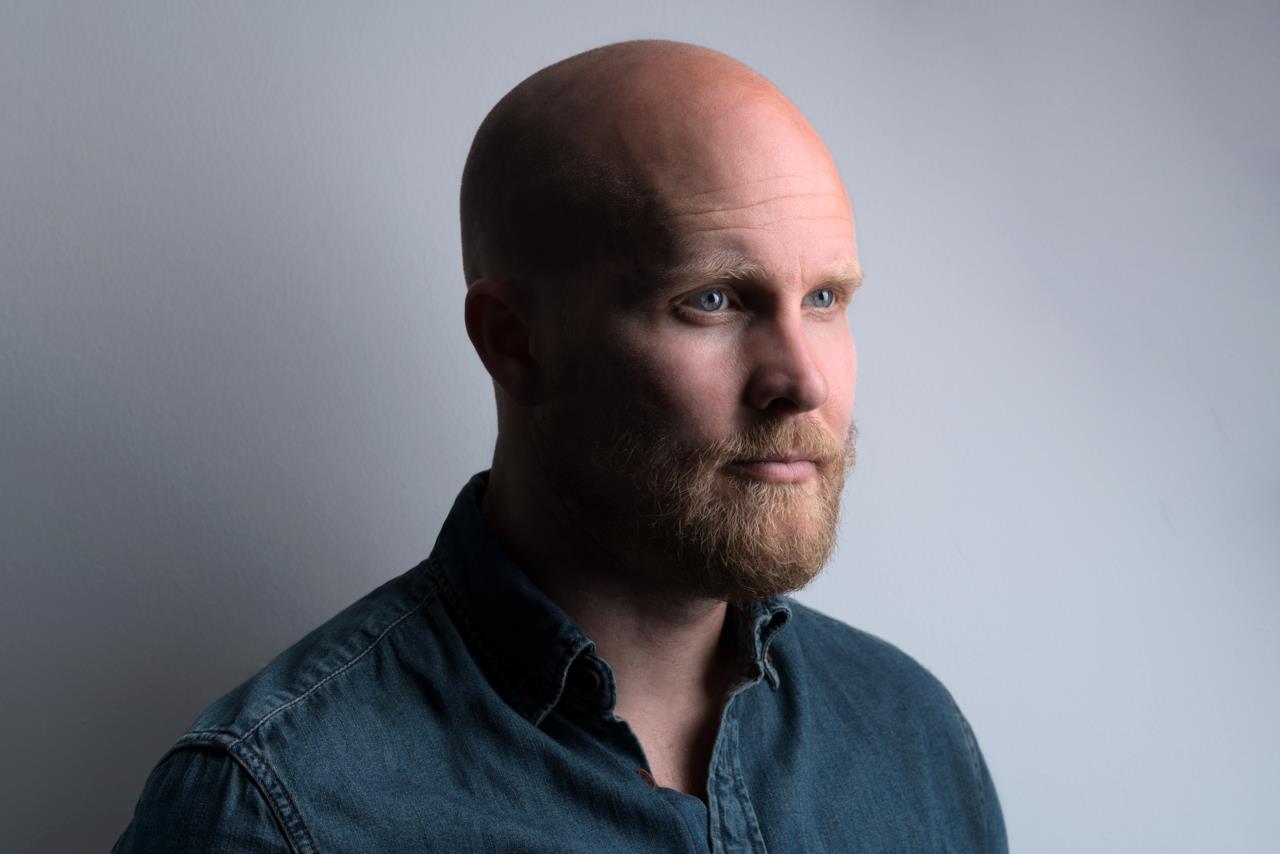
For the second look, Hannah wanted to create shadows on the face, so she chose an OCF 1X3' Strip softbox that helped her carefully control where the light is falling. By bringing the light very close to her model, she got a fast fall-off of light.
The result
A portrait with contrast, even in a small room with white walls.
Camera settings: ISO 100, f/8, 1/125s.
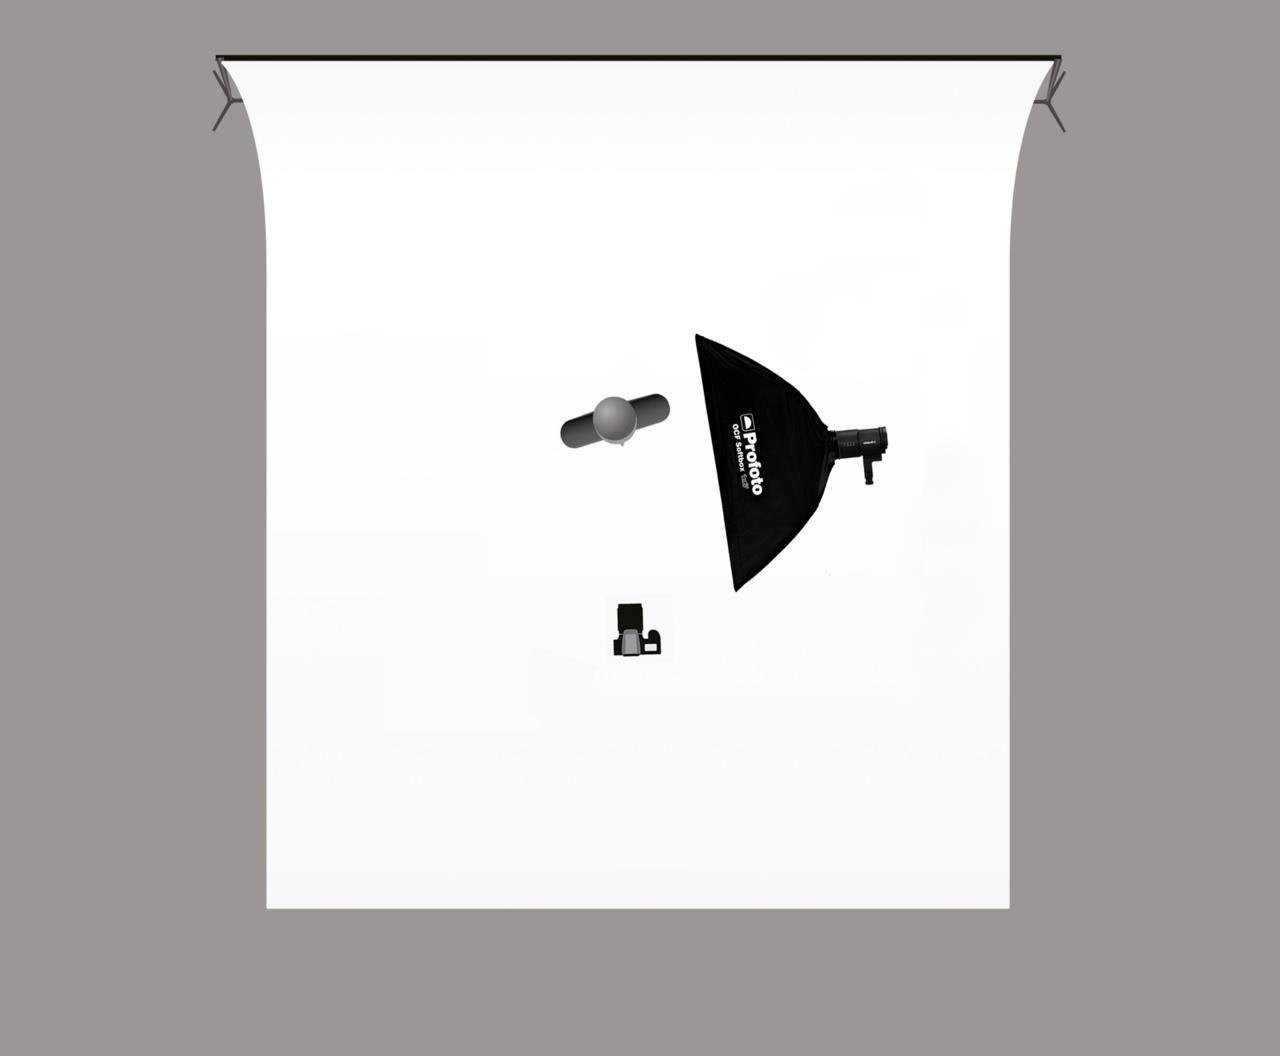
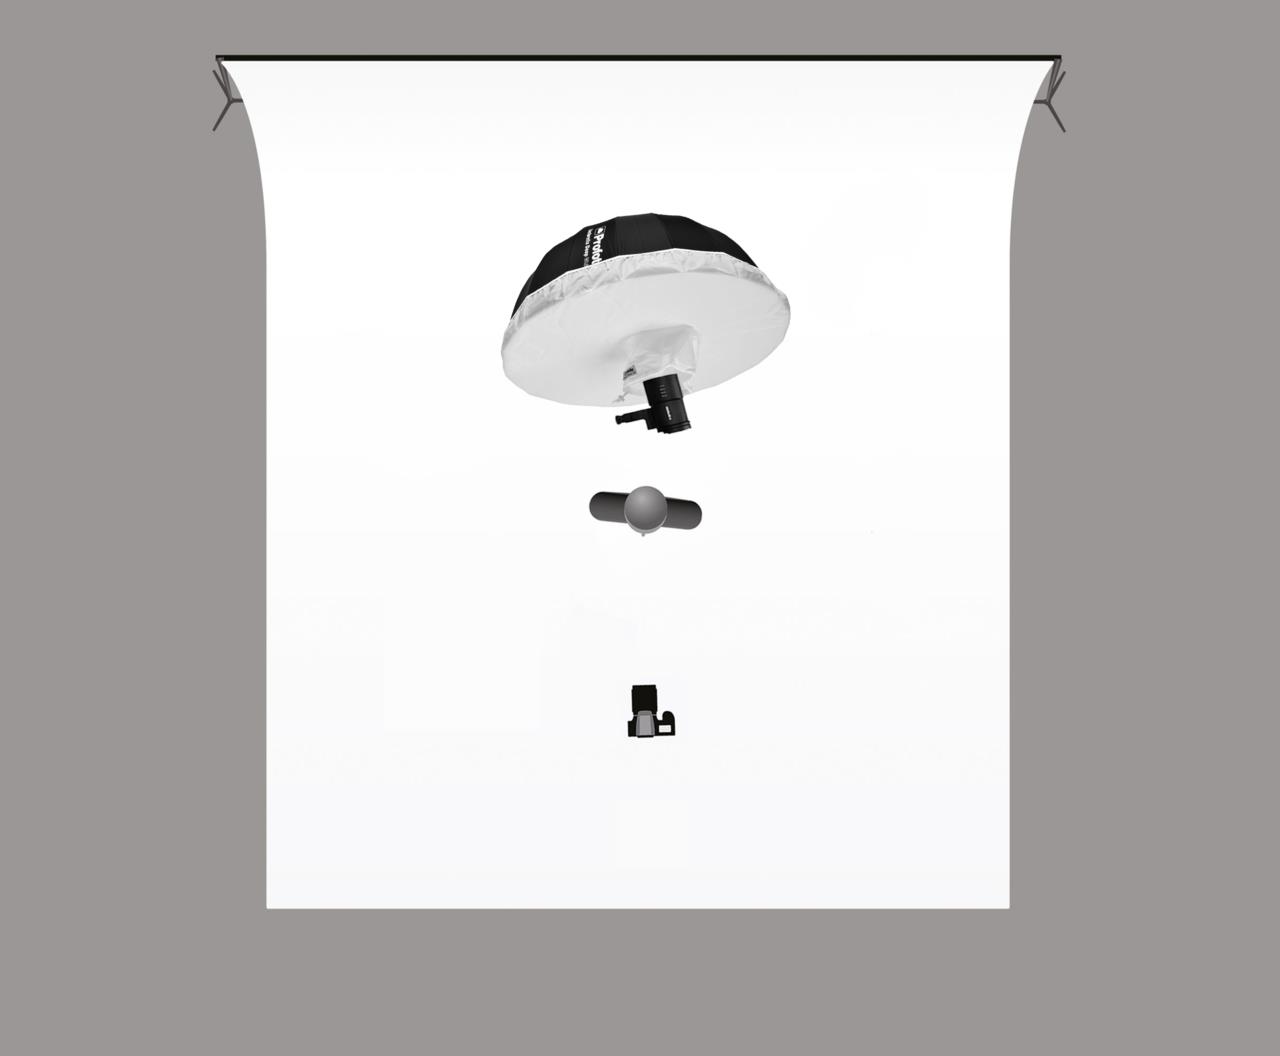
3. Creating even gradients - Using a medium sized umbrella from above
When it comes to the third portrait, it's all about soft light so Hannah chose the Umbrella Deep White M with diffusion. By placing the umbrella above and centered over the model, she was able to avoid the hotspot from the center of the light.
The result
A soft light portrait with an even gradient.
Camera settings: ISO 100, f/4, 1/125s.
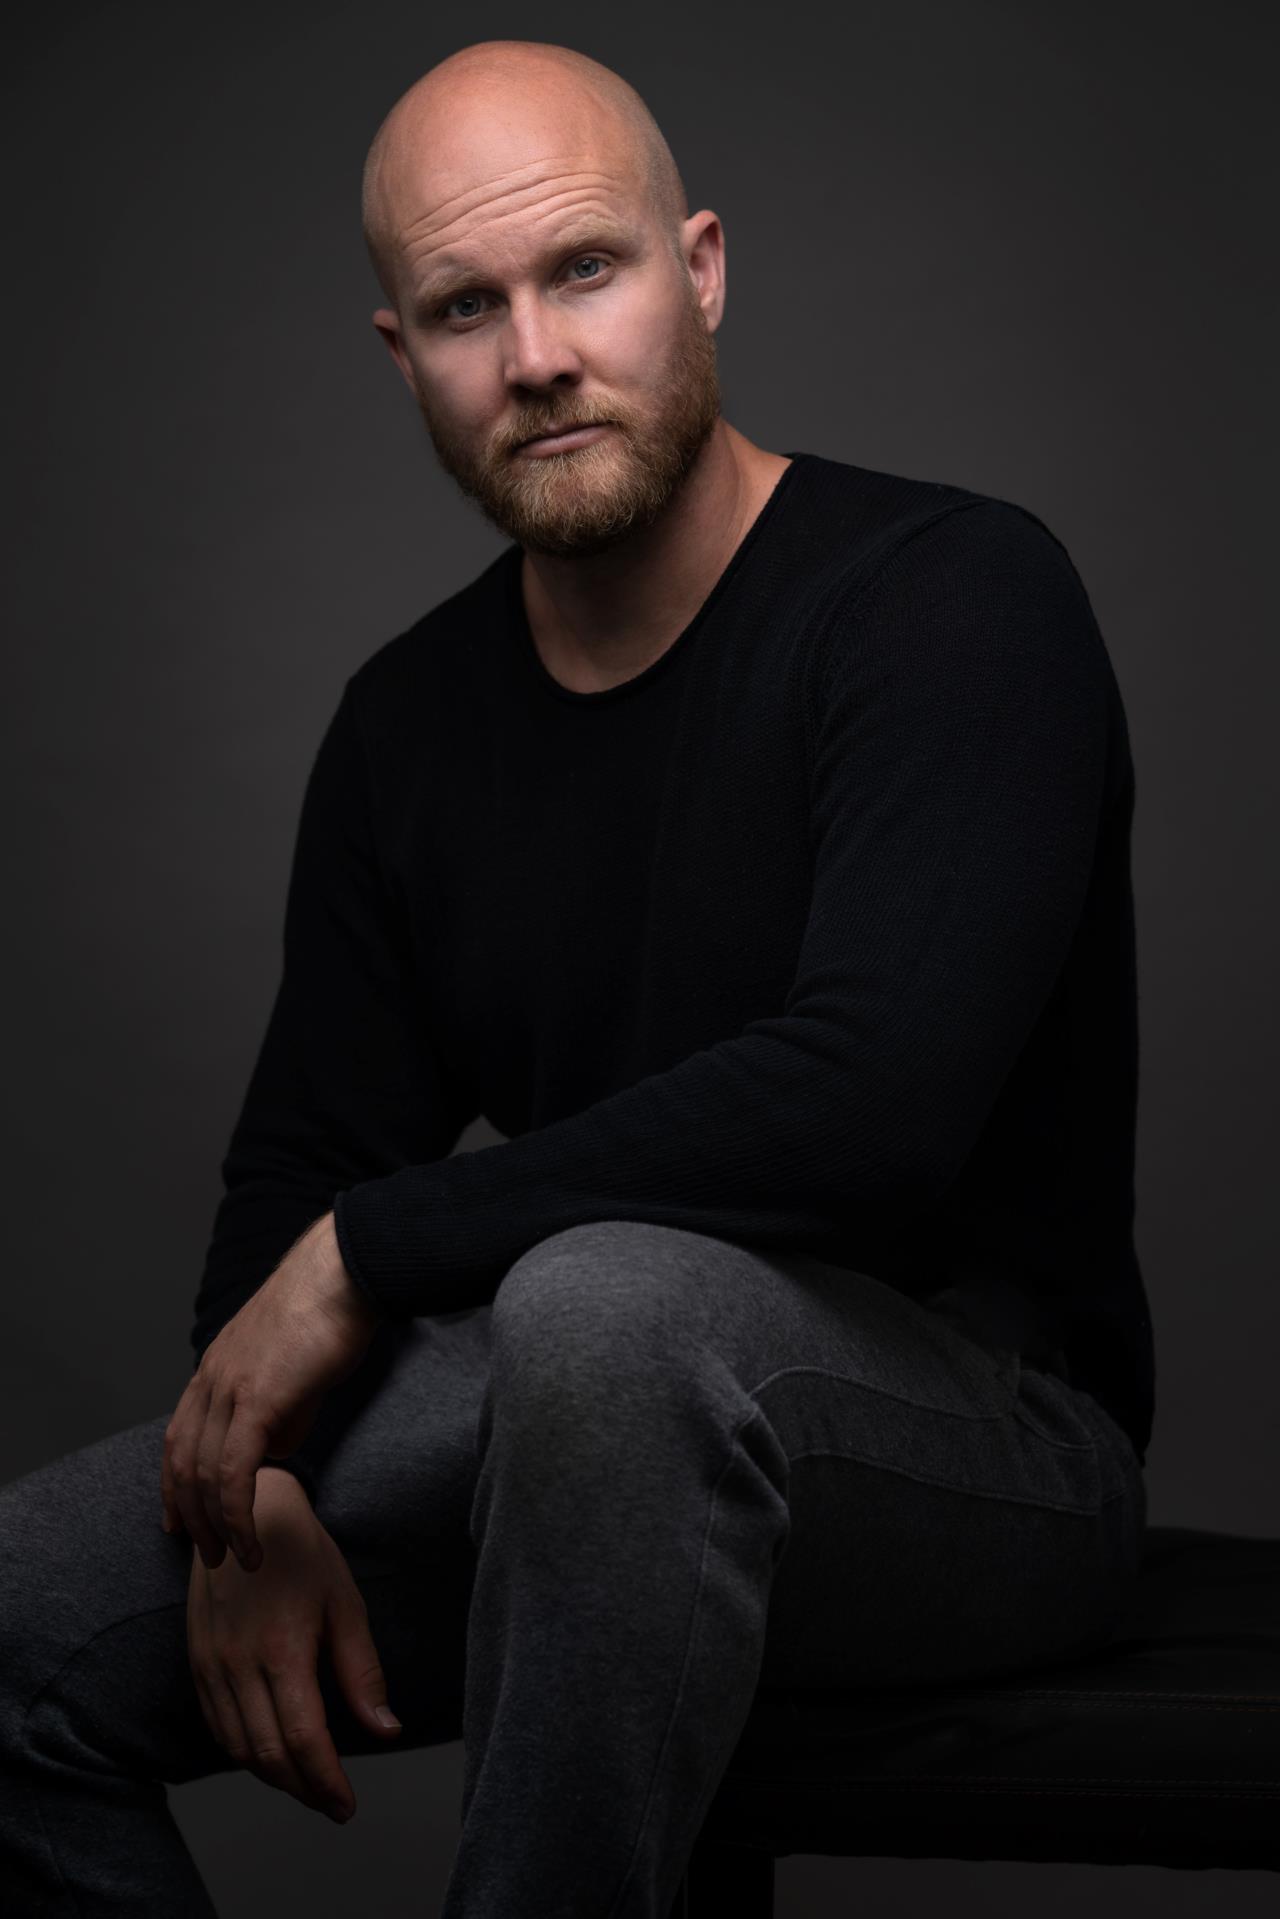
4. Creating fast fall-off on a white background using a rectangular softbox
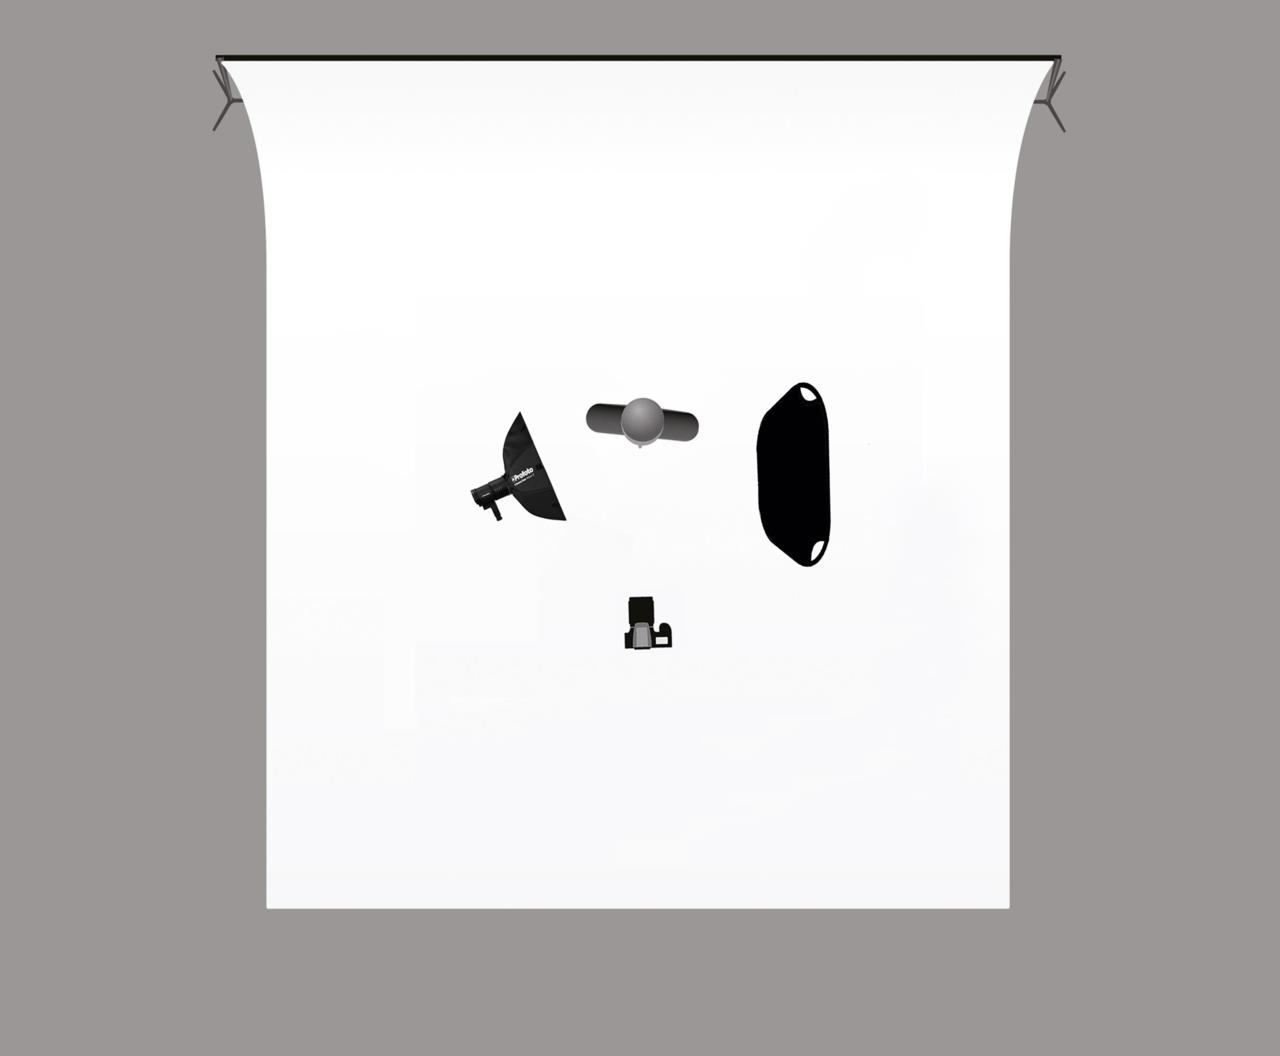
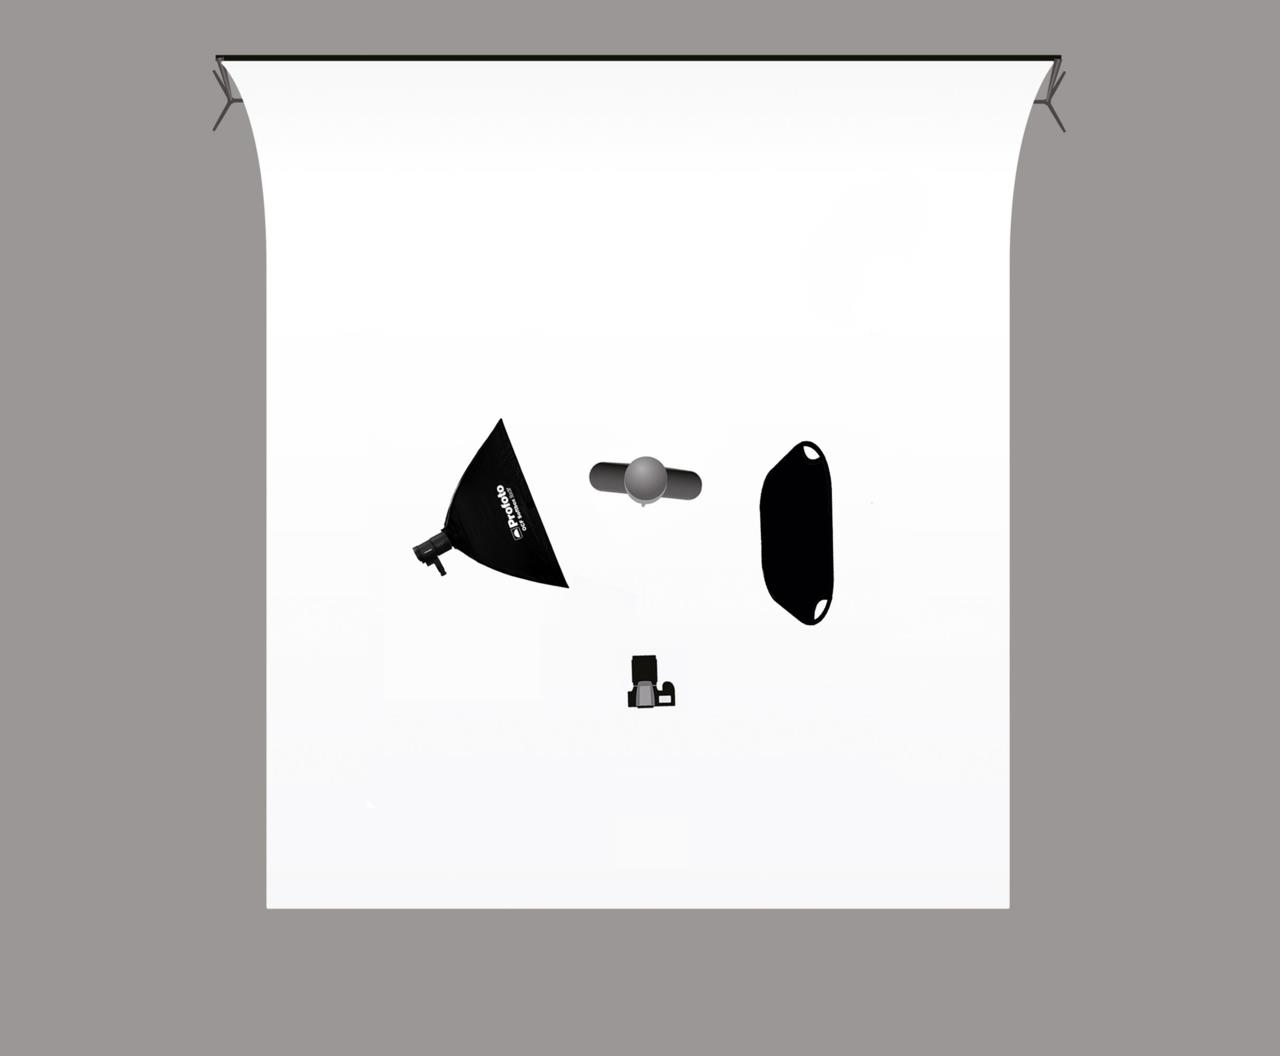
For the fourth look, Hannah switched to a white background, but used the OCF 2x3' softbox in a way so that it created a fast fall-off of light. The fall-off of light made the white background appear grey. By using the black side of the reflector on the opposite side, she was able to avoid any light bouncing back from the white walls.
The result
A portrait with definition against a grey background.
Camera settings: ISO 100, f/4, 1/125s.
5. For an intense and dramatic look - Using a silver beauty dish
For the fifth and final look, it's was all about creating an intense portrait. By removing the center disc from the OCF Beauty Dish Silver and adding a diffusion panel, Hannah was able to turn it into a small softbox. By bringing the light close to her model, she was able to create a quick fall-off of light that added to the dramatic feeling. A black reflector was used on the opposite side to prevent any light bouncing back from the white walls.
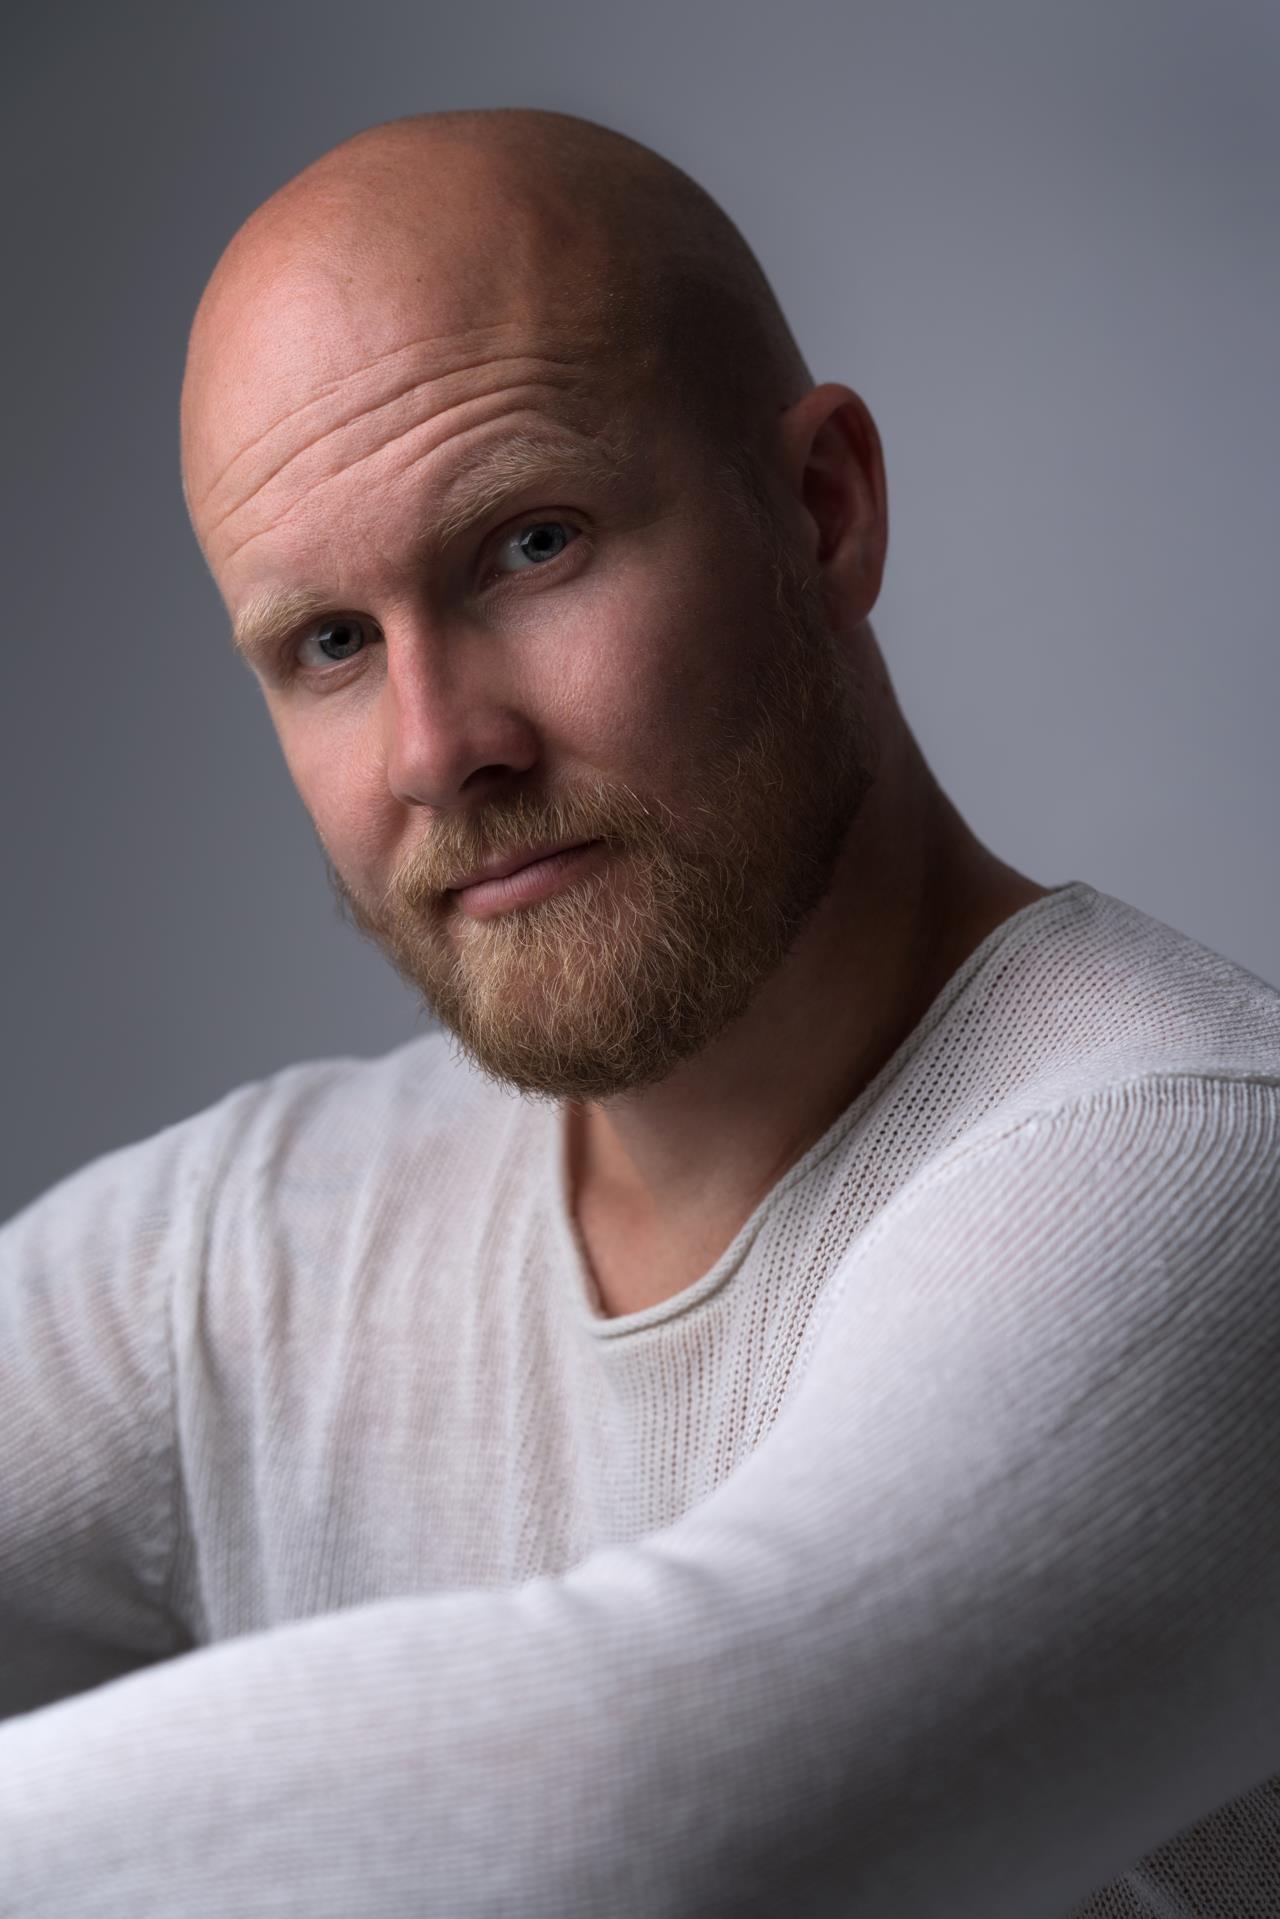
The result
An intense close-up portrait with a dramatic feeling.
Camera settings: ISO 100, f/2.8, 1/160s.
