Recently Rossella Vanon did a beauty shoot where she had to create six different looks with beauty lighting, but still keep a consistent feeling throughout her six images. Here she explains how she did it.
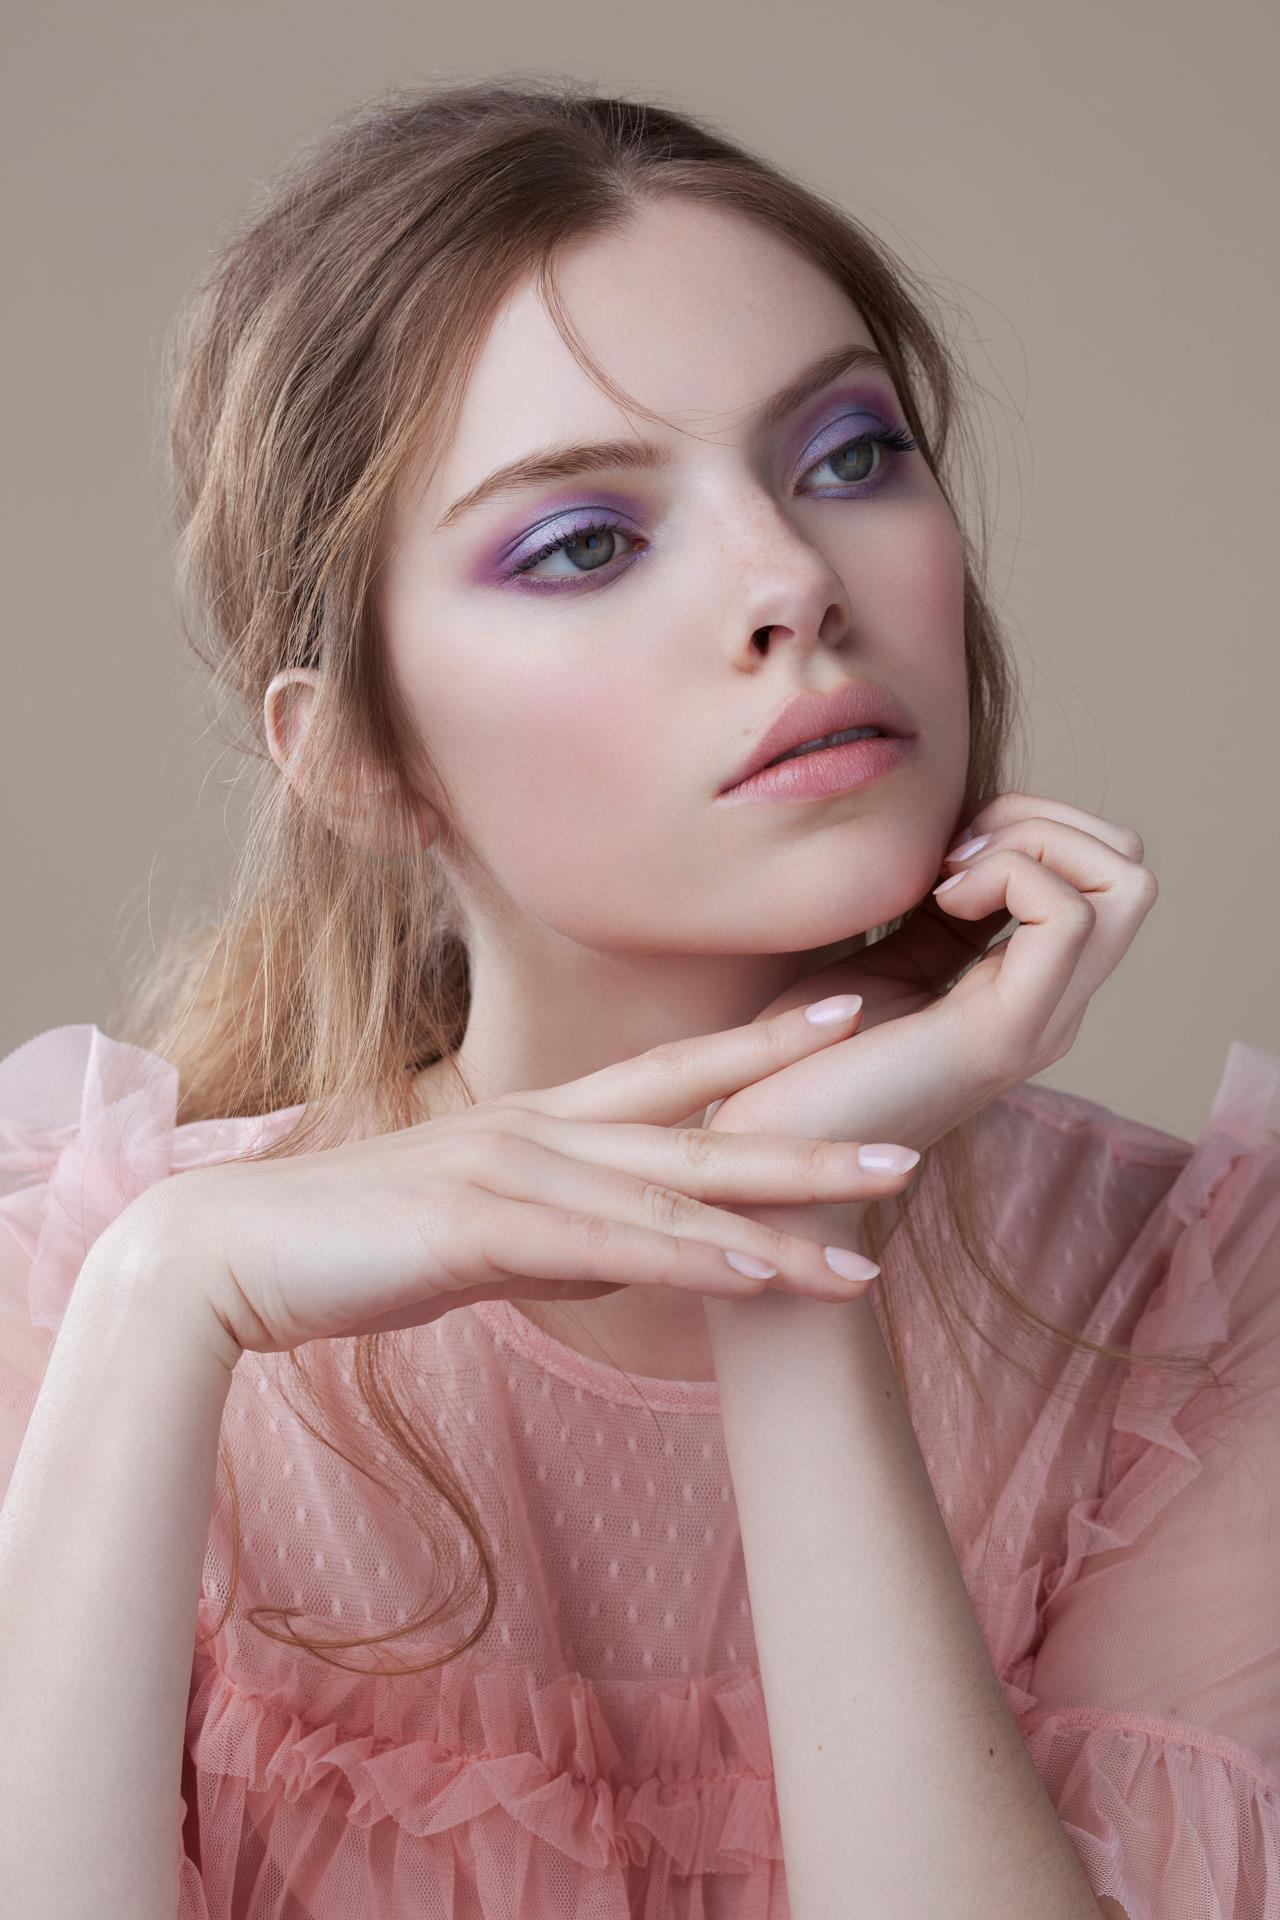
The idea behind this shoot was to create six different makeup looks revolving around pastel tones and six different lighting setups showcasing a variety of softboxes. Having created a specific mood board beforehand, picturing mood and makeup looks gave me a clear reference point and helped make sure that results were in line with it.
With the mood board as reference, I decided to opt for a soft and airy light that would enhance the femininity of the model and the makeup looks we decided to create. The challenge I faced was to keep the lighting consistent while the setups and light shaping tools were all changing, and that took a bit of planning.+
Days before the shoot, I sat at my desk and planned all the setups one by one, as well as the order in which I was going to go through them on the shoot. Consistency was key, and to achieve it I had to constantly play with the number of light units and the size of the modifiers. Using a Beauty Dish to recreate a similar lighting than that of a 5’ Octabox, for instance, took some tricks and more light units to achieve the results I was after.
On set, I took my time to test and compare new lighting setups as they were created to make sure the same quality of light was maintained throughout.
Planning every single change ahead allowed us to be as time efficient as possible, and not waste too much shooting time during light changes.


How to work out a concept
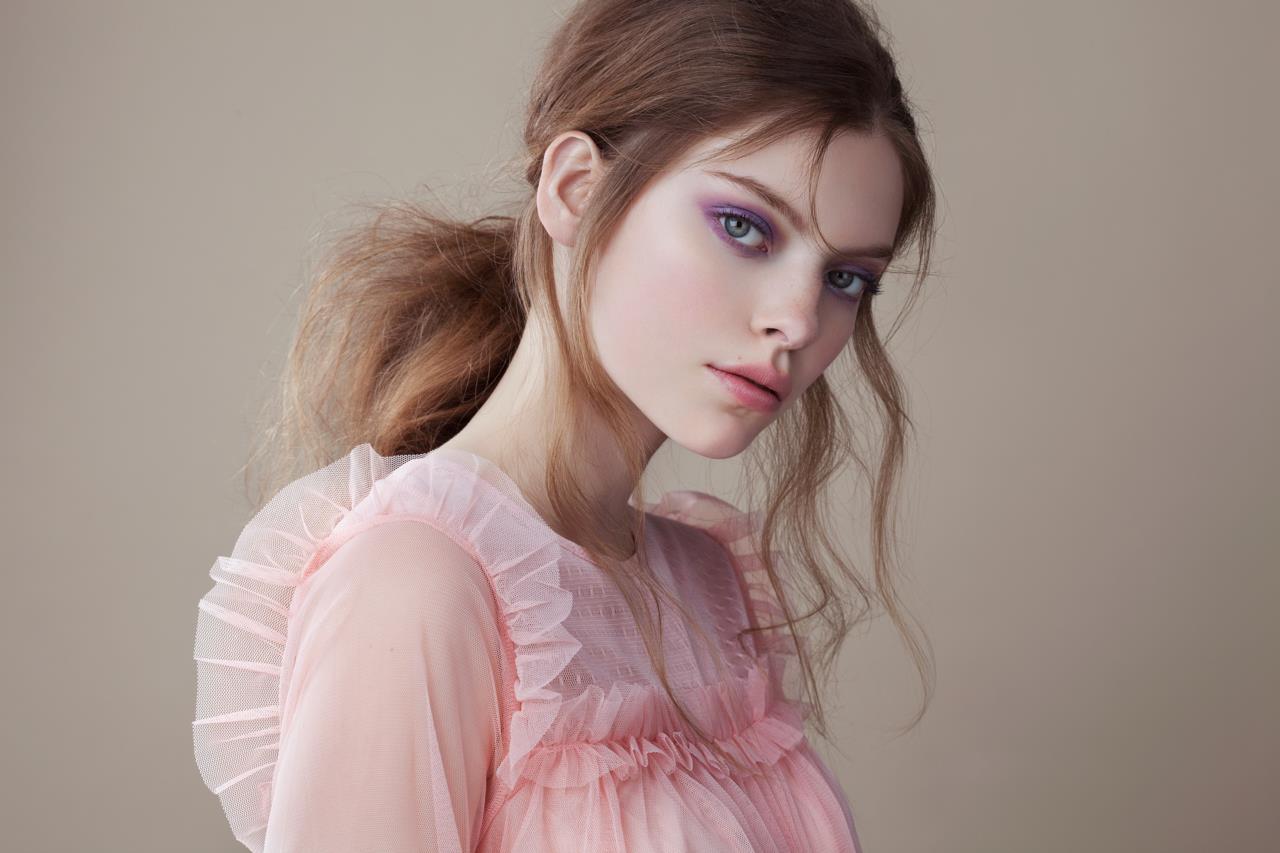
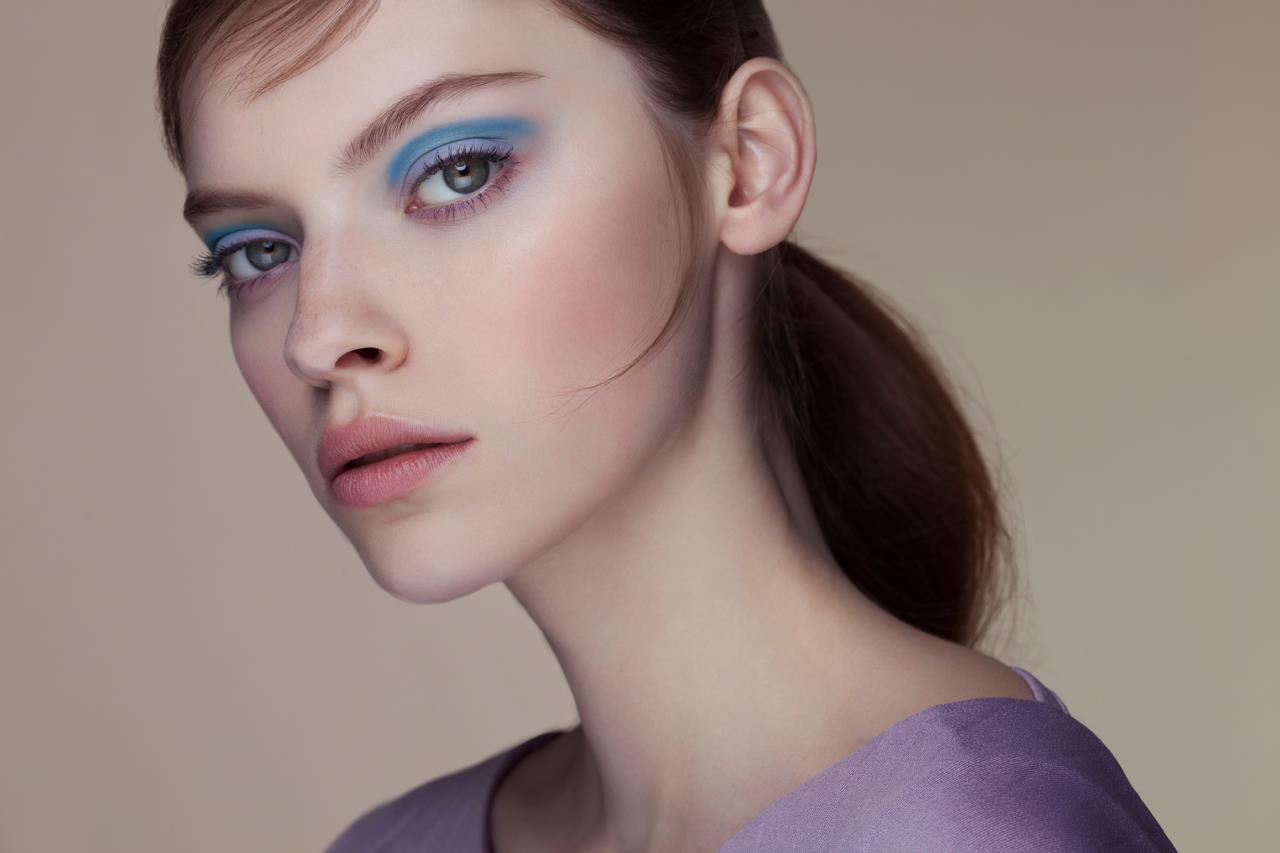
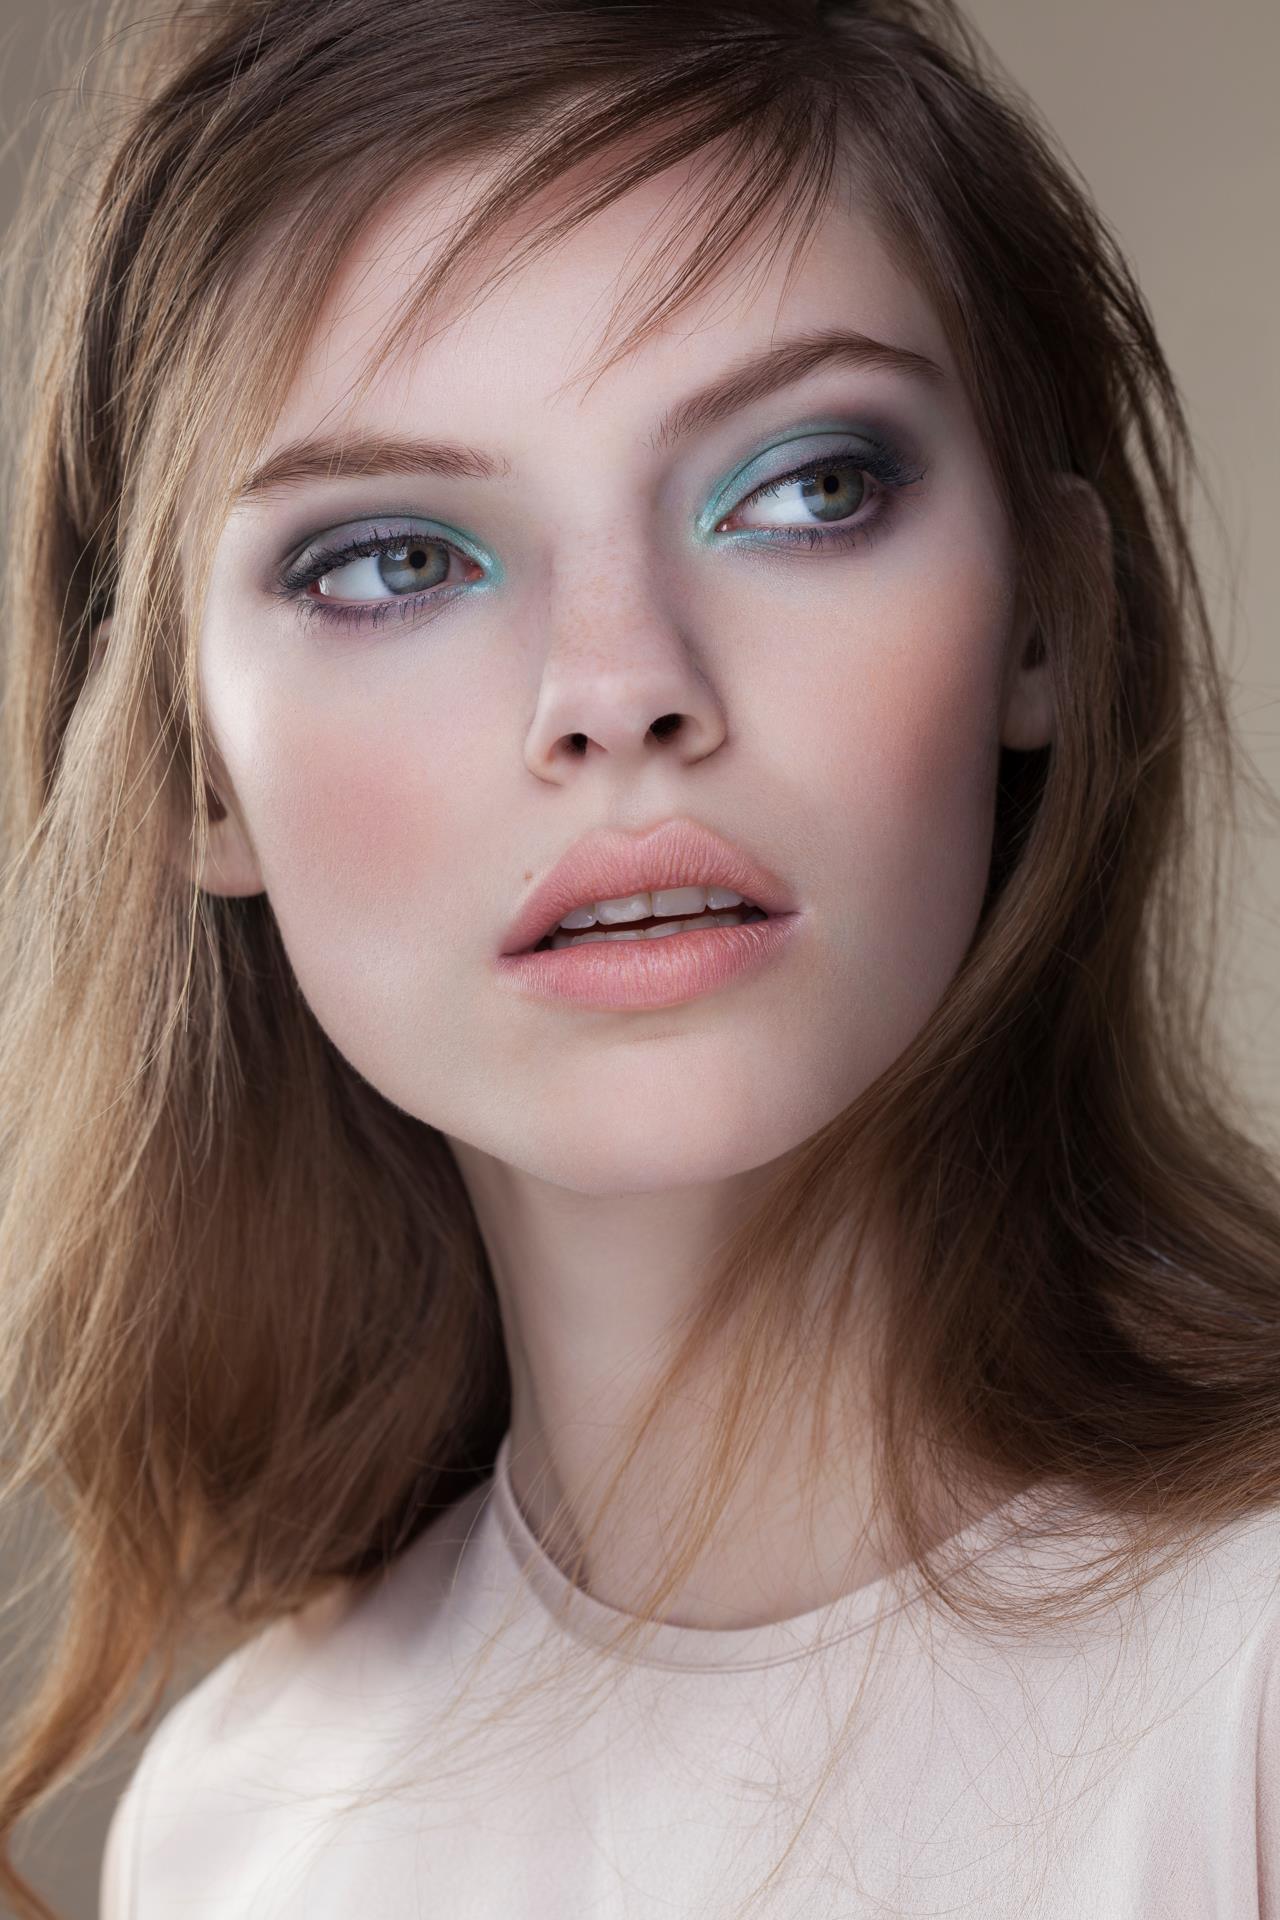
Knowing that we were shooting a pastel makeup beauty story inspired me to keep the styling soft and feminine and the lighting soft and airy. Pastel colors are often a spring/summer look in beauty photography, and go hand in hand with brighter and more diffused lighting.
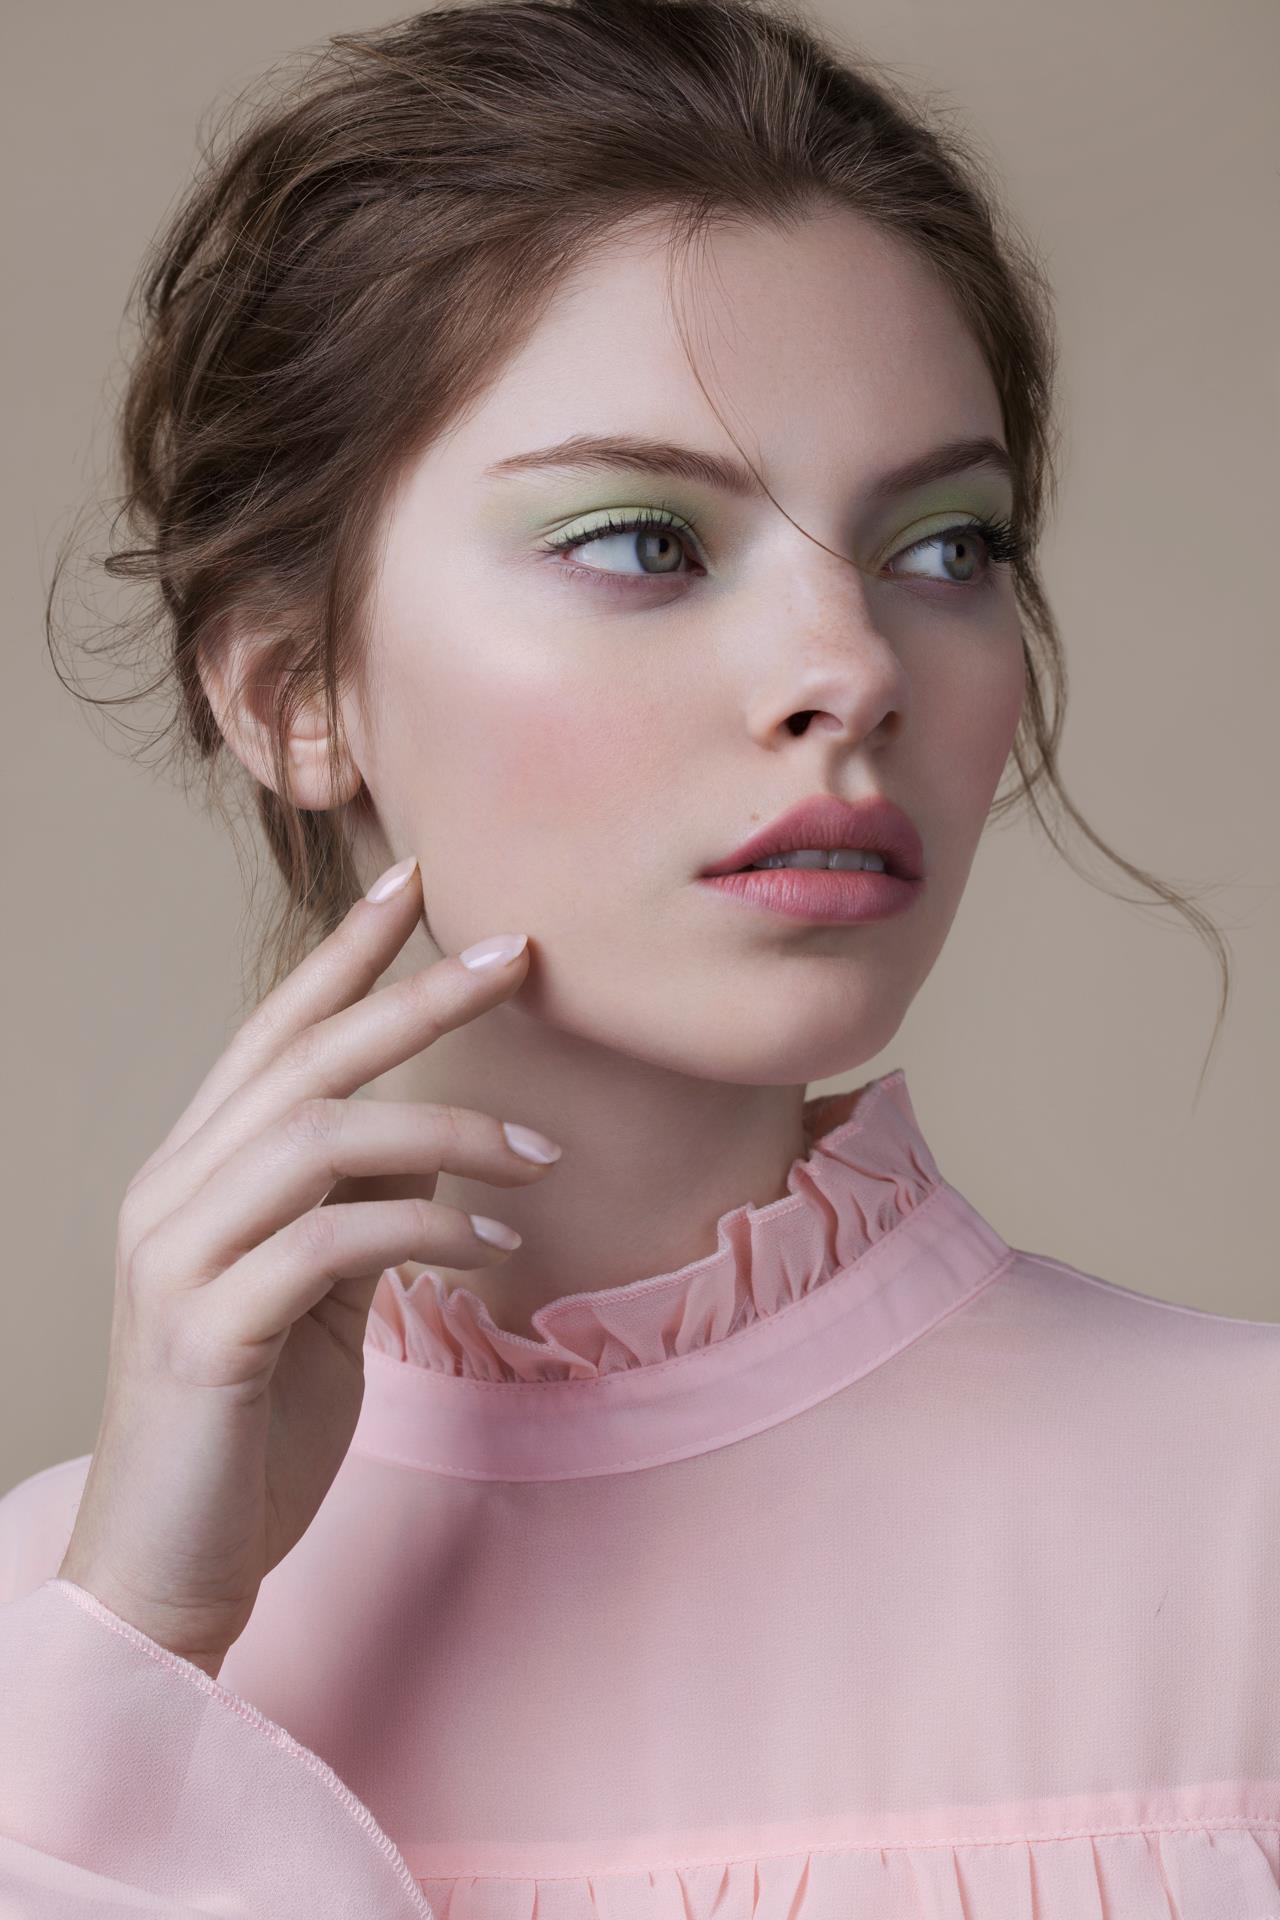
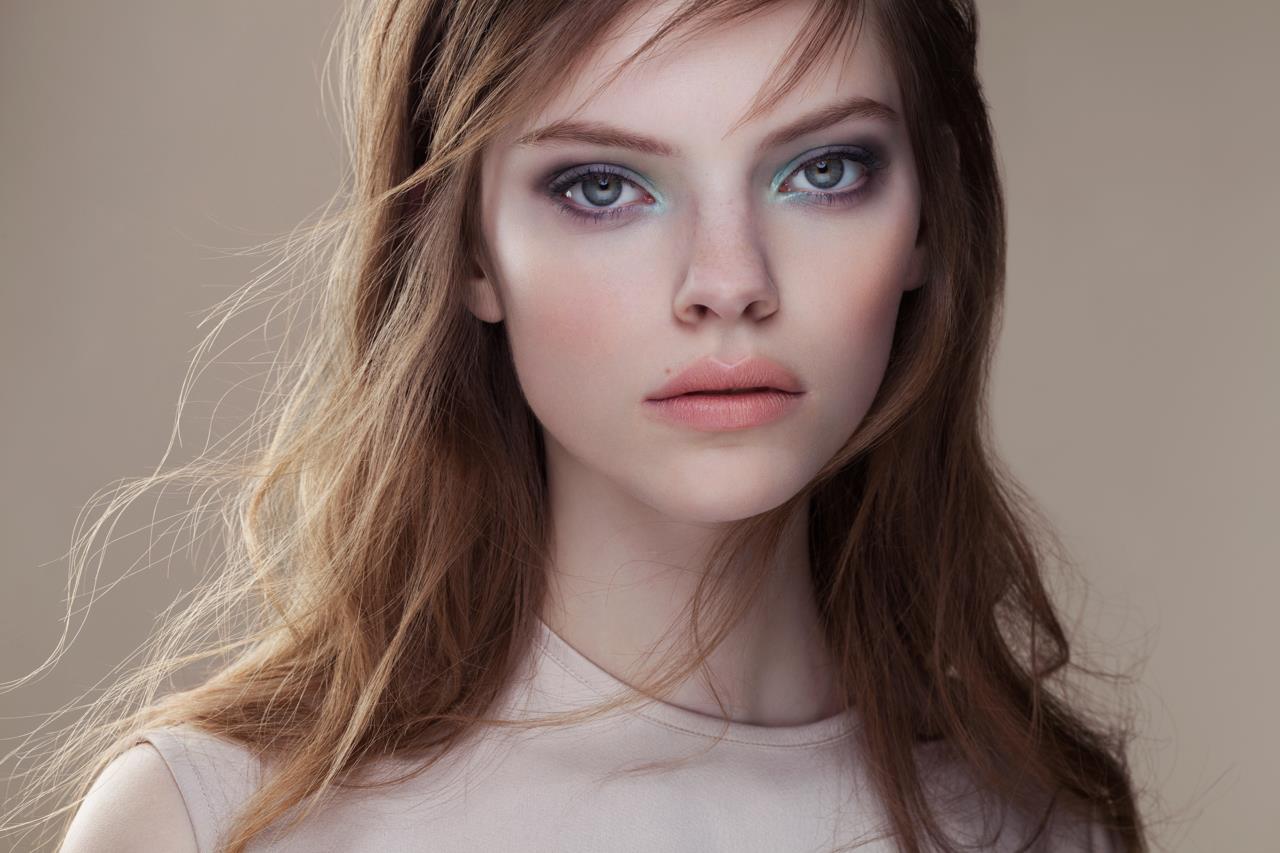
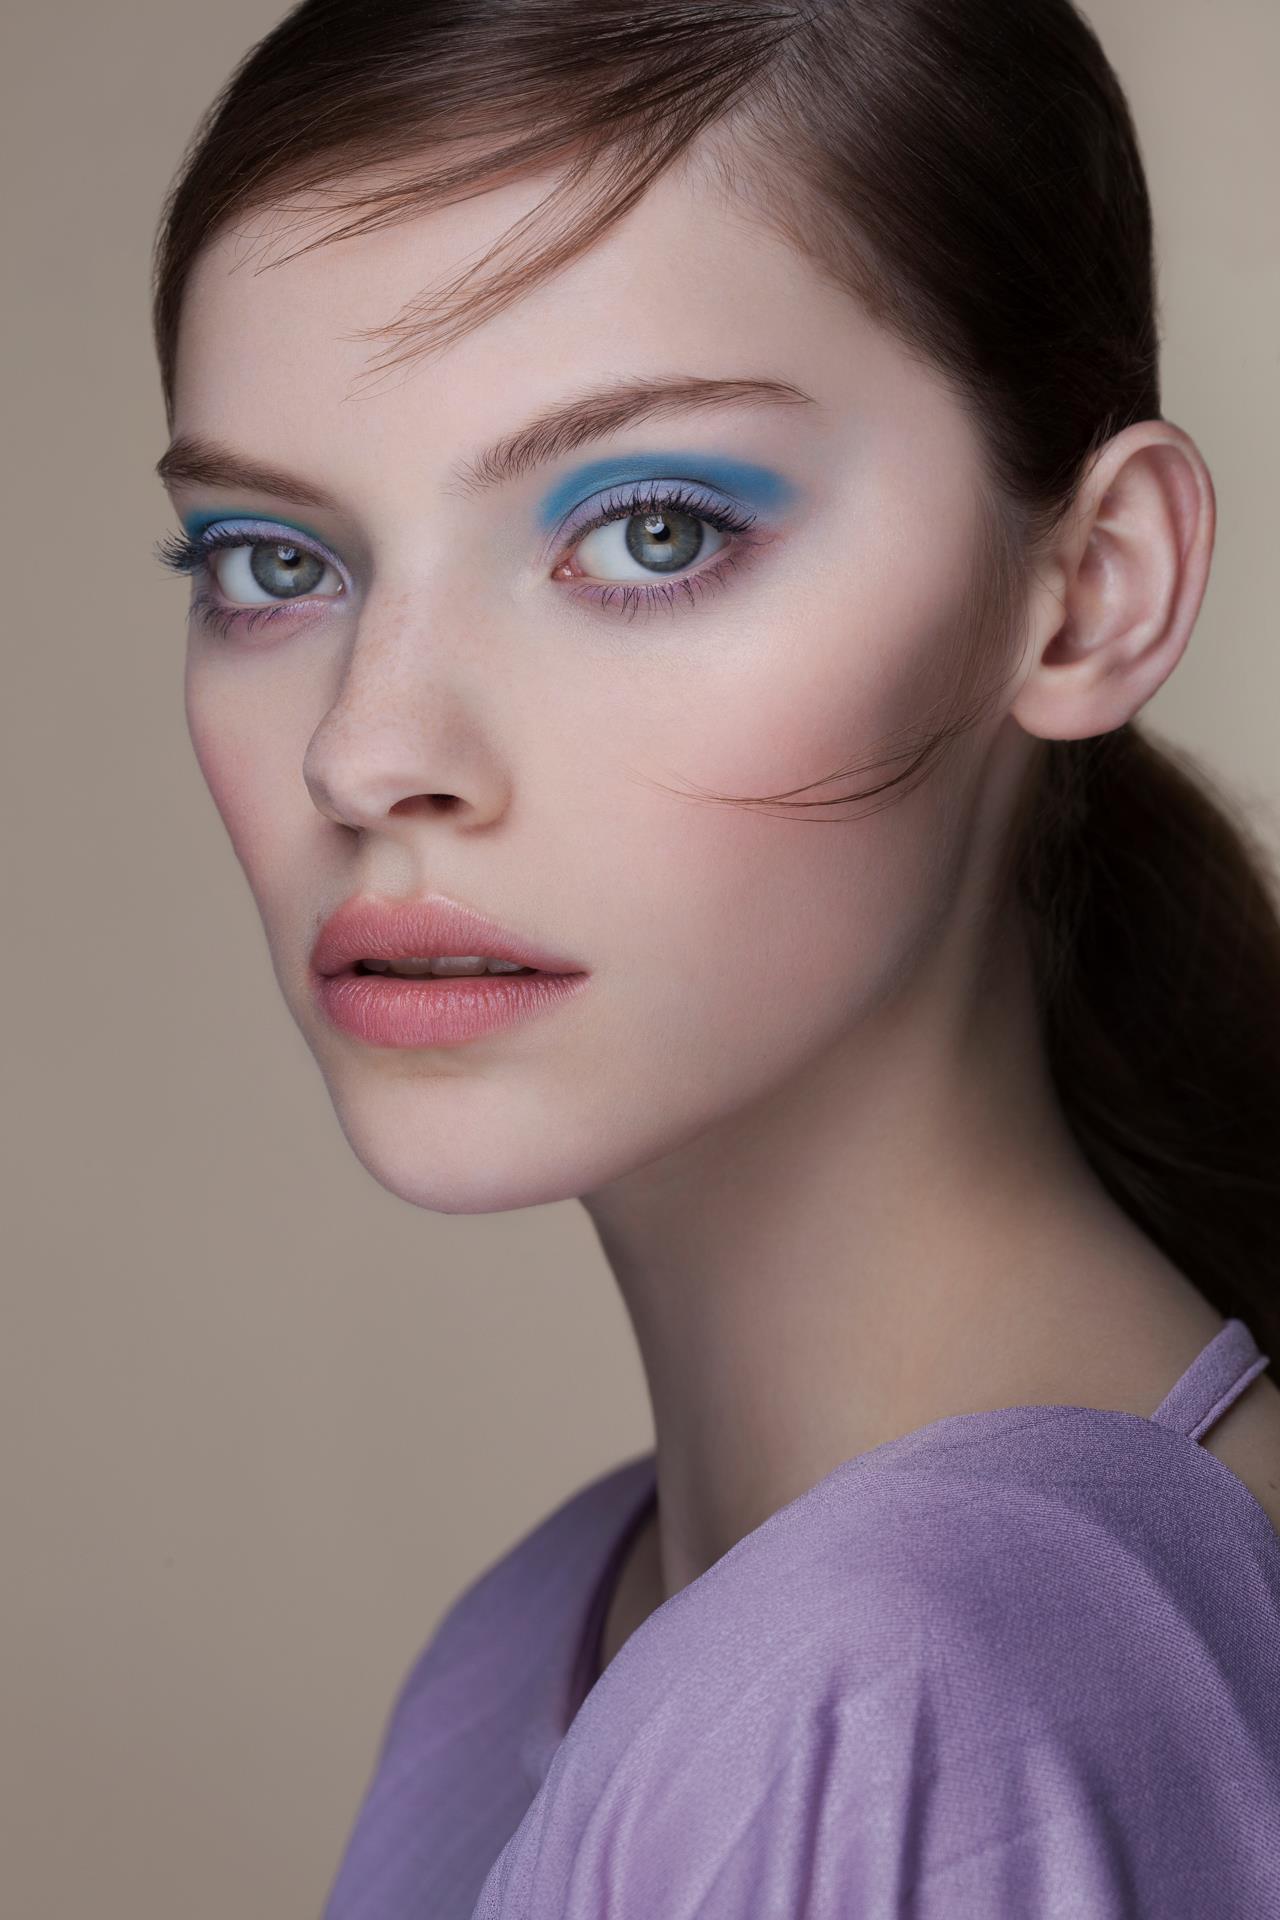
Makeup artist Christabel and I planned the six beauty looks so they would all feature pastel tones while showcasing different colors. This gave enough variation to the beauty story but maintained a strong sense of continuity throughout the series.

The six lighting setups did the exact same thing; keeping an overall softness, they varied in position and number, providing subtle changes that added dynamic variations to the story without distracting the viewer or disrupting the series.

On a beauty or fashion shoot usually the theme comes first. For this shoot, the pastel colors and general mood of the shoot were the basis that everything revolved around. Makeup looks and mood were clearly displayed in a first mood board that was exchanged with the entire team so everyone was aware of the direction of the shoot.
The lighting, following the main styling direction, was carefully planned so it would recreate the soft, feminine mood at its best, harmonizing well with all the pastel colors.


Six setups for beauty lighting
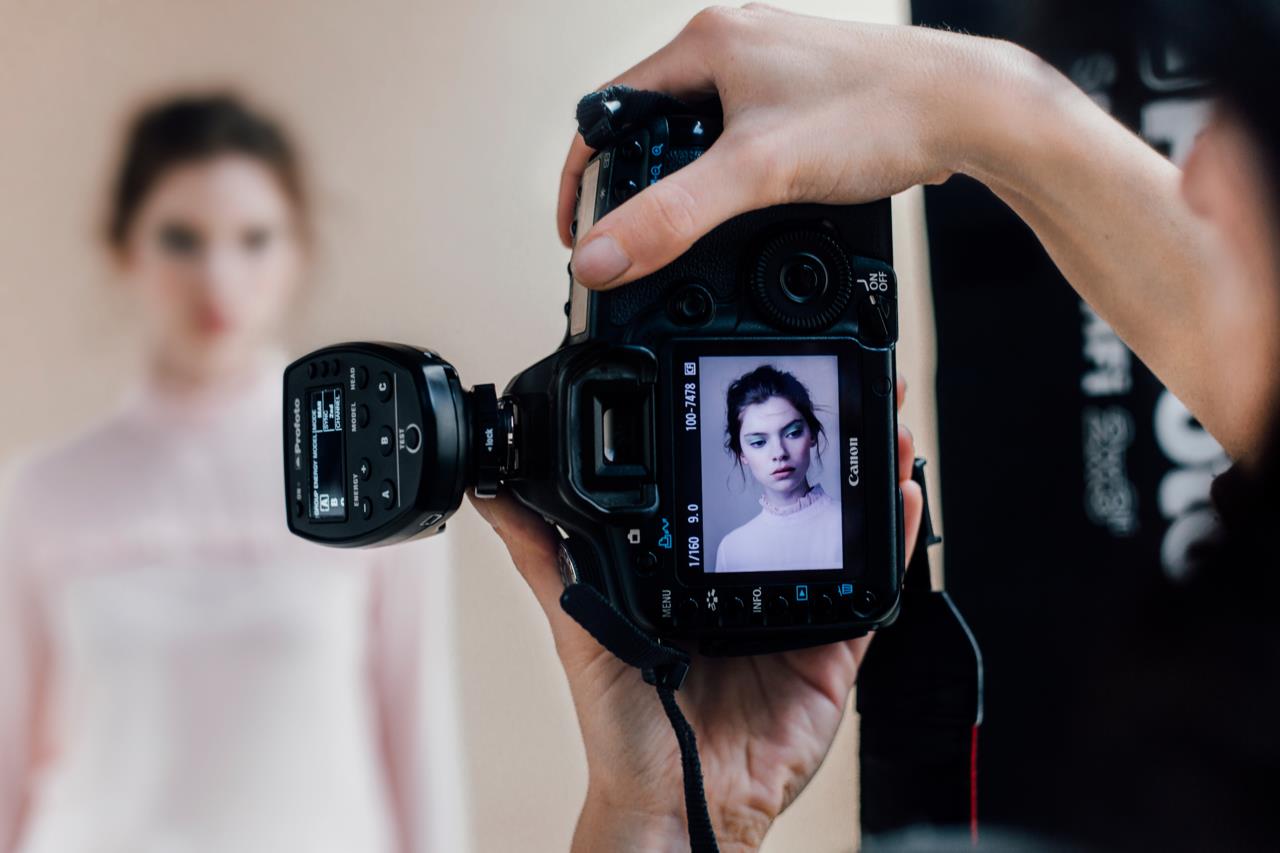
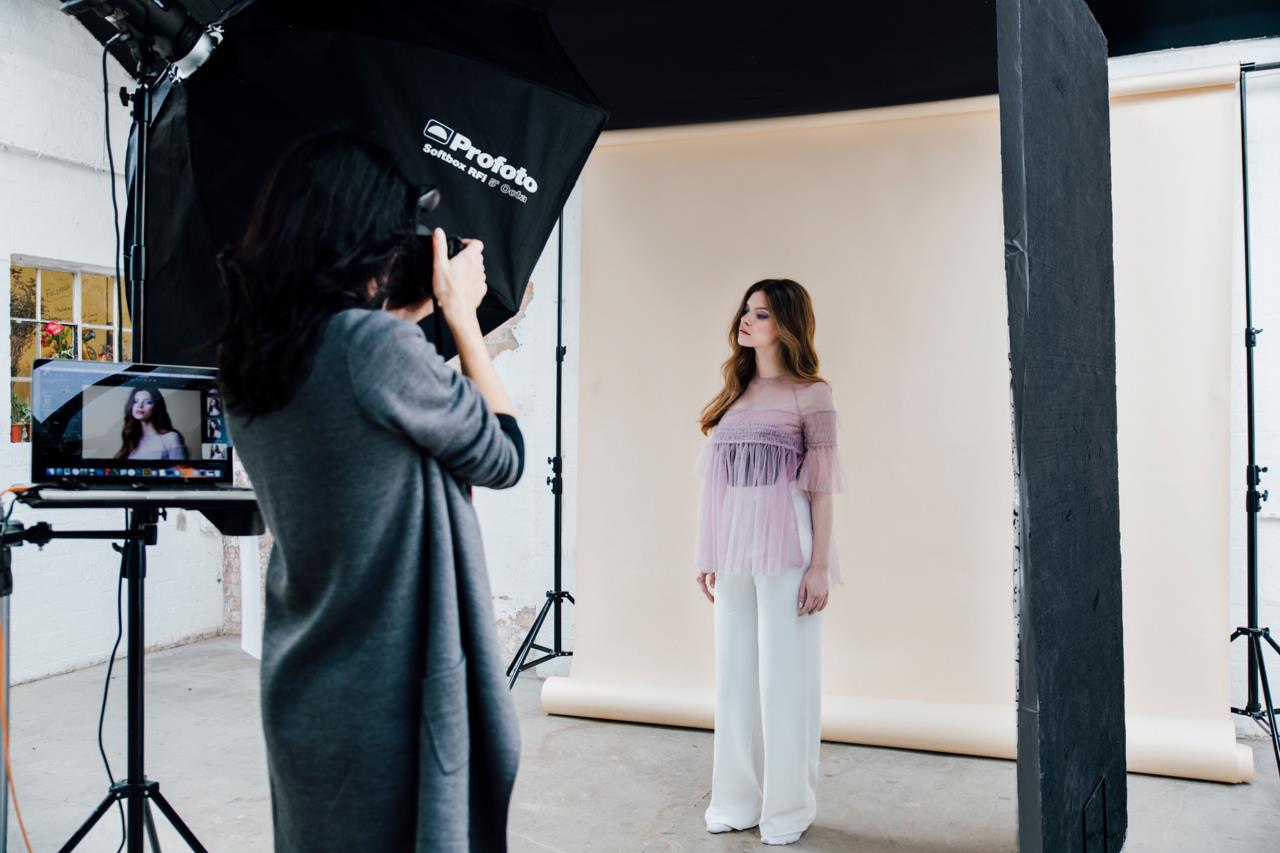
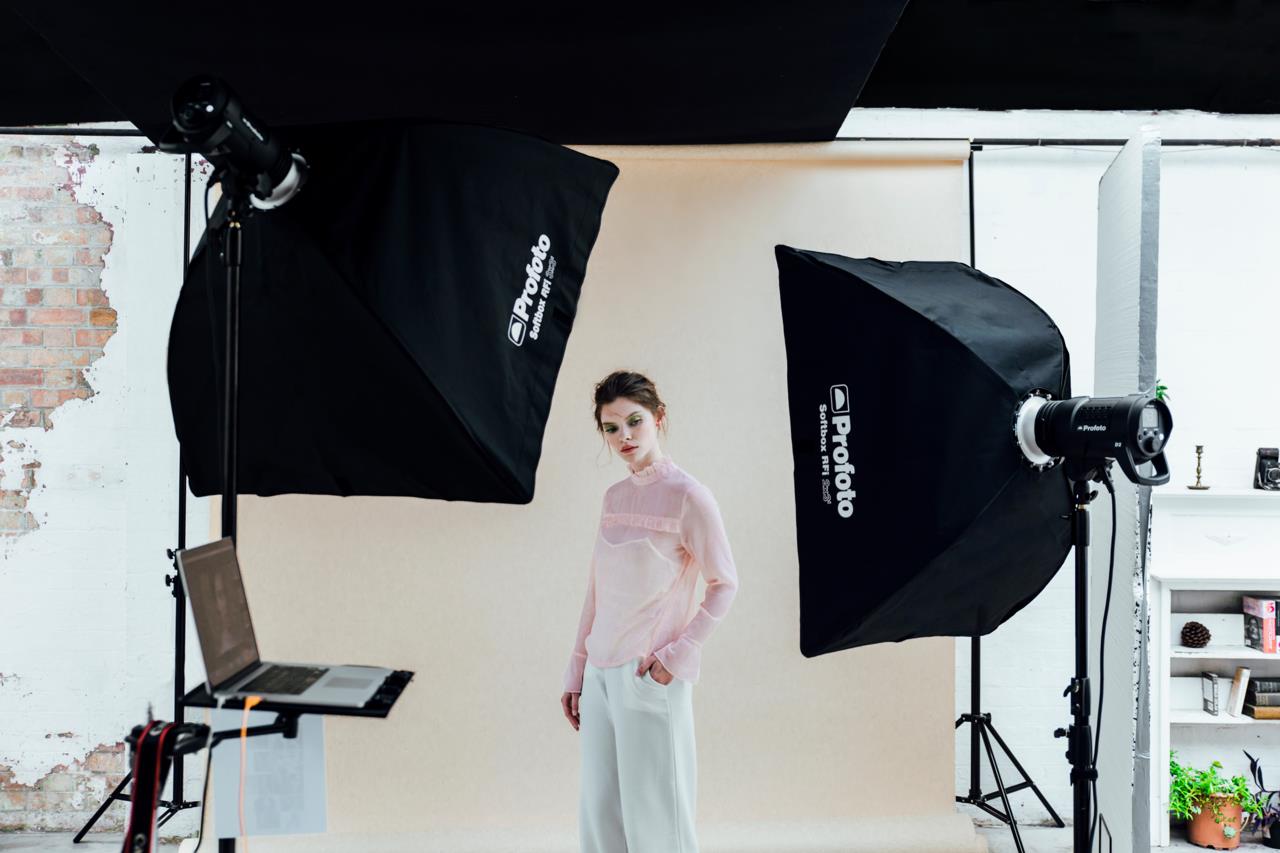
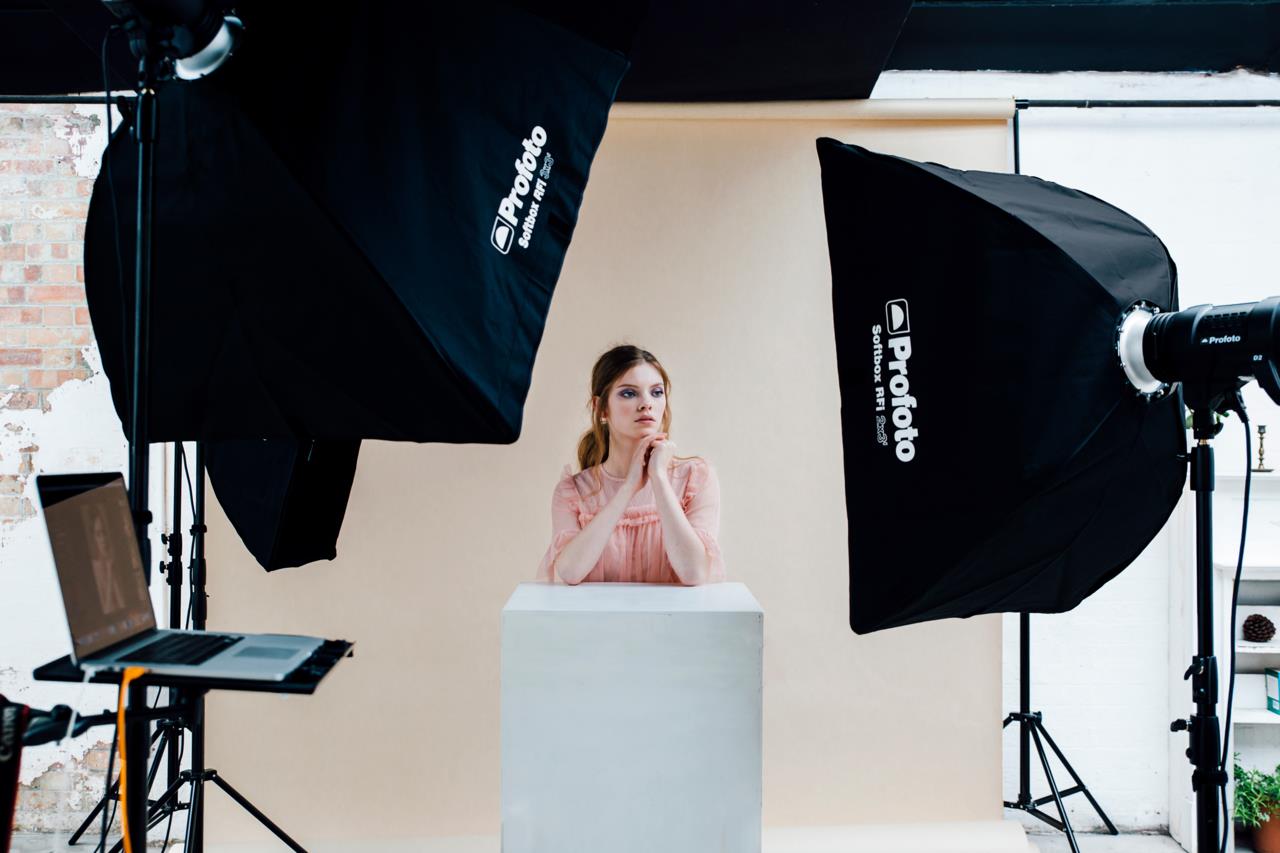
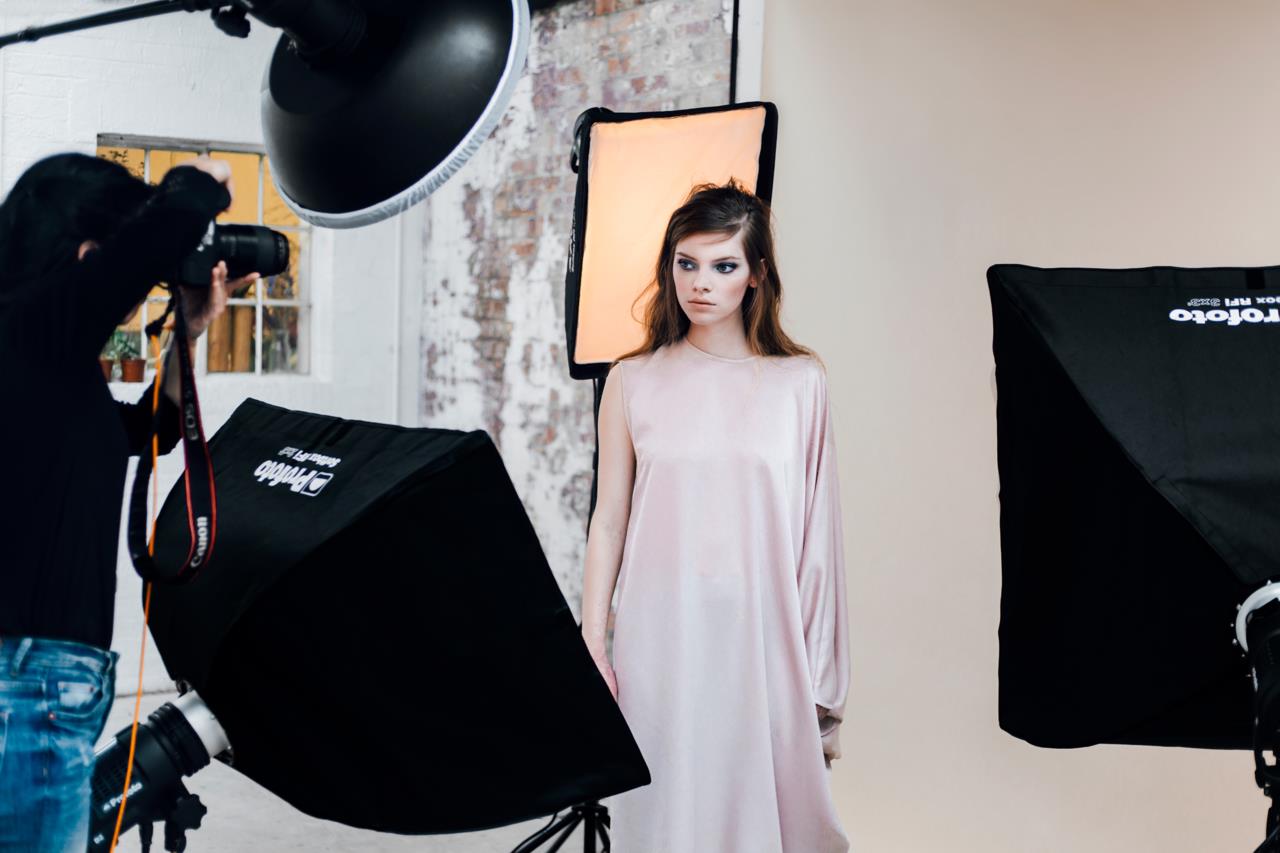
Working with the D2s was extremely straightforward. Changing light shaping tools, and even assembling them, was very simple and quick, which is exactly what you want when you are planning on changing a few throughout the day.

Over the course of the shoot, we constantly moved the D2s in and out of set, switching them on and off and changing power and position continuously, and setting them up each time was so easy – quickly done by organizing them in groups from the intuitive back panel, and then using the air remote to easily tweak the power of each one individually or a few together whenever needed.
Setup #1

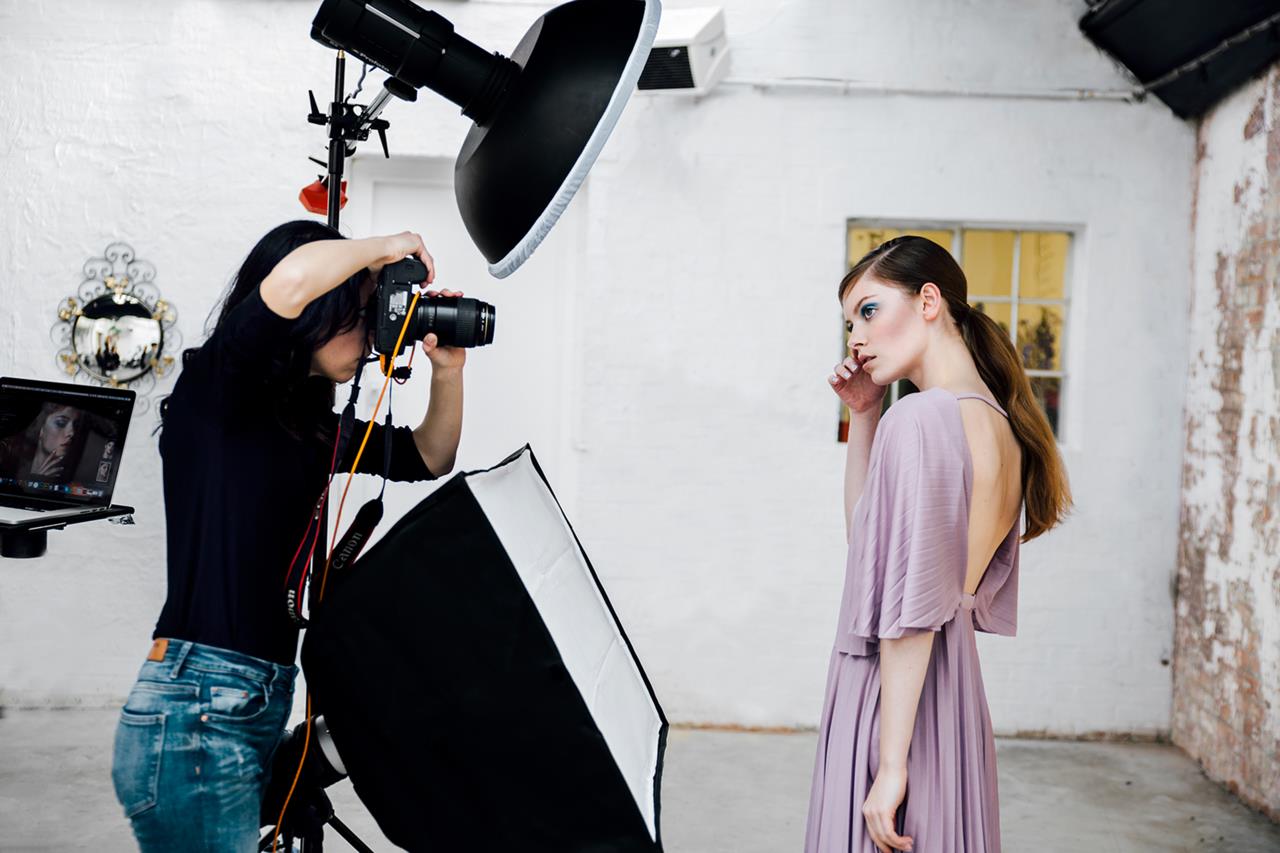
The first setup was the simplest of all: it consisted of one RFi 5’ Octabox positioned about 45 degrees on the subject’s right hand side. The light from an octabox is already very soft so this setup did not really need any other units to begin with. I added a polyboard next to the model’s opposite side (white side facing in) to catch some of the light and bounce it back toward the shadow side of the body. Shadows were very minimal, but the polyboard as a white reflector created an even, more diffused lighting.

Setup #2

For this second setup, I kept the same RFi 5’ Octabox as main light, still at 45 degrees, with the polyboard still in place from the opposite side, and added an RFi Softbox 1x3 toward the back on the left hand side of the model. This new unit added a beautiful, soft highlight on the subject’s hair or cheek, which suddenly gave the setup a different look with minimal changing yet keeping the quality of light exactly the same.


Setup #3

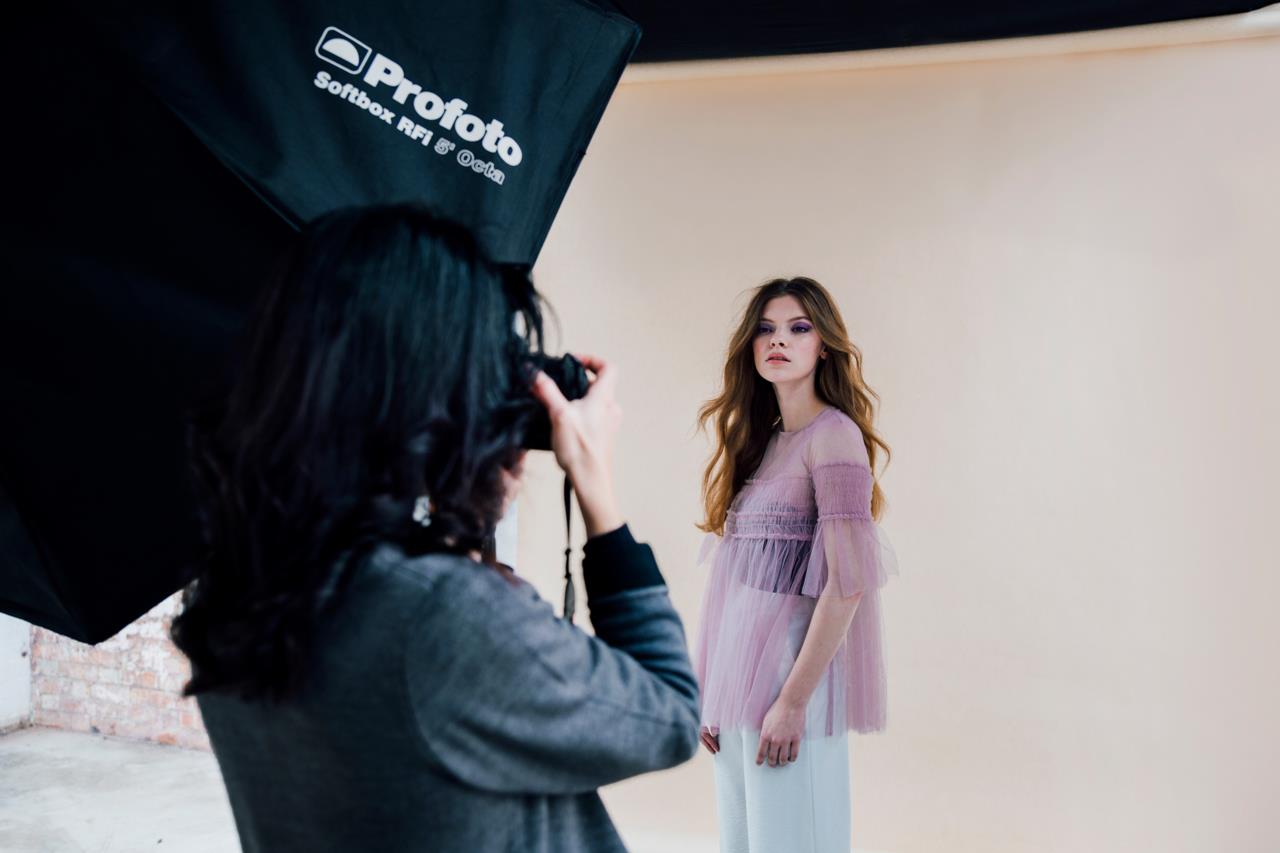
On this third look, all lights changed. The main light was now an RFi Softbox 3x3 around 30 degrees around the subject’s right hand side, with an RFi Softbox 2x3 symmetrically on the other side, working as a fill. This setup created a slightly more airy and diffused lighting than the octabox alone but maintaining the same quality. The white polyboard was also kept in place to aid diffusion. I chose the 3x3 and 2x3 since they are large enough light shaping tools to create a softer light than their smaller versions.

Setup #4
Next, I kept the main light as 3x3 softbox and fill light as 2x3 softbox in the same positions as before, and introduced a 1x3 strip softbox with grid pointing toward the model’s back, around her right hand side. This new light unit created a very focused, but delicate, highlight all along the side of the body, highlighting hair and top and creating an even more ethereal feel. The white polyboard was also removed because the newly positioned backlight would have been facing it and could possibly have created too much bounced light.
Setup #5
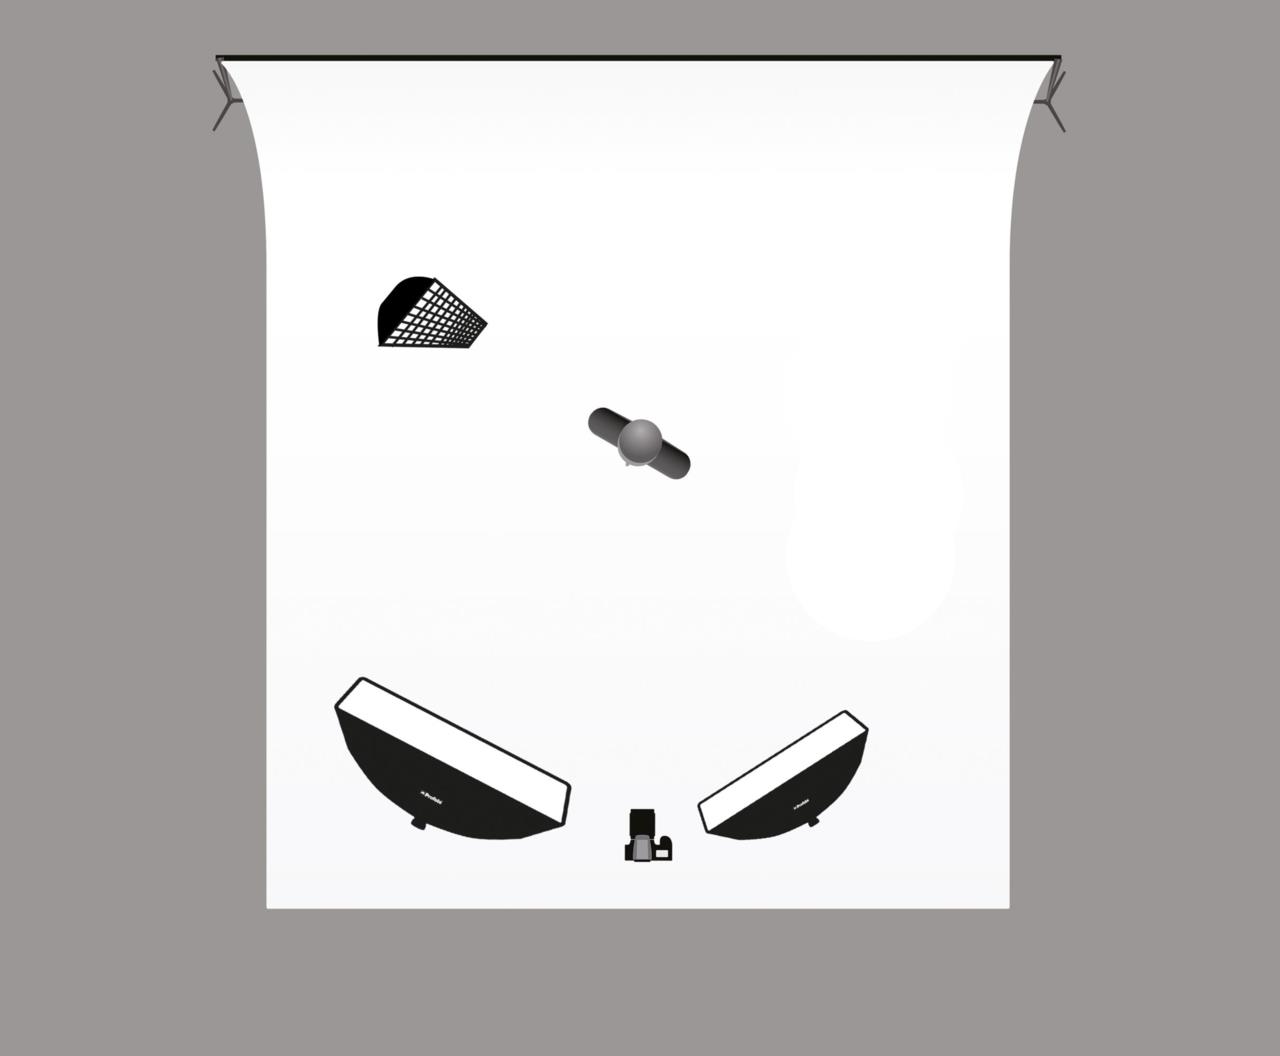
The fifth setup was the biggest change and challenge, as the main light went from being a softbox in different sizes and shapes to being a white beauty dish, which gives light a completely different quality than a softbox. To soften the effect of the beauty dish I decided to use it in a clamshell setup, with the beauty dish at the top, and a 2x3 softbox at the bottom, both pointing toward the subject’s face. The beauty dish was also mounted with a diffusion sock and slightly feathered toward one side to further soften its output. As the beauty dish allowed much less light to spill onto the background than the previous modifiers, I added a 3x3 softbox behind the subject, pointing toward it to make sure the background tone stayed consistent throughout the shoot. This squared softbox created enough light to evenly light a large portion of the background.


Setup #6
The last setup maintained the clamshell setup of white beauty dish and 2x3 softbox as in the previous setup, with the background light still in place, but with the addition of a small RFi Softbox 1,3x2 positioned just behind the subject on their right hand side. This light, at a slightly higher power, created a beautiful highlight on the subject’s hair and cheek. This was the most complex setup of the day but also my favorite.

Model: Tamina Zakrzewski
Makeup: Christabel Draffin
Hair: Eiji Sato
Styling: Patrice Hall
Nails: Roxanne Campbell
Photo assistance: Jessica Gates
Studio: Huddle Studios
Videographer: Richard Wakefield


